Archive

Archive for the ‘Builders Log’ Category

Right Wing Top Skins Completed

February 10th, 2018 No comments

My Riveting Buddy, Alex

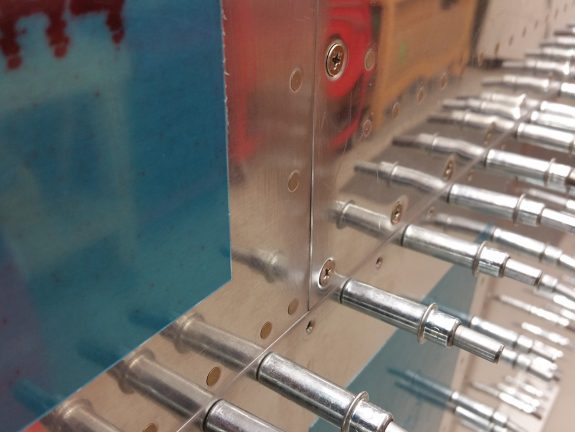
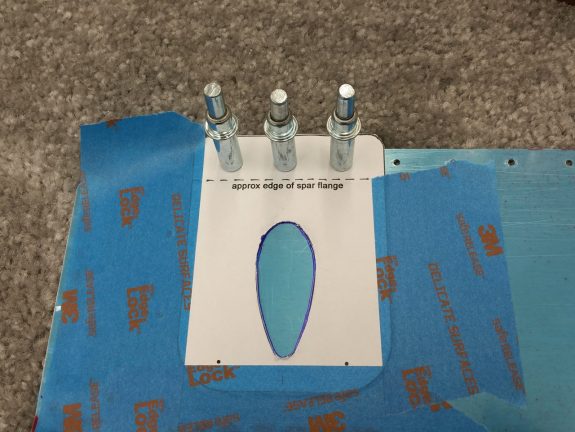
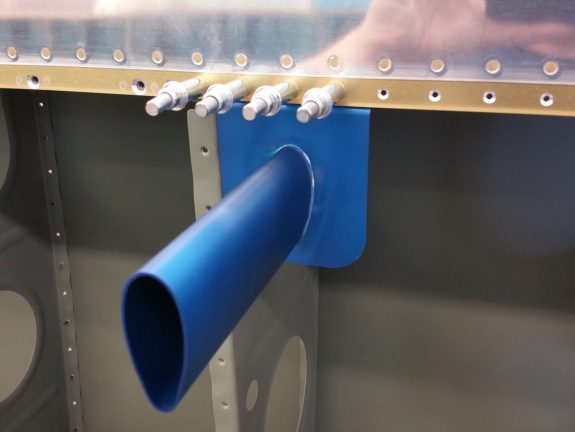
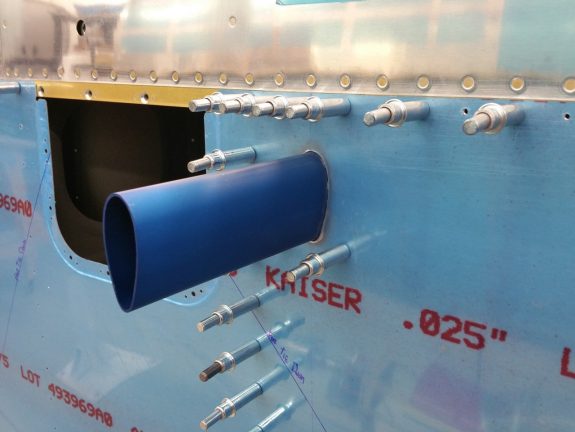
Today was the day. The day we could remove the wings from the stands if we wanted. What was it going to to take? Finishing the top skins on the right wing. In keeping with the tradition of putting the “slow” in the “slow build,” it was time to hit the shop again after a long absence.

I discussed with my son Alex what he was planning to do for the day. He made the mistake of replying, “nothing much, why?” It was settled, and we headed out to the shop about mid day after getting our house chores done.

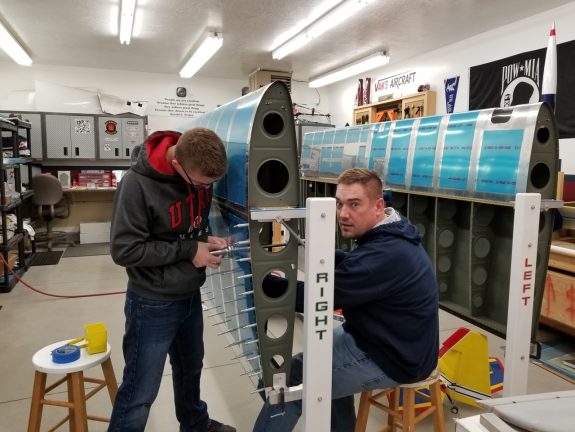
Alex has never riveted anything up to this point. So first things first, we knocked out the “you will have the means to damage a lot really quick” briefing. Then did some demonstrations and planning and we went at it. He did GREAT! Had him use the gun/flush set on the spar/skin rivets, and then he was on the back rivet bucking bar for the skin/ribs. There were a couple we had to redo, but overall, the back rivet technique worked as expected. Here you see him on the bar, while I am on the gun.

It took us about 5 hours to get all the remaining rivets done together, taking it slow for both our benefit. He was so interested in the process, he even stuck around to watch me squeeze the rear spar.

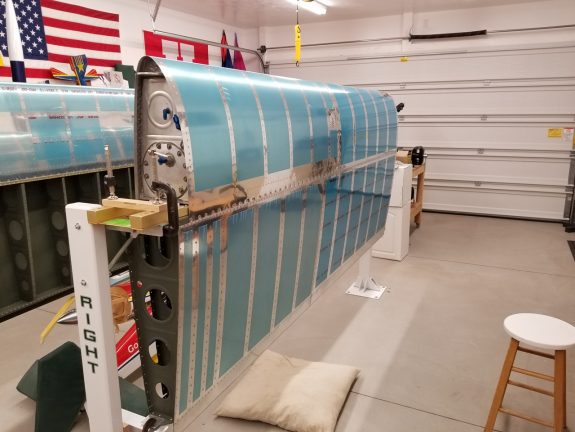
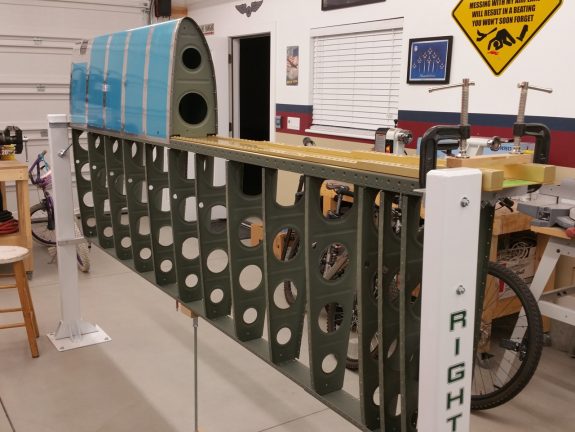
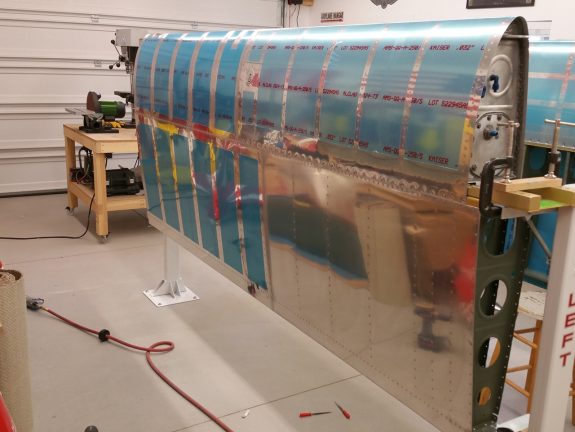
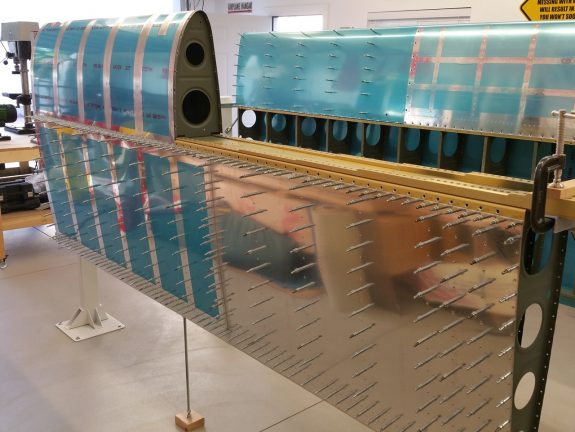
Right Wing Top Skins Complete!

Fortunately for me, Alex is pretty thin. That will come in handy on the tail cone, as long as we can get to it before he’s a college grad.

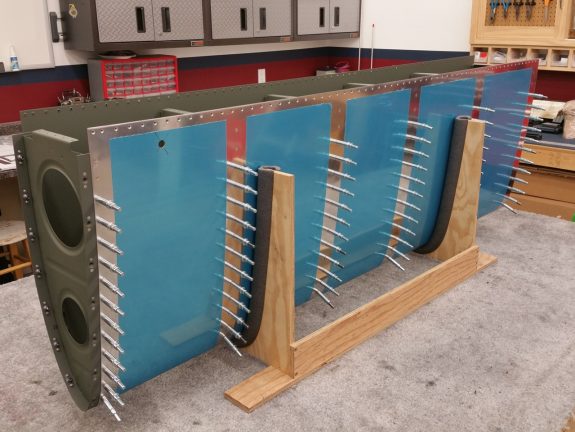
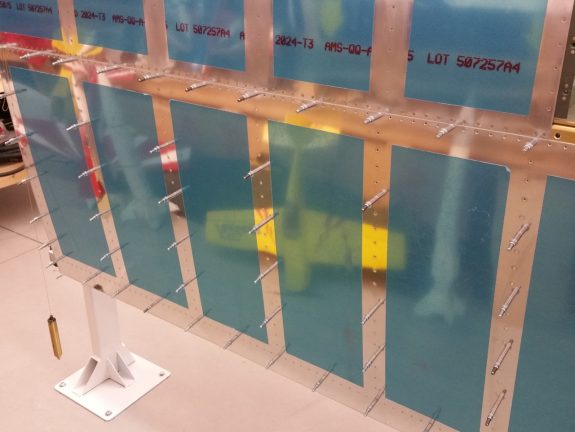
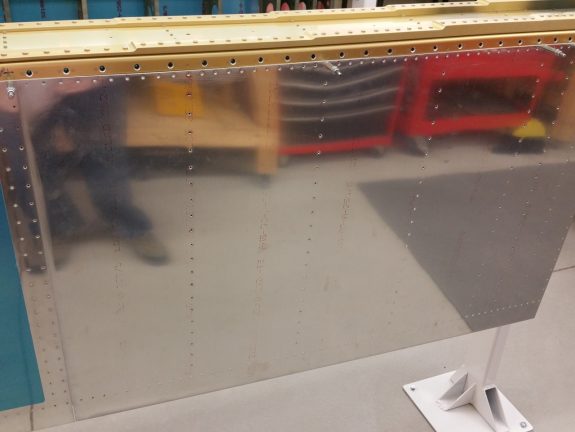
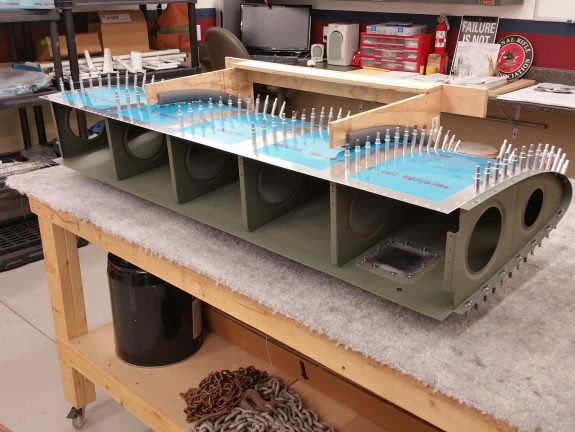
We left the night with the right wing looking like this…cleco free. Hopefully sometime this week I’ll be able to get the wing cart configured and the stands out of the way. Unfortunately, we need to do some automotive repair on the third car now that we can clear the space in the shop. I have a highly motivated older teen, so hopefully the car won’t be in the way for long, and we can get back to the build.

This was a big milestone in many ways.

It sure was cool to get a new riveting partner. Two down, two more immediate family to go.

Categories: Major Wing Sections

Right Tank Installed and Top Skins Fit for Final Riveting

June 24th, 2017 No comments

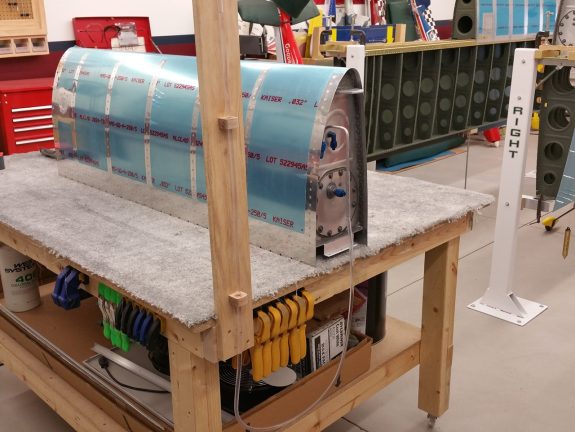
Right tank mounted after testing LEAK FREE and top skins mounted for final riveting

A few weeks ago, I was able to finally pressure test the right tank for leaks. While it didn’t go as smoothly as the left, it still came out very positive. I had also previously primed the dimpled right top skins and they were getting in the way on the bench. So after taking care of some chores this morning, I determined to get some loose ends tied up and be ready to rivet the top skins on soon.

I first had to rivet the remaining leading edge rib to spar interfaces. Since I am largely doing this project solo, I resorted to using Cherry Max rivets for the two most central ribs. This left the two inboard and two outboard ribs to finish. I am not a fan of the offset rivet set that’s required nor the contortions to hold the bucking bar…but I got it done. It took more time than I first anticipated, and my body reminded me of its limits, but each was set, and set OK.

Once that was done, I went about installing the right tank to the wing. There’s something VERY gratifying about installing that big of a part to an assembly. I torqued the bolts appropriately and then also double checked the left tank bolts (it’s been a while…so it was prudent). I reached into the tool cabinet for some torque seal/mark, only to find that all my tubes had dried out. I really need to work more consistently on this project. I’ll place an order for some more and mark each of these bolts.

Once mounted, it was time to reinstall the primed top skins in place and ready them for riveting. I will be double checking for twist, and then one of my kiddos and I will go to it. Can’t wait to move on again. The poor fuselage kit is aching to be worked on.

Categories: Tanks

Right Leading Edge Riveted to Spar and Skins Test Fit

November 17th, 2016 No comments

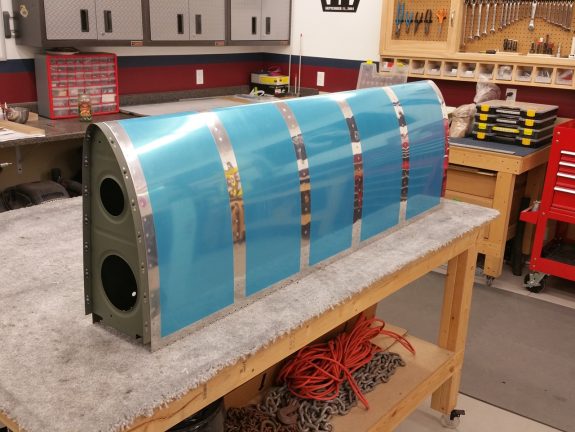
Right top skins test fit

Now that the leading edge skin to spar rivets are done, I had a couple of hours to test fit the top skins after dimpling them.Everything fit as it should.

Right leading edge inner ribs cherry max riveted

Not having a helper to reach in and hold a bucking bar for the center two most ribs to the spar, I opted to use some Cherry Max (which is more than Van’s allows). Here they are popped in and primed over on one of the two inside ribs. I had the wrong length for the next rib in, so will have to do it once I get the right lengths. At this point, the next session (or more) should be riveting on the top skins.

Categories: Major Wing Sections

Right Leading Edge Riveted and Light Cutout Done

November 11th, 2016 No comments

Right leading edge riveted

Had the day off for Veterans Day, it was the day to knock out final riveting of the right wing leading edge. Nothing significantly different from the left.

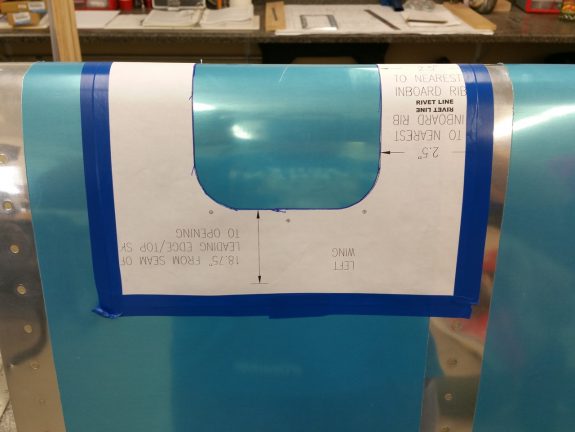
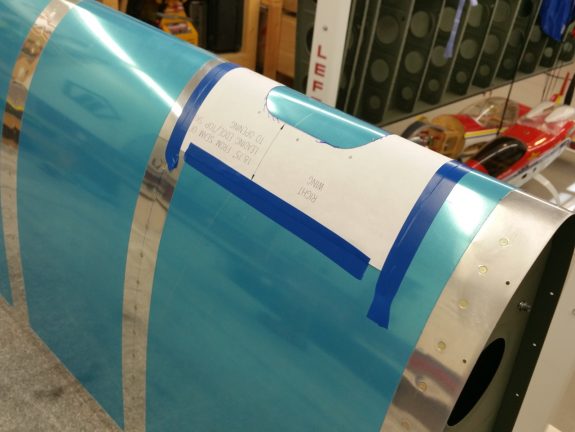
Marking the leading edge light location

Duckworks light kit on this wing was just the same as the other.

Getting ready for a big cut

Hardest part was again convincing myself to take such a large chunk out of a new assembly.

Right leading edge riveted onto spar

Once done, rather than priming just the holes, I sprayed the spar flange instead. Then was able to place the finished assembly on the spar and went right at riveting it on final to the wing.

Right leading edge light kit done

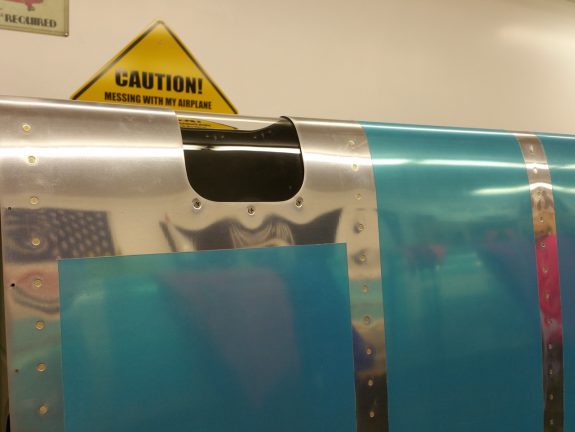
Nice shot of the light kit lens in place just like the left wing.

Categories: Major Wing Sections

Right Leading Edge Primed and Assembled

October 29th, 2016 No comments

Right leading edge parts primed

Second verse, same as the first. 😉

Right leading edge ready for riveting

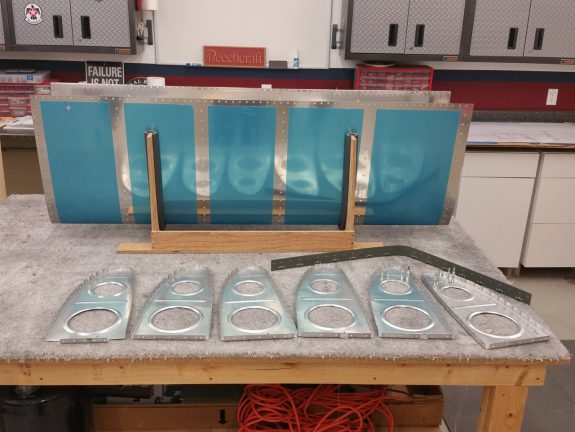
Was able to get everything together and in the cradle. Since I could reach the first two rivets on each rib with the pneumatic squeezer, I did before calling it a night. It all sits ready to rivet next session.

Categories: Major Wing Sections

Right Leading Edge Parts Prepped

October 23rd, 2016 No comments

Prepping right leading edge parts

Nothing new to report here other than starting the same process completed on the left wing on the right. This time I didn’t forget the Duckworks prep work and was able to accomplish it as part of the prep.

Categories: Major Wing Sections

Left Top Skins Riveted

June 29th, 2016 No comments

Left top skins RIVETED!

Took a couple of days off this week to spend time with the kids on summer break. Aka, snagged one and knocked out riveting the top skins on the left wing. Pretty straight forward process really. The spar to skin rivets we did traditional. I trained my eldest on how to give me bursts on the gun in various lengths. Per the manual, we started with the center rib and worked our way out and down. First completed the inboard skin, then the outboard. Took a day and a half. I stayed on the underside, and Taylor stayed on the top side.

Top skin tools of success

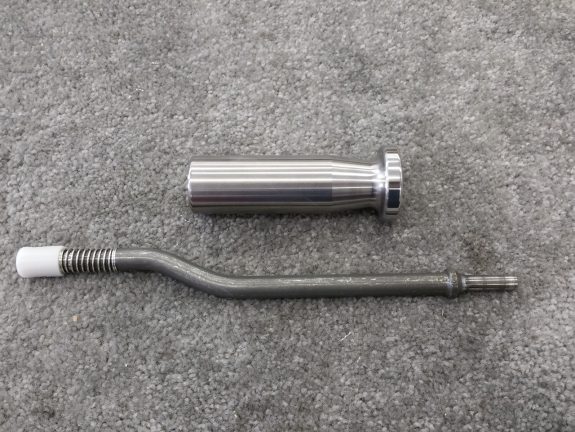
Here were our friends for the task. Top is the Cleaveland Back Riveting Bucking Bar. While any bar “could” work, this one makes it pretty simple for an inexperienced buddy. It’s comfortable and simple to make sure is flush against the skin. Just below it is the 12″ Long Double Offset Back Rivet Set also from Cleaveland (actually Avery Tools). Now, here’s the tip of the day: Set your 3X gun to 80 psi when using this set. It sounds like a lot, but with all the mass you’re moving, it’s not like your short, straight back rivet set. As with anything, practice makes perfect, so practice.

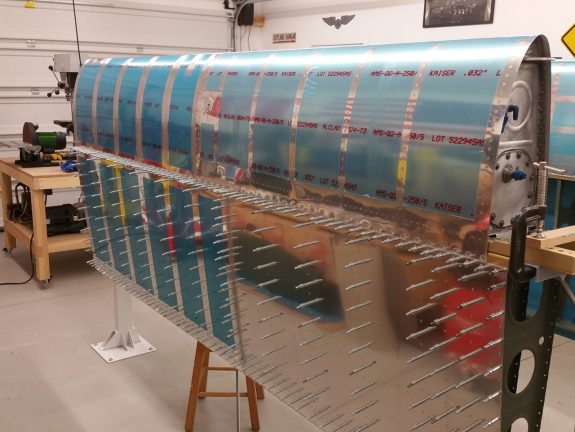
As you can see from the top photo, the result we got on the skins was fantastic. We did have some to drill out when focus was lost momentarily, but overall, it went pretty smooth. It was a lot of rivets, but worth it.

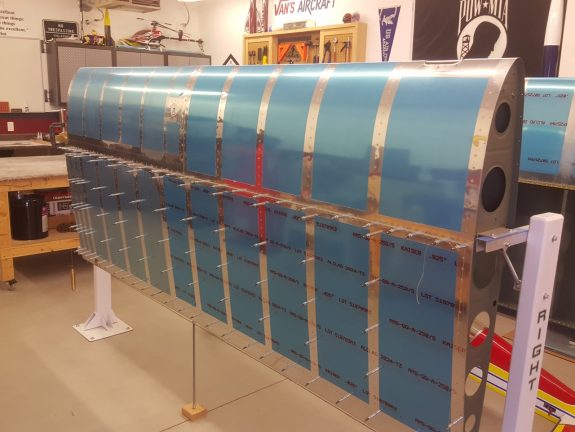
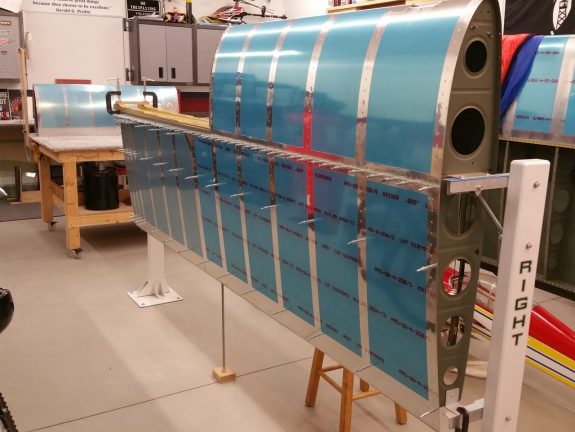
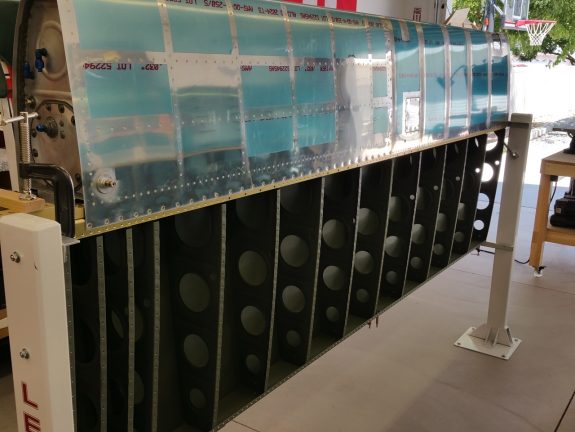
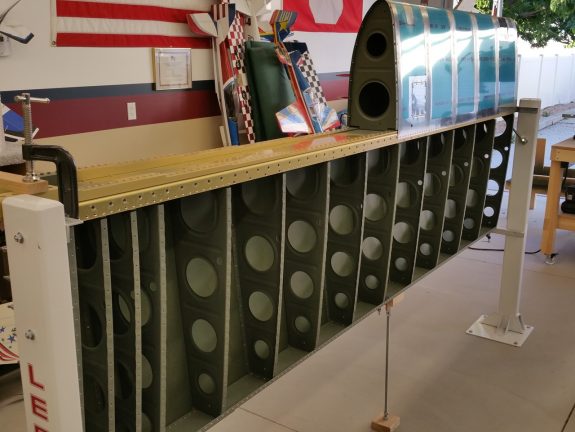
Left bottom view post riveting top skins

Something about being able to stand back and look at something this big and not see any clecos in it. The manual says it is now ridged enough to remove from the stands. After taking off the lower C-clamps and seeing it not move at all, it’s definitely ridged.

Next up will be a total repeat on the right wing.

Categories: Major Wing Sections

Left Tank Installed and Pitot Mast Fitting

June 18th, 2016 No comments

Left tank installed AFTER LEAK TEST PASSES!

Now that the left tank has passed the leak test, I decided to mount it to the wing in preparation for riveting the skins on. I was pleased to find it generally fit well with no interference issues with the leading edge section.

Hmm…

There was one spot that makes me a little pause, but I am not sure I could do much about it. I tried to massage the skin of the leading edge some and considered making a small splice piece or some way to capture the skin from the tank, but in the end, opted to let it go for now.

Marking pitot mast hole location on left bottom outer skin

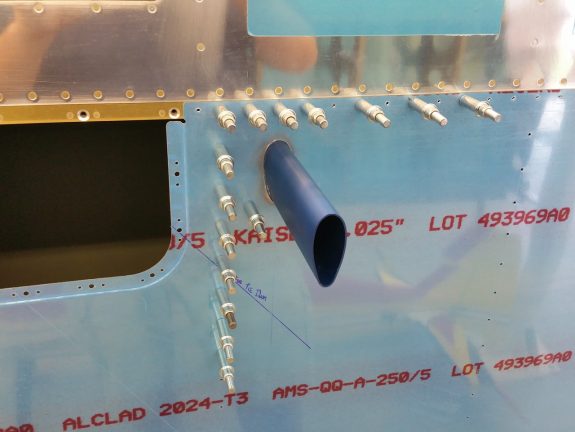
At this stage, I was at a cross road. I need a helper or two to rivet the top skins on, but did not have access to any for the rest of the day. So I went back to doing tasks I could accomplish solo. One of those was mounting the SafeAir pitot mast to the underside of the left wing. I prepped the template and then worked to get it placed, marked, and cut out. I have chosen to place my pitot just outside the outboard inspection plate. while this does require some additional attention when routing pitot tubing past the aileron bell crank, I think it’s a better location overall. Will provide good access from the inspection hole if needed and the web of the rib will help in making the mount more ridged. I’ve heard good reports by other builders that more outboard has worked well for them.

Drilling and mounting pitot mast

Here you can see the SafeAir mast placed and installed. As you can see, it sits against the side of the rib nicely. Now I can fabricate a small angle that will then attach to the rib and the mast, providing some good support for the mast. This not only give the mast an additional attach point, but reduces the stresses on the skin. May not really be necessary, but seeing how flimsy the attachment of the pitot on my certified Beech Sundowner, I wanted something more.

Like a glove

This was after many attempts at fitting, but with a little patience and filing, it fits very well through the skin.

SafeAir mast looks good!


Pitot mast bracket to tie into a rib

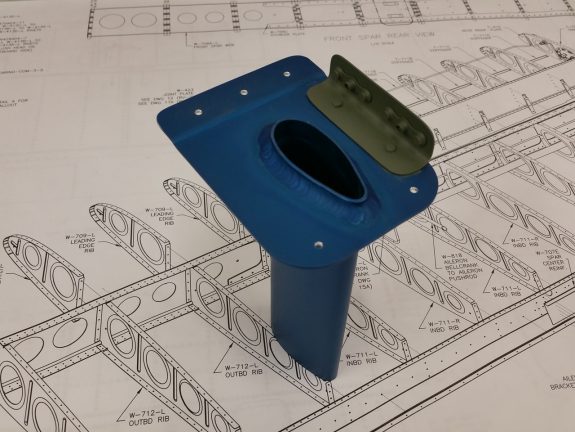
As you can see here, I took some stiffener scrap (likely from the tanks or elevator/rudder and fabricated a simple bracket that I riveted to the mast base with platenuts where screws will then attach the mast to the adjacent rib. This configuration is pretty dang solid once cleco’d in place. I am debating on placing platenuts on the remaining holes, including the spar holes, to make the mast completely removable, or simply riveting it to the spar and skin and if needed, drill out the rivets if maintenance requires it. Guess we’ll see once we get to the bottom skins where I land.

Categories: Major Wing Sections

Left Tank Pressure Testing

June 17th, 2016 No comments

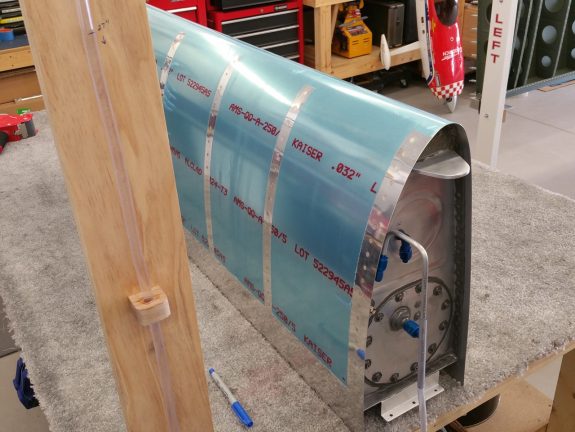
Pressure testing left tank

So I decided to use the manometer method to test the tanks for leaks. Word of warning, this method is dang sensitive. Slight temperature and pressure changes throughout the day can have you chasing your tail and creating false alarms. I see the wisdom in balloon method…as it gives a good indication of success without giving the builder a scare if he’s an over thinker. The other way is to make sure you have an accurate means of measuring all the other factors at the same time as looking at the column of water. It’s repetitive math, but it can give you a dang accurate look at your success.

Column of water is showing stable pressure

As it stands, my column of water shows a leak free tank after 4 days since starting the experiment. 1 down, 1 to go.

Categories: Tanks

Left Top Skins Primed and Hung for Final Riveting

June 16th, 2016 No comments

Left top skins primed

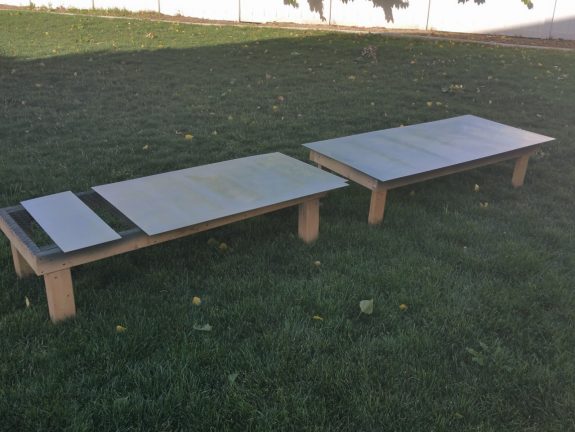
Took advantage of the the nice calm sunny afternoon and scuffed, washed, and primed the left top skins.

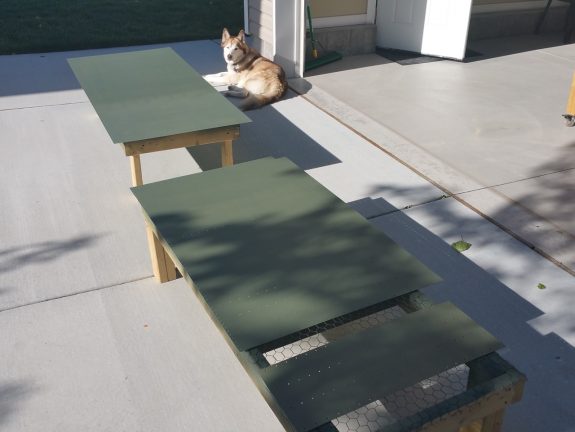
Left top skins drying (and guarded by Bella)

Here they are baking in the sun. Bella did a good job of staying down wind while they dried. Can you imagine all the hair she could introduce into that primer?

Left top skins hung for riveting

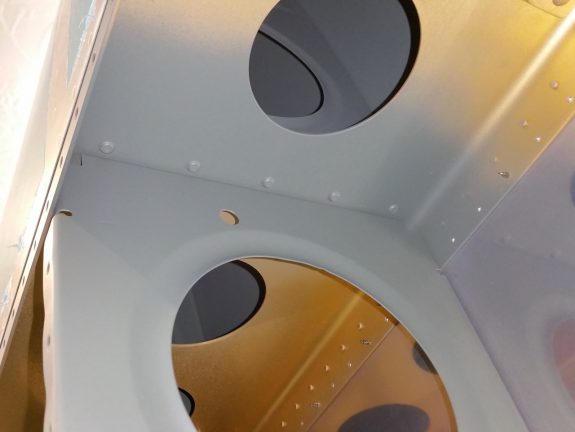
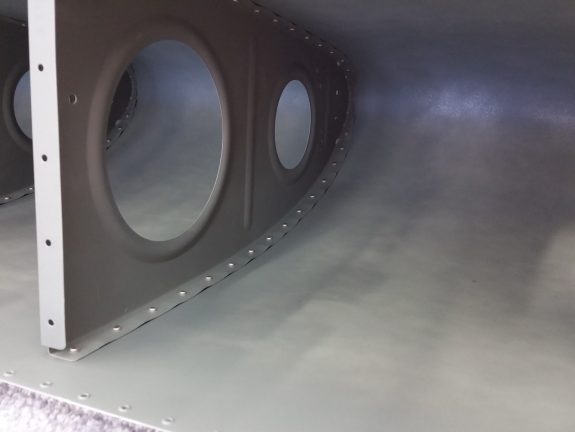
Once the primer was dry, I hung the parts on the wing and then rechecked the assembly for square. I kinda dig that olive green color on the inside. I sure hope it’s worth all the work/weigh (though minor) in the end.

Left top skins hung for riveting

Next up will be the final riveting.

Categories: Major Wing Sections

Left Wing Skin Scarfed, Dimpled, Test Hung

June 15th, 2016 No comments

Left top outer skin dimpled

After the excellent build day last Saturday, I wanted to continue the pace. So today I set out to prep the top skins as much as I could. I deburred the already match drilled holes and then grabbed my daughter to assist holding the large skins while I hit each with the dimple dies. She actually said she enjoyed helping and talking (and talking 😉 ).

Left top inner skin dimpled

We repeated the process on the inboard top skin. I could really feel the difference in the skins due to the thickness.

Left top scarf joint

Since it was a weeknight, time was short, so I ended with completing the scarf joint where the leading edges of the skins overlap. I’ve heard where some got after this too aggressively and had to replace skins. Mine may keep my finished airplane from being an award winner, but the overlap looked pretty good with the tank on, providing a pretty good flush transition, so I called it good. I then finished the last few dimples (as I didn’t dimple the overlap at the corners until the scarf was done). At this point, the skins can be primed and riveted on.

Categories: Major Wing Sections

Left Leading Edge Riveting and Landing Light Done, Skeleton Dimpled

June 11th, 2016 No comments

Leading edge riveting complete

Saturdays are always a good day in the shop. Both therapeutic and productive. I set out with the goal of knocking out a ton of work. Started the morning by riveting all the ribs to the skin. I actually enjoyed the solo riveting. Only had to drill out two. The swivel head flush set and tungsten bucking bar make setting AD3’s a breeze. You do have to be very careful not to drop the tungsten bar, is it will dent anything it hits with very little effort. Lay a foam pad or something thick and soft below where you are riveting just in case. I fortunately had no drops…but I have heard of others not being as lucky.
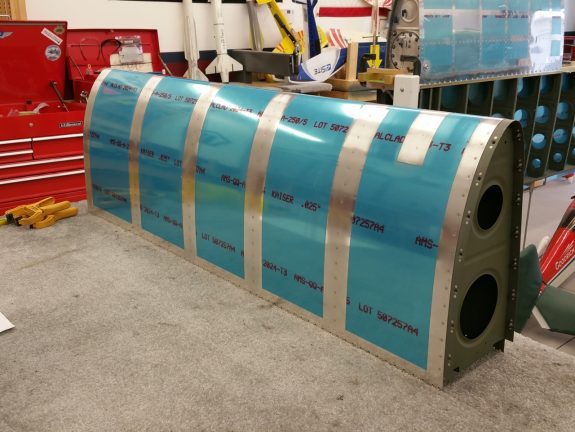
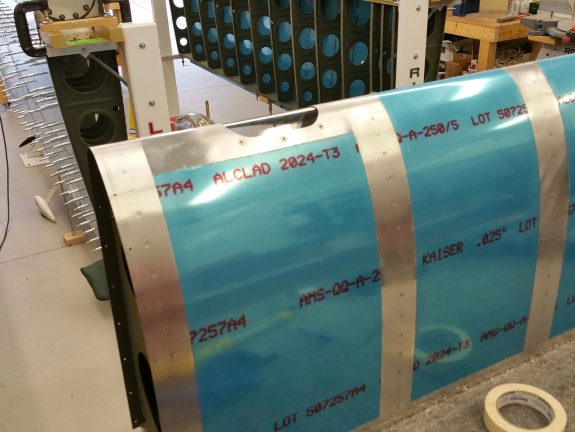
Left leading edge riveted

Here is a good shot of the leading edge out of the cradle post completing the ribs. I’ve heard others say that the Wings are fun because you really get the sense of building something big as you complete sections. I agree.
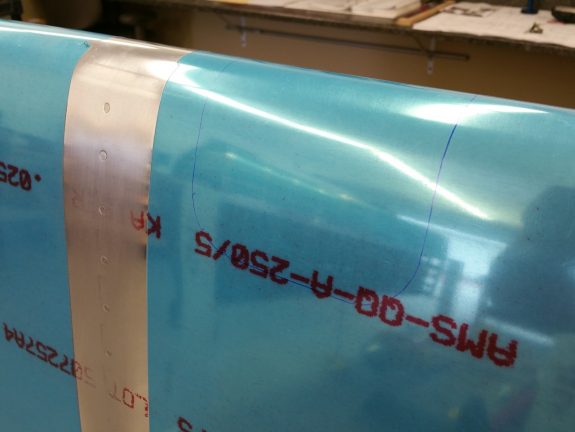
Marking the left leading edge for scary cut out

Once all the riveting was done, I quickly set out to cut a big hole in it. I was surprised how much mental effort it took to convince myself to start drilling and cutting. After all, I had just completed the assembly to near perfection in my mind. No matter, I committed.

I first marked locations to use my step bit and get 3/4″ to 1″ holes near the corners. From there I used a Dremmel and a cut off wheel to connect the holes as close to the template line as possible. From there it was simply a matter of filing to final shape. Take your time here and be patient. Once the hole was done to my satisfaction, I moved to marking, drilling, and dimpling the holes for the lens screws per the template.
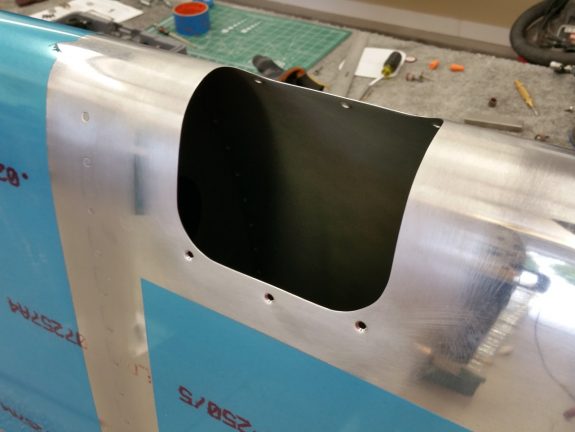
Left Duckworks cutout

Here you see the cutout complete and ready to accept the Plexi lens.
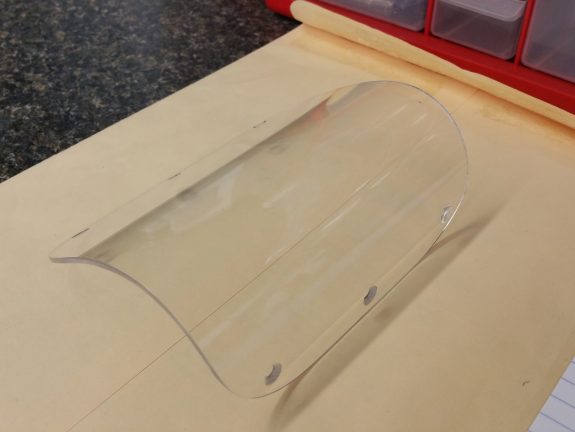
Duckworks lens cut, trimmed, polished, and countersunk

The Duckworks lens is a bit of fun, work, and scare. Unless you have worked with Plexiglas before, it can bite you fast. Fortunately, I did a bit of Plexiglas work in High School years ago, and I remembered how finicky it can be. First, take your time. Remove ALL nicks and burrs on the edges. Drill very slow and polish the edges to a near clear appearance. Make sure you mask the edge before you polish…or you will ruin the field of the lens in a heartbeat. All holes must be deburred or you will crack it.

The above shows the lens after all the work to trim the raw (but properly molded leading edge shape).
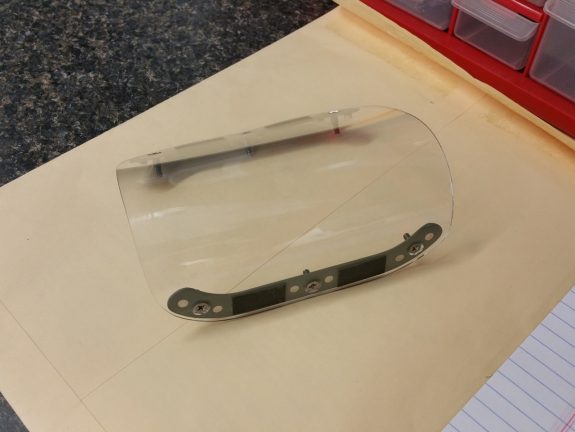
Duckworks lens assembly complete

Here is the lens after attaching the doublers with platenuts.

Duckworks light kit – bottom view

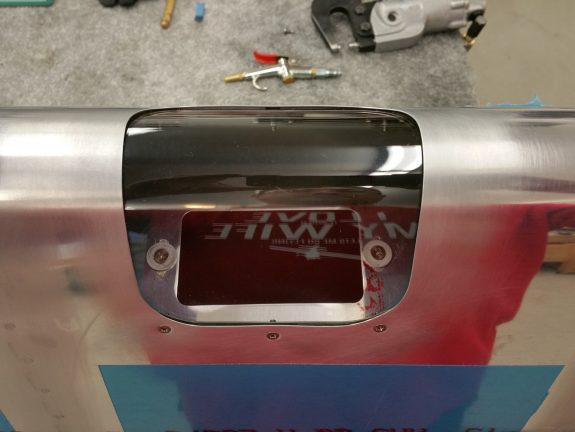
After all the Duckworks kit work, it was time to see if the lens fit. It appears to fit nicely and as tight as one can get it with the gasket they provide.
Duckworks light kit – top view
 

Duckworks lens and light holder
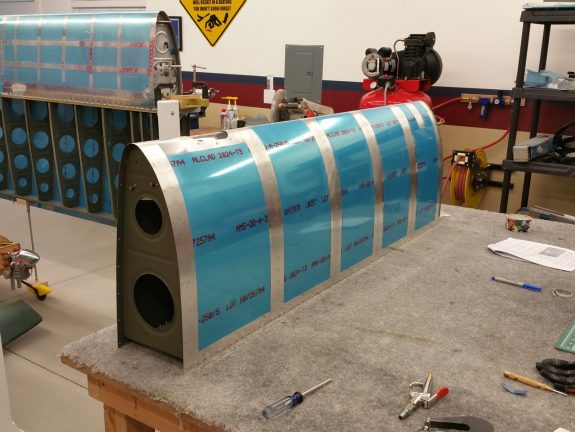
 

Left leading edge after Duckworks light kit was completed
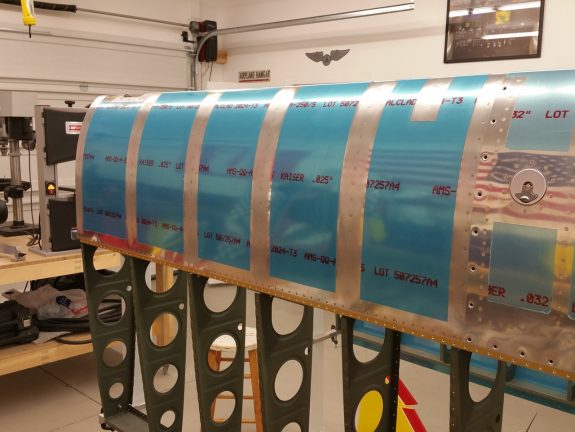
 

Left leading edge riveted to spar – top view

Since I was clipping along for the day, I figured I’d test fit the leading edge to the spar. Looked good, so I set out to rivet it on with the pneumatic squeezer. This made quick work of both the top and bottom rows.
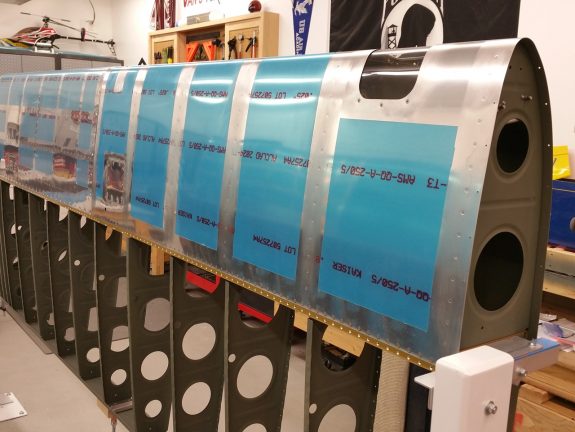
Left leading edge riveted to spar – bottom view

What a great sight. No clecos on the entire leading edge of one wing.
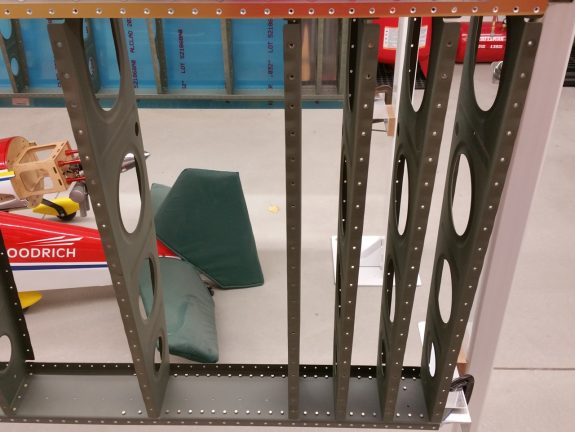
That’s a lot of dimples

I was getting late, but I wanted to get a couple more items done if I could. So I set out to dimple the entire substructure of the left wing. I cannot imagine what my neighbors thought was going on at 2200 hours each time that squeezer slapped those dies crisply together. Rang like a bell. Fortunately, the shop is well insulated, so hopefully, they didn’t even know. After an hour of that however, all I heard was a distinctive “Thwang” ringing.

Once dimpled, I went to do as the instructions said and cleaned out the rear spar holes with a couple of light turns with a deburring bit. This insures that the skin dimples will sit nicely in them. I think it helps solve the “ski-jump” problem that I’ve read about on VAF, as well as compensate for the fact you are dimpling a much thicker piece of metal.
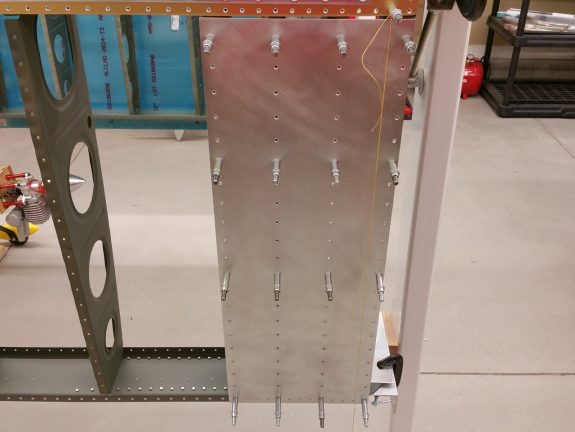
Left wing walk doubler dimpled

Ever get in a groove and just want to keep going? It was 2330 and I was in one. So I dimpled the wing walk doubler, prepped it for primer, then mounted it. Fit like a glove.

Today was a good 16+ hour day in the shop. At this point it was time to call it good for the week.

Categories: Major Wing Sections

Left Leading Edge Parts Primed and Riveting Begins

June 9th, 2016 No comments

Platenut locations for leading edge light kit

After calling it a late night yesterday, I went into the shop and realized I had forgotten to prep the outboard ribs for the platenuts needed to do the Duckworks light kit I planned to install. I made quick work of making up my template for hole locations and went to marking, drilling, and dimpling the holes as needed. Once complete, I primed all the ribs and skin.

Stall warning access doubler riveted

After letting the primer dry enough, I set out to rivet in the doubler for the stall warner to the skin. Easy job with the pneumatic squeezer.

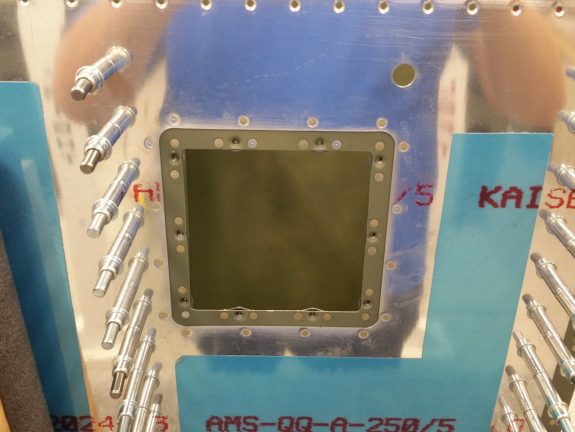
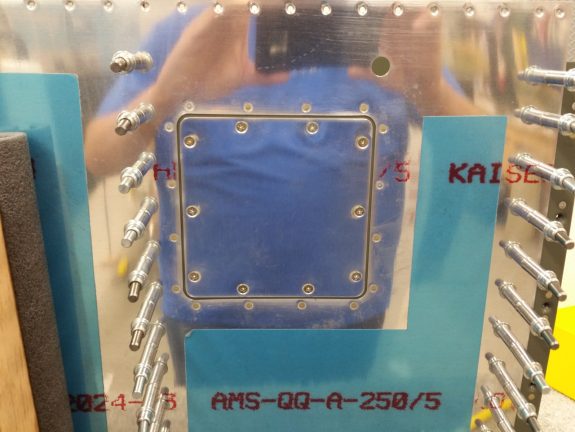
Stall warning access hatch complete

Figured I’d just install the plate too.

Left leading edge primed and ready for riveting

Time was running short for the night, so I quickly assembled and cleco’d all the ribs and skin together in the cradle. It’s now ready to rivet. It’s fun to see all the parts come together for the last time. It’s even more fun to remove clecos knowing you’ll never be putting one back in those holes again.

Categories: Major Wing Sections