Right Tank Installed and Top Skins Fit for Final Riveting
Right tank mounted after testing LEAK FREE and top skins mounted for final riveting
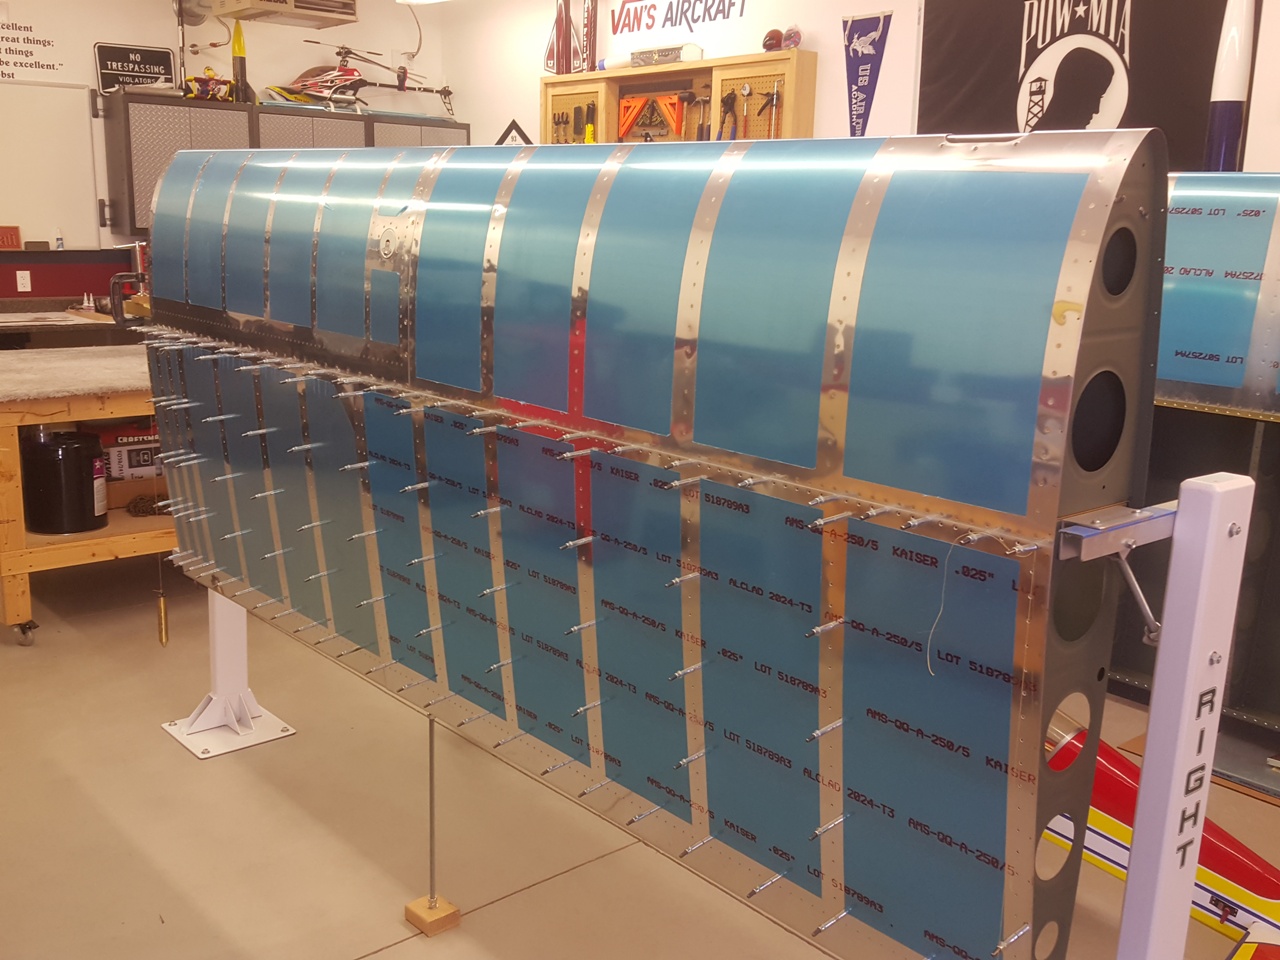
A few weeks ago, I was able to finally pressure test the right tank for leaks. While it didn’t go as smoothly as the left, it still came out very positive. I had also previously primed the dimpled right top skins and they were getting in the way on the bench. So after taking care of some chores this morning, I determined to get some loose ends tied up and be ready to rivet the top skins on soon.
I first had to rivet the remaining leading edge rib to spar interfaces. Since I am largely doing this project solo, I resorted to using Cherry Max rivets for the two most central ribs. This left the two inboard and two outboard ribs to finish. I am not a fan of the offset rivet set that’s required nor the contortions to hold the bucking bar…but I got it done. It took more time than I first anticipated, and my body reminded me of its limits, but each was set, and set OK.
Once that was done, I went about installing the right tank to the wing. There’s something VERY gratifying about installing that big of a part to an assembly. I torqued the bolts appropriately and then also double checked the left tank bolts (it’s been a while…so it was prudent). I reached into the tool cabinet for some torque seal/mark, only to find that all my tubes had dried out. I really need to work more consistently on this project. I’ll place an order for some more and mark each of these bolts.
Once mounted, it was time to reinstall the primed top skins in place and ready them for riveting. I will be double checking for twist, and then one of my kiddos and I will go to it. Can’t wait to move on again. The poor fuselage kit is aching to be worked on.


