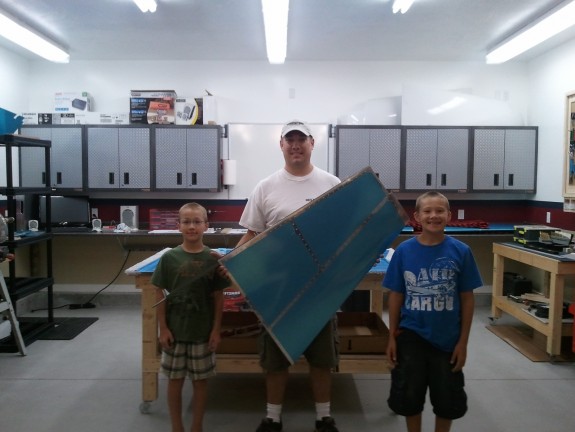
Another Crew Shot
After getting the lawn mowed, and making a final dump run to get rid of all the larger junk laying around, it was time to get started again on the plane.
Not too many pictures taken today. Too busy working. Had a visit from my other son, Alex (9). He is my reader and my very verbally curious helper. “Dad, why this, why that, how come you…” He stuck around to help hold the VS as I was bucking the rivets on the front spar and the ribs. It was fun to see him get into the process. Asking why Van’s did what they did. It was equally nice to see his nose out of a book. I know, that sounds strange, but it is true.
I got the field rivets bucked and then clecoed on the rear spar. As before, everything just lined up. I was able to use the squeezer for most of the spar and end ribs. The exception was a few rivets near the center hinge brackets. The rivets on the skin/spar are just too close to the brackets for the squeezer flush sets to get in there. The other exceptions were the ribs in the nose of the tip rib. Fortunately, my tungsten bucking bar was just small enough to get in there and get them bucked. There are other methods for doing these and some use blind rivets, but I had success with my bar and gun. Finally, you use 3 blind rivets to nail the center rib in place on the spar. VS DONE!
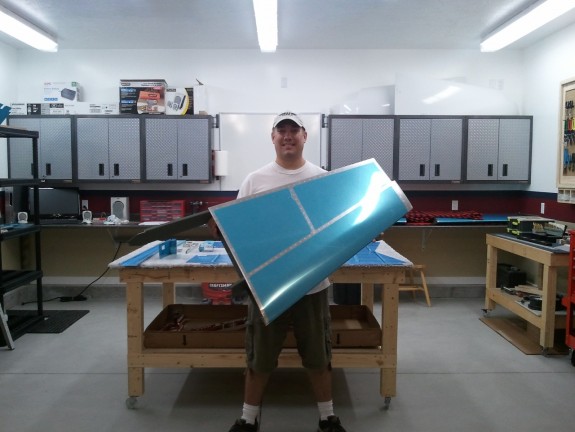
Another Assembly Down!
Had to take some more shots. (These are required…right?)
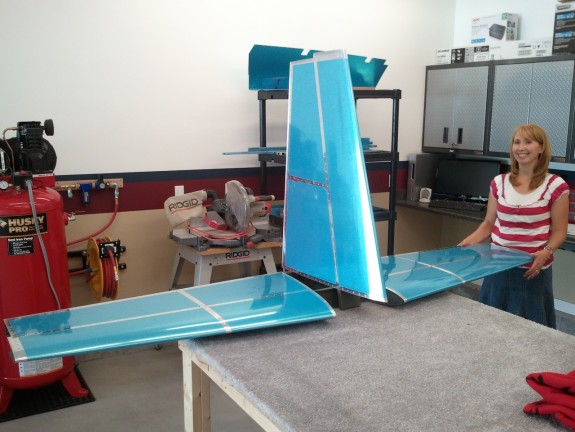
It's True Folks, I AM Building a Real Plane
I love showing off my progress to my lovely wife. She is a VERY busy gal with our kids, me, and church responsibilities, so shop visits are fun. While I had her in the shop I set up the HS and VS in near relative position and took this shot. I love how it shows the actual scale of the empennage as well as evidence that she is smiling while being in the presence of the project. Gotcha dear!
After the last couple of days of real progress, I was anxious to get home from work, kiss the wife hello, and get to the shop to prime the VS parts. It was a beautiful day with a little wind, but I was able to get my priming tables setup on a tarp and get the parts started. I really like the Duplicolor Self Etching. It seems durable and the color is great. Additionally, it is dry and ready in a hurry. I was able to get a good coat on both sides of the parts with much less overspray than the HS parts took on my new primer tables (Details to be in the Shop discussion soon). It may have been a little warm and windy for the paint though…seemed to dry almost too fast at times (like before it hit the part). Once it was all dry, I lightly schotchbrited the coat of primer to knock down the fuzz that the drying left. Smooth and even all over.
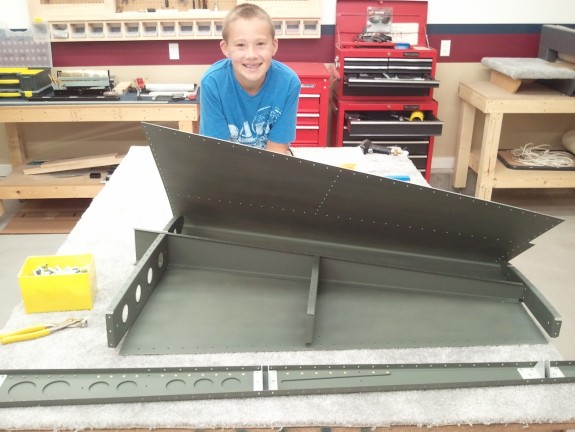
Primed and Ready for Assembly
Every so often, my build crew would sneak in and out of the shop. Sometimes to watch, sometimes to ask, sometimes to help. Meet Taylor, the grin in the photo. He is my eldest son at age 10, nearly 11. He has always been my curious but quiet observer. When he was born, we were remodeling a 1926 house in Salt Lake proper. As I look through all the progress photos we took it was fun to seem him in diapers, always with a tool in his hand, trying to help. Great kid. When he heard that I wanted to build a plane, his eyes lit up and he was instantly on board. He was a big help with the shop construction as well. He help set the trusses, set shingles, and general gopher. He loves to just watch and learn. The speed he seems to picks stuff up is amazing.

Primer Dry, Spar Riveted
Later in the evening after eating some dinner, I checked the primer and it was good and dry…so I decided to get a jump on the work for tomorrow. I riveted the skeleton together and then went full speed on the spar. I just love the gold rivets against that green color. Just looks cool. I was able to squeeze most of the rivets with the pneumatic squeezer. That tool is worth every penny. Speed and accuracy is great. I started with the flush rivets at the bottom and then quickly knocked out the AN470’s. Got the hing brackets on and figured I could nearly call it a day.
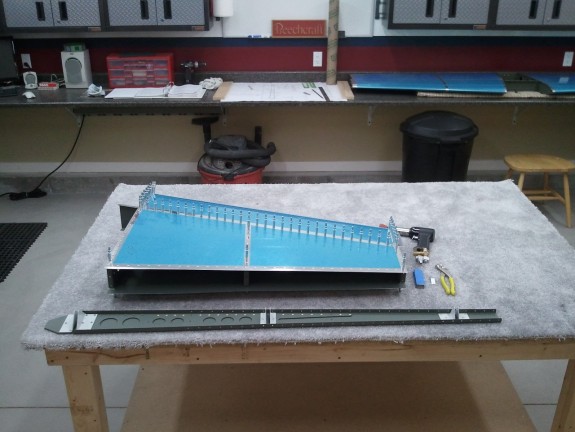
Last Task for the Night
I was feeling like I was on a roll…so I figured, one more task and then I will call it a night. I clecoed on the skin again for the last time. I then got all the tools out and on the bench and readied them for use in the morning. It is really rewarding to step back at an assembly and see a plane part coming together. So, that finishes the Friday night progress. Time to get to bed and ready for the finish work tomorrow.
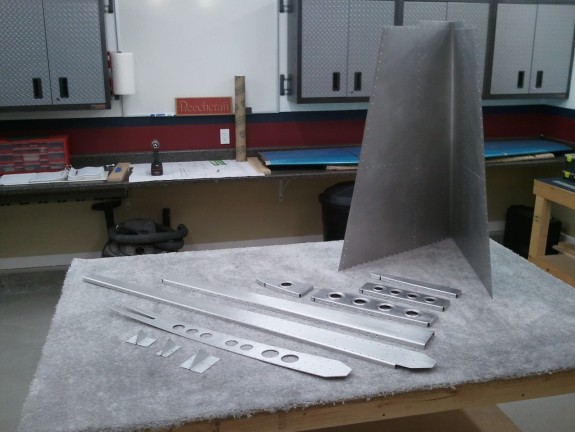
Prepped Today, Prime Tomorrow
Today was another productive day. I was able to get the VS-808PP Doubler cleaned up, deburred, and countersunk. Cleaning the lightening holes was a challenge at first. Then I simply grabbed my Dremel and a sanding drum and was able to get the punch/shear marks cleaned up. The other challenge was the V notch, so I have some fine toothed rounded files that seemed to fit the bill. After that was done, I was able to dimple all the ribs and spars. Had to pull out the pop rivet dies to get to the nose holes on the VS-706 rib and the VS-801PP skin.
The VS-808PP Doubler prep took most of the evening, but it looks like a real airplane part. Last thing was to scuff all the parts including the inside of the skin. I hope to have good weather tomorrow after work. If so, then priming all the parts will be done and drying overnight. Then I can have a solid Saturday assembling the VS for good.
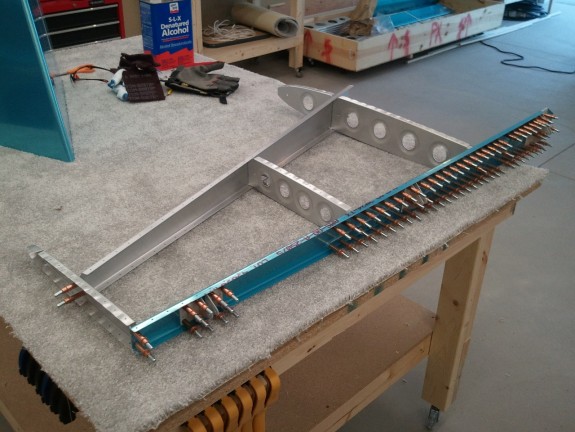
Skeleton Assembled
So after not being able to work on the bird for some time for one reason or another, I was able to get some work done tonight. With the two boys clearly entertained with the work I was doing and the Princess entertaining herself in the back yard, we set out to get some real work going on the VS. I had done a good amount of the rear spar done already so it was time to get the skeleton together and prep it for the skin. So as you see here, I got the skeleton cleco’d together after fluting the ribs and deburring the edges of all the parts less the rear spar parts. Still amazes me how precise this kit is. Everything goes together perfectly aligned.
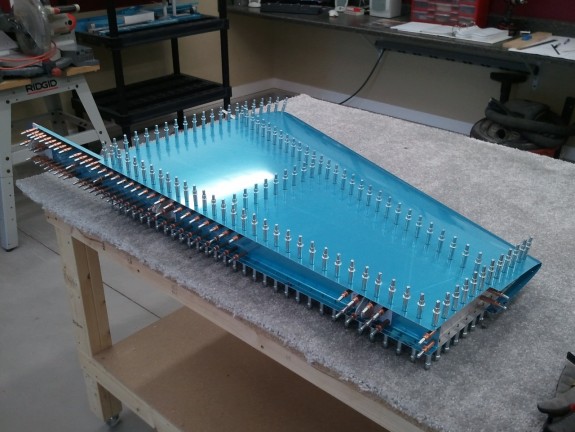
Skinned
After getting the skeleton together, it was time for the skin. Went on with no issues. The .032″ thickness is clearly sturdy. Once on, I match drilled all the holes, removed the skin, removed the vinyl from the rivet lines, dressed the edges, and deburred all the holes. Figured, I was on a role, so I dimpled the skin over on the DRDT-2. I was able to get to all the holes except the first 2 leading edge holes on the upper row. I will hit those with my pop rivet dies later. All that is left is for me to do before the skin can be primed is to scuff the inside. All in all, some good work for one night.
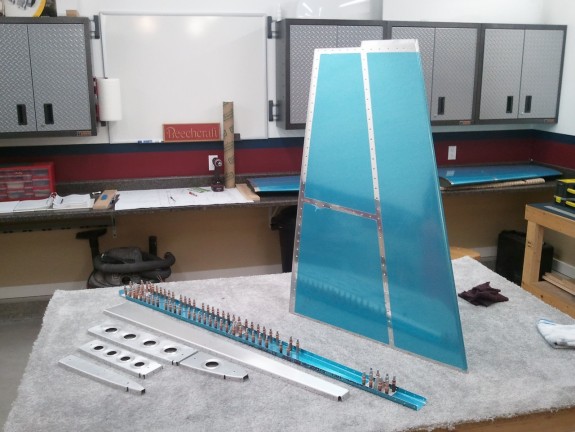
Skeleton Ready for Dimpling
So it’s quitting time tonight. Just need to dimple the skeleton, debur the edges of the rear spar and dress the edges of the doubler and all the holes. Then some primer and I can get riveting this assembly together. It was great to get back at it.
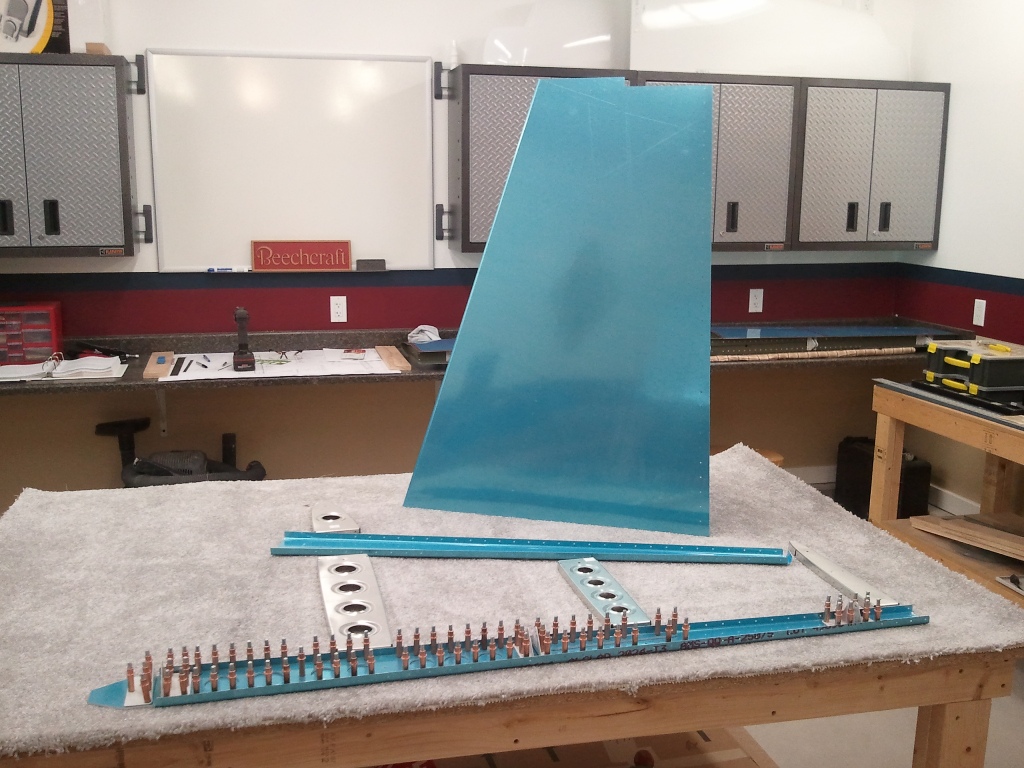
Vertical Stabilizer Parts Prep
Started the Vertical Stabilizer today. Nothing real special to report. Matched drilled the stiffener to the aft spar, added the hinge brackets, and cleco’d the skeleton together to show the wife. Not sure why Van’s does not have you start with the VS. Seems to me, fewer parts, more consistent hole sizes to drill and would give a good intro before tackling the HS. I undid the clecoes on the VS skeleton and need to flute the ribs. I will then debur all the parts and then reassemble to match drill the skin.


