Fuselage Kit Arrives!
Fuselage Kit Arrives!
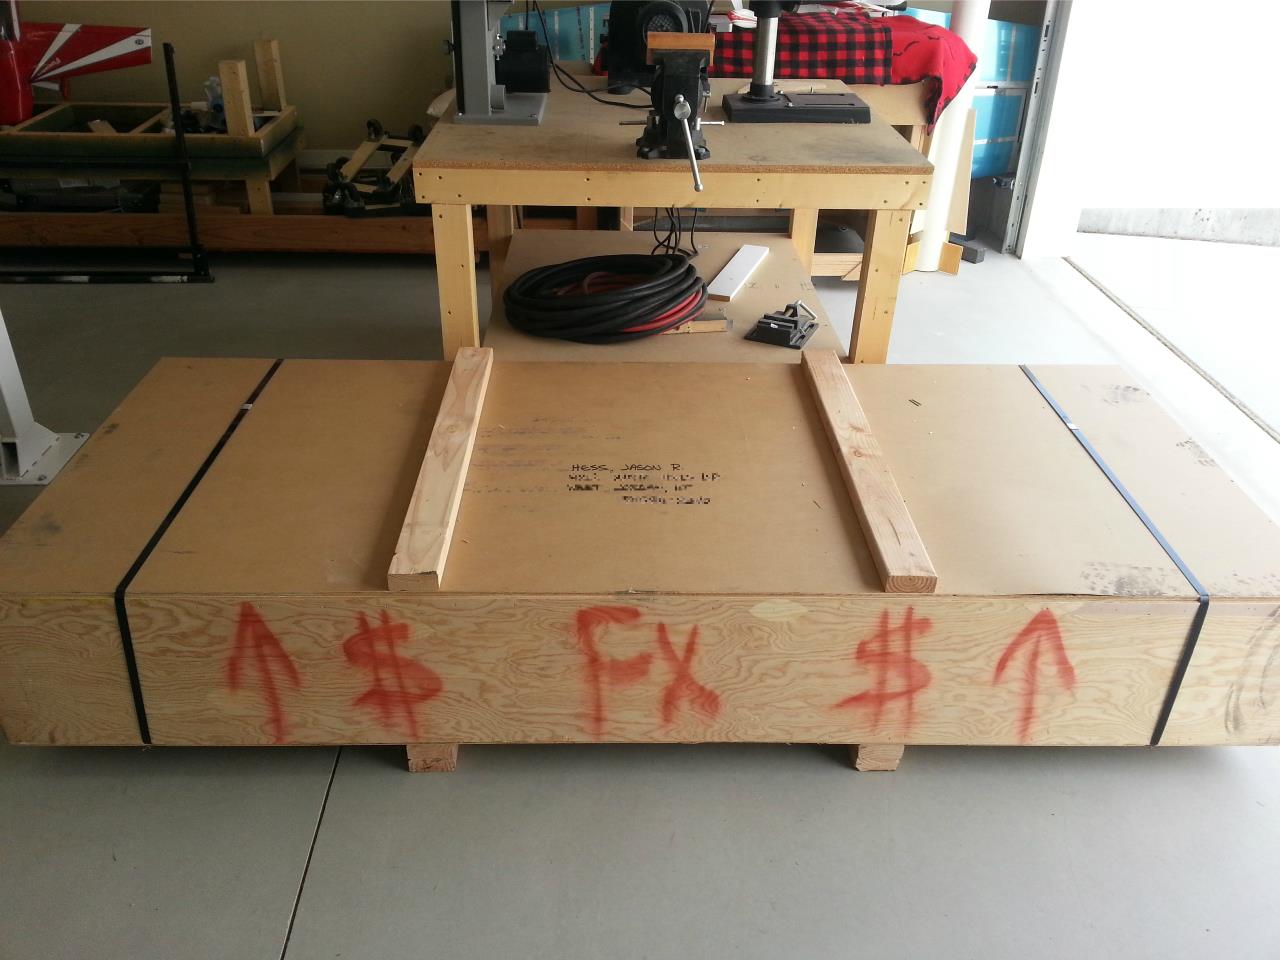
Today was like a late Christmas for me. I ordered the fuselage kit back in early March to avoid the price increase that Van’s does every year. That and I needed something to be in the way so as to motivate me to work on getting the wings done. I didn’t take any pictures other than the above. I was apparently too excited watching FedEx Freight unloading it from the truck to take any others. Speaking of FedEx Freight, Anne at Van’s does a killer job of negotiating the shipping down. I could not believe the low cost of this shipment. That, and FedEx delivered to my house, with a lift gate, rolled to my shop on a fork lift dolly, to where it sits in the this picture. Quality service.
I chose to modify the kit some. I deleted all the parts related to the brakes (WHAT?) as well as the stock fuel selector and upgraded both to much nicer hardware. Other than that, it was a pretty vanilla order.
Tell us about the upgrades you say? OK.
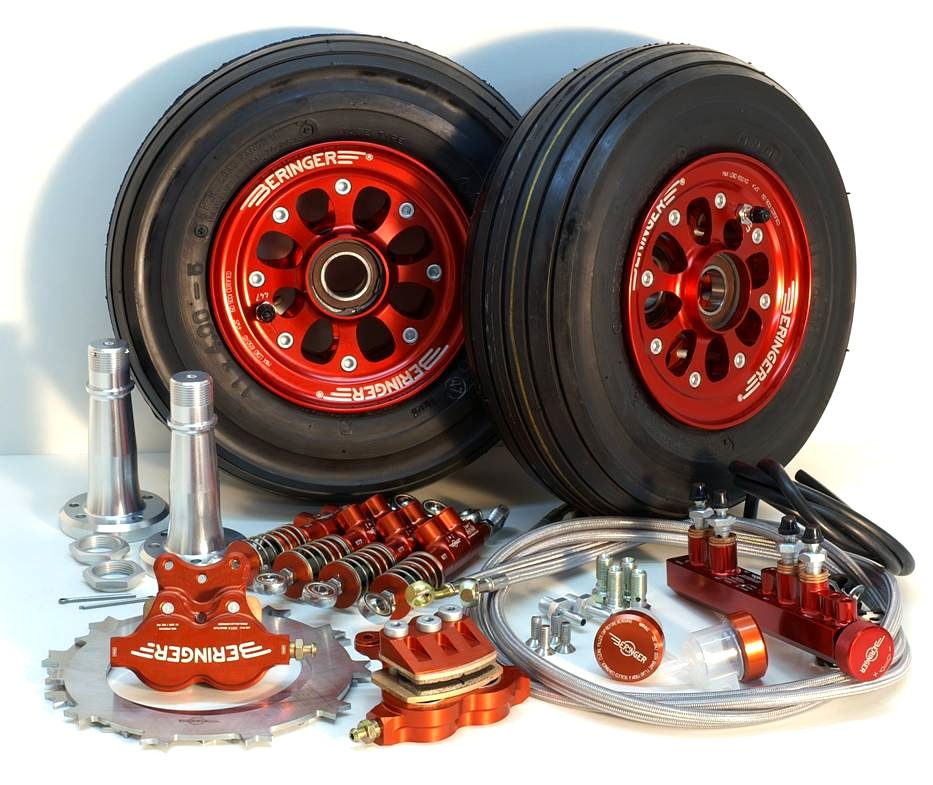
I chose to go with a nicer option for the brakes/tires/wheels, than Van’s offers. While the stock would work, after owning my own plane, I always look to where I can get the most enjoyment from the least amount of maintenance. My Beech has been a joy in that respect, but has had its share of troubles. The upgrade I chose to take advantage of is an offering from Beringer Aero.
Beringer Aero Art
Beringer has been around for some time in the Indy and Motorcycle racing world and makes some seriously NICE hardware. They are somewhat new to the Aero side of things, but they entered with a very nice offering. Basically, you get a full pedal to tire kit from them that has everything you need to effectively stop and roll. Incidentally, they recently were picked up by Cirrus Aircraft as OEM for their new Gen 5 aircraft. Others are also coming on-line using Beringer as stock as well. To encourage more RV implementation, they recently offered (January time frame) the full kit at a 30% discount to the kit purchased by an EAA chapter member. I checked to see if any Chapter 23 members here in Salt Lake City had purchased a kit already, and was pleased to find out I would be number 1, and was even more pleased to hear they would still honor the discount in March. Even at 30% off, it was still a sizable upgrade. I hope that the advantages pay dividends. Let me explain a few of those advantages.
- The whole kit is lighter than stock (good to save pounds anywhere you can).
- Easier maintenance with banjo type fittings.
- Nicer brake lines.
- The Anti-Skid regulator (provides better ground control, important in a tail dragger).
- Tubeless Tires.
- Sealed bearings.
- Smoother master cylinders.
- Most Important-They LOOK AWESOME!! (Too bad the wheels will be under wheel pants).

Beringer – Reservoir to Caliper – Art in Motion!
Small downside to the Beringer stuff is that they are from France. They are just getting a distribution network setup in the US, but stock is limited at the moment. I did have several items missing from my initial shipment, but they are quick and responsive at making it right. The above photo was one I took to show them I was missing some fittings, but it does a good job of showing how you get from the reservoirs to the calipers. I would hit them up soon if you want to get the same deal. They aren’t saying when it expires.
Basically, I had to delete all master cylinders/lines/reservoir included in the kit and add the parts for the co-pilot pedals. The rest (wheels/tires/brake calipers) I will need to delete from the Finish Kit when I go to order it.
The next upgrade I made was to the fuel selector valve. The stock one is actually a brass valve you can find in your local hardware department…really. It works, but…
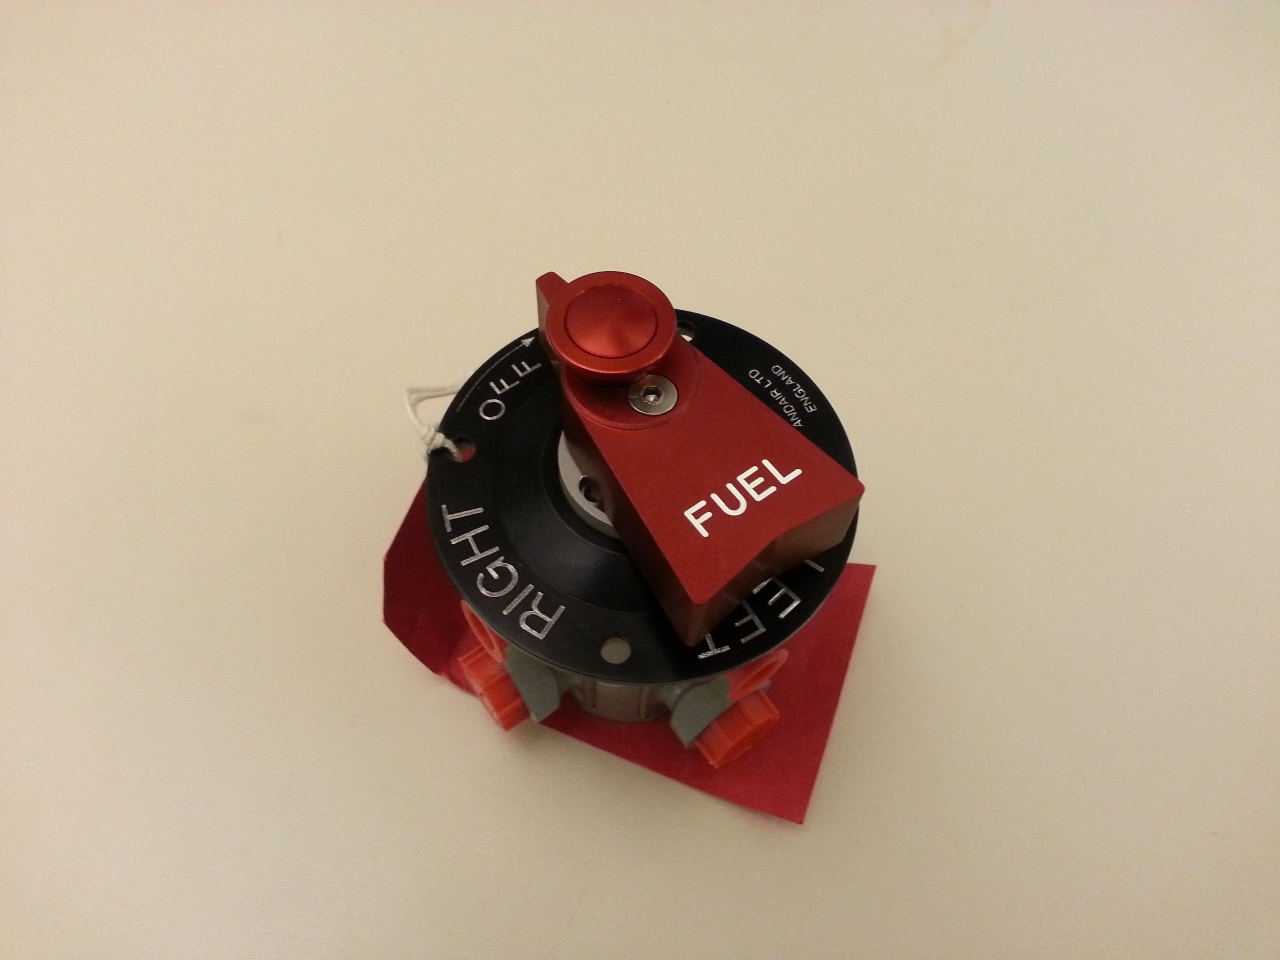
More Art with Metal
This one is made by Andair Ltd. This valve is also a duplex valve. I am not sure at this point what engine/injection system I am going to use. Some use a return line, and some don’t. The other consideration is, that who knows what is coming down the line by the time I do have a need for an engine. Rather than guess…I decided when starting my fuel tanks, that I would put in provisions for a return line…just in case. To continue this into the cockpit, I chose to swap the fuel valve for one that could continue the return line provisions all the way to the firewall. if I end up using it, it will be there. If I don’t, I can simply cap the lines off.
The form and function of this valve is very nice and very smooth. I really like the safety enhancement as well as you cannot accidentally switch this valve to off. You will pay a little premium for it.
Each crate I open from Van’s, I am amazed at how they get it all in such a small space. This one was no exception. It must take a spacial awareness unlike any other to figure it out. There was even space left after it was all said and done. Trouble is, once you take it all out to inventory, there is no way you are able to get it back in. The crate now is holding the large skins. The rest is now all over the shop.
Where does that leave the project? Well…it’s definitely time to get the tanks and the wings done. However, I won’t be waiting for parts for some time. I hope before too long to be sitting in a canoe, next to my lovely wife, making airplane noises and imagining we are that much closer to flying off together to exotic locations.


