VS Final Assembly Complete!
After getting the lawn mowed, and making a final dump run to get rid of all the larger junk laying around, it was time to get started again on the plane.
Not too many pictures taken today. Too busy working. Had a visit from my other son, Alex (9). He is my reader and my very verbally curious helper. “Dad, why this, why that, how come you…” He stuck around to help hold the VS as I was bucking the rivets on the front spar and the ribs. It was fun to see him get into the process. Asking why Van’s did what they did. It was equally nice to see his nose out of a book. I know, that sounds strange, but it is true.
I got the field rivets bucked and then clecoed on the rear spar. As before, everything just lined up. I was able to use the squeezer for most of the spar and end ribs. The exception was a few rivets near the center hinge brackets. The rivets on the skin/spar are just too close to the brackets for the squeezer flush sets to get in there. The other exceptions were the ribs in the nose of the tip rib. Fortunately, my tungsten bucking bar was just small enough to get in there and get them bucked. There are other methods for doing these and some use blind rivets, but I had success with my bar and gun. Finally, you use 3 blind rivets to nail the center rib in place on the spar. VS DONE!
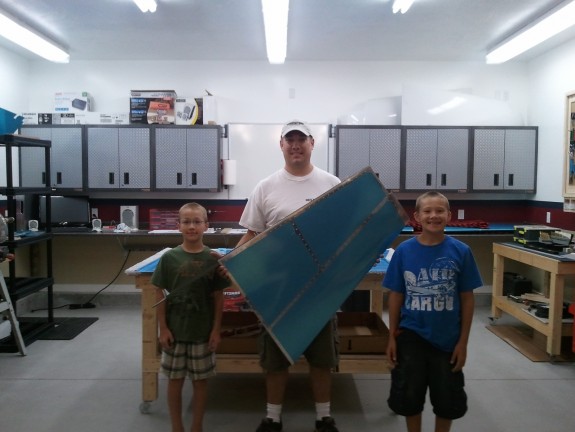
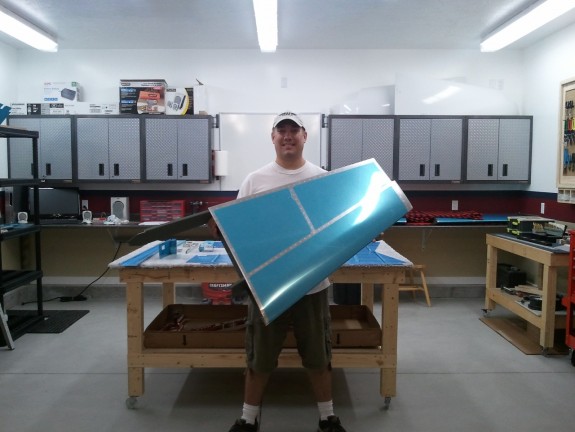
Had to take some more shots. (These are required…right?)
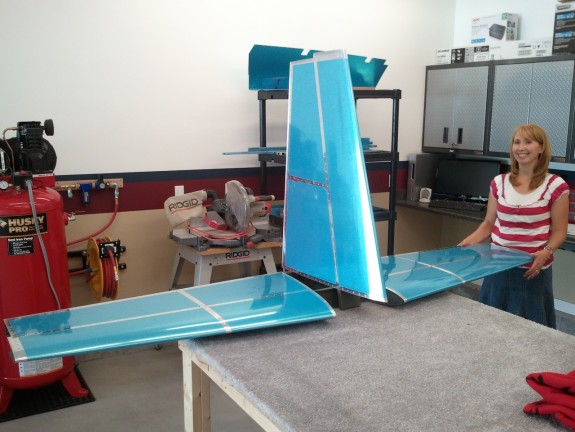
I love showing off my progress to my lovely wife. She is a VERY busy gal with our kids, me, and church responsibilities, so shop visits are fun. While I had her in the shop I set up the HS and VS in near relative position and took this shot. I love how it shows the actual scale of the empennage as well as evidence that she is smiling while being in the presence of the project. Gotcha dear!


