Vertical Stabilizer Work Resumes
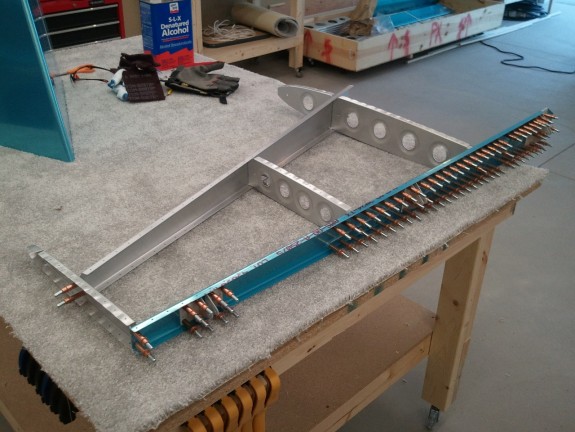
So after not being able to work on the bird for some time for one reason or another, I was able to get some work done tonight. With the two boys clearly entertained with the work I was doing and the Princess entertaining herself in the back yard, we set out to get some real work going on the VS. I had done a good amount of the rear spar done already so it was time to get the skeleton together and prep it for the skin. So as you see here, I got the skeleton cleco’d together after fluting the ribs and deburring the edges of all the parts less the rear spar parts. Still amazes me how precise this kit is. Everything goes together perfectly aligned.
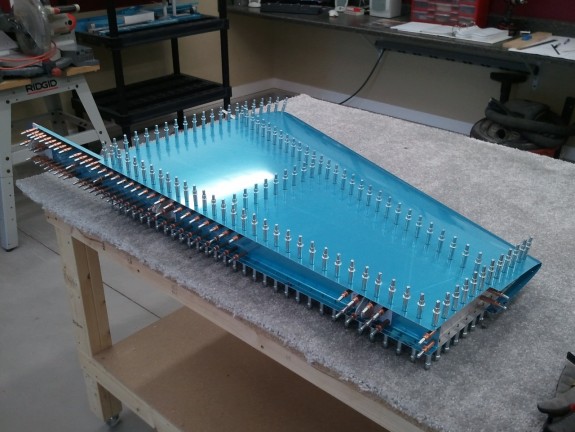
After getting the skeleton together, it was time for the skin. Went on with no issues. The .032″ thickness is clearly sturdy. Once on, I match drilled all the holes, removed the skin, removed the vinyl from the rivet lines, dressed the edges, and deburred all the holes. Figured, I was on a role, so I dimpled the skin over on the DRDT-2. I was able to get to all the holes except the first 2 leading edge holes on the upper row. I will hit those with my pop rivet dies later. All that is left is for me to do before the skin can be primed is to scuff the inside. All in all, some good work for one night.
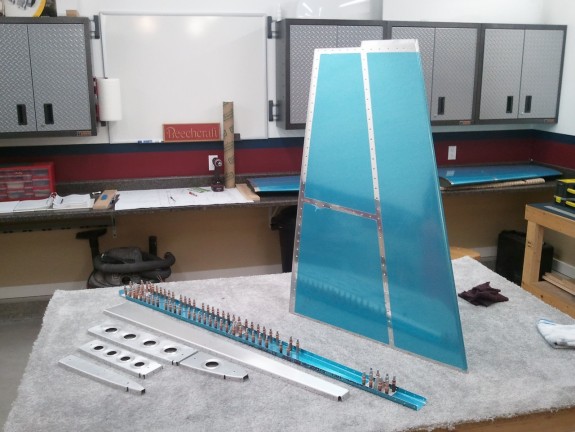
So it’s quitting time tonight. Just need to dimple the skeleton, debur the edges of the rear spar and dress the edges of the doubler and all the holes. Then some primer and I can get riveting this assembly together. It was great to get back at it.


