Left Top Skins Riveted
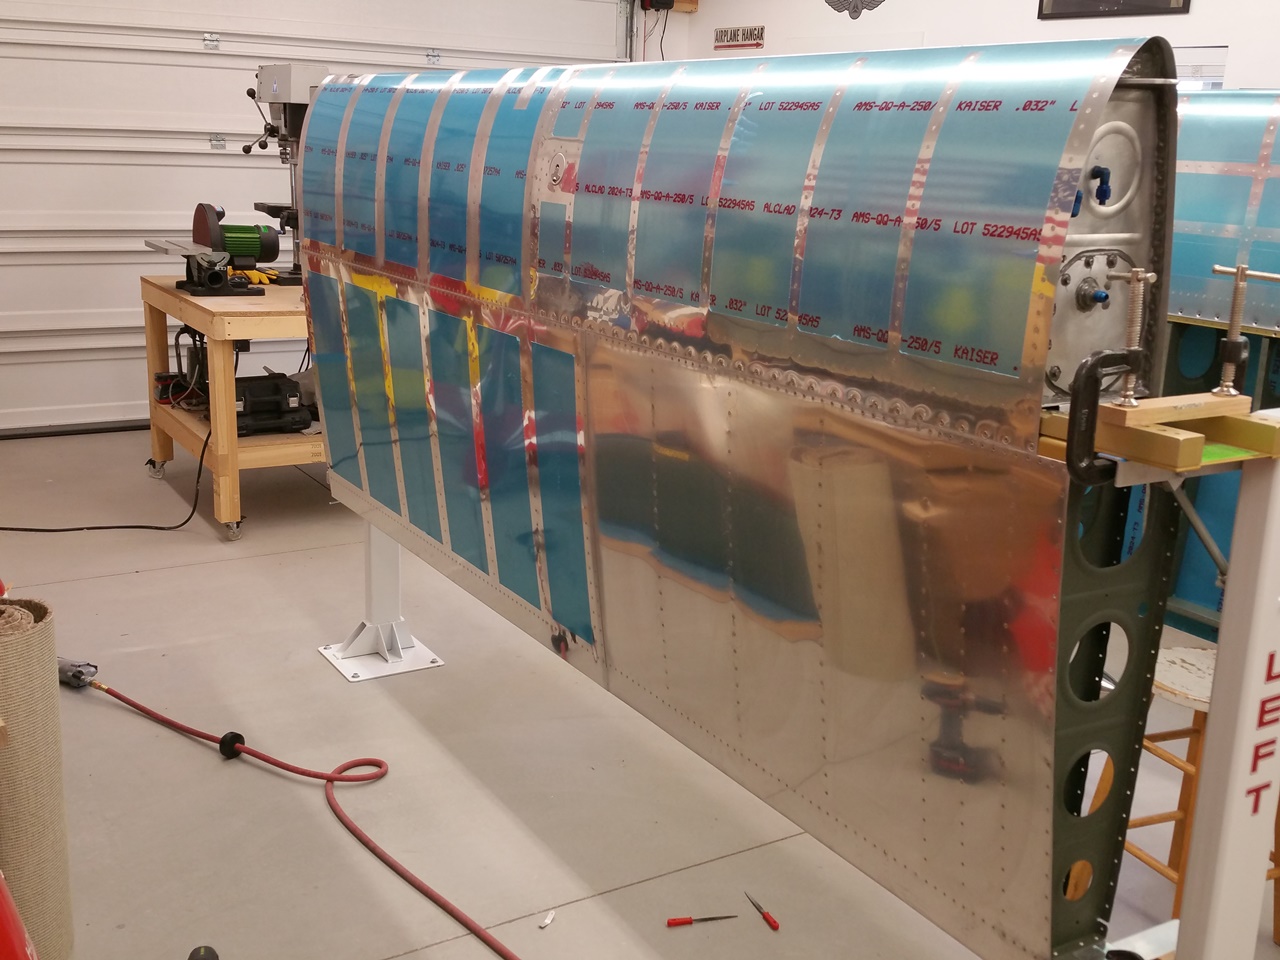
Left top skins RIVETED!
Took a couple of days off this week to spend time with the kids on summer break. Aka, snagged one and knocked out riveting the top skins on the left wing. Pretty straight forward process really. The spar to skin rivets we did traditional. I trained my eldest on how to give me bursts on the gun in various lengths. Per the manual, we started with the center rib and worked our way out and down. First completed the inboard skin, then the outboard. Took a day and a half. I stayed on the underside, and Taylor stayed on the top side.
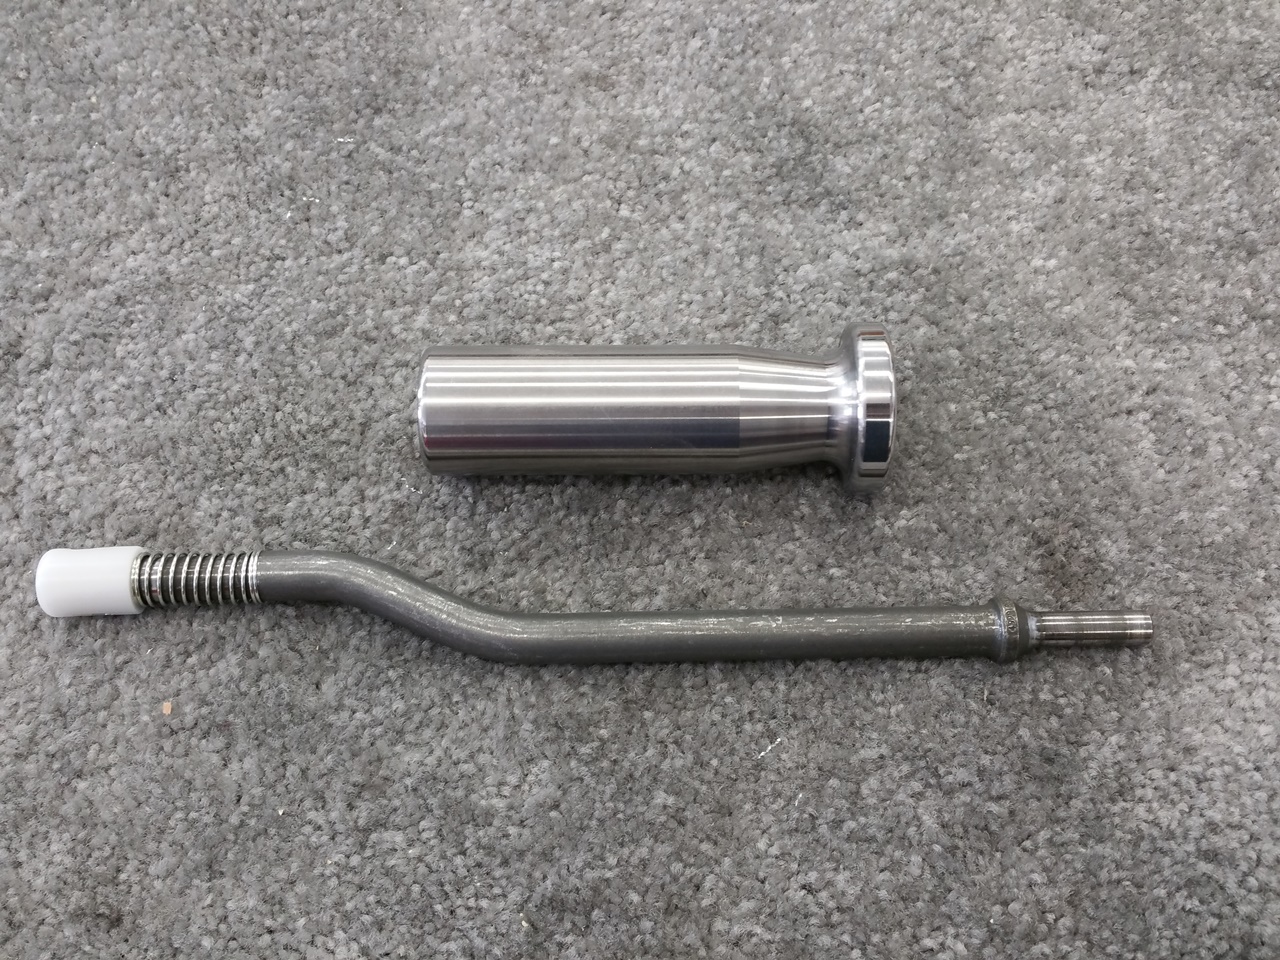
Top skin tools of success
Here were our friends for the task. Top is the Cleaveland Back Riveting Bucking Bar. While any bar “could” work, this one makes it pretty simple for an inexperienced buddy. It’s comfortable and simple to make sure is flush against the skin. Just below it is the 12″ Long Double Offset Back Rivet Set also from Cleaveland (actually Avery Tools). Now, here’s the tip of the day: Set your 3X gun to 80 psi when using this set. It sounds like a lot, but with all the mass you’re moving, it’s not like your short, straight back rivet set. As with anything, practice makes perfect, so practice.
As you can see from the top photo, the result we got on the skins was fantastic. We did have some to drill out when focus was lost momentarily, but overall, it went pretty smooth. It was a lot of rivets, but worth it.

Left bottom view post riveting top skins
Something about being able to stand back and look at something this big and not see any clecos in it. The manual says it is now ridged enough to remove from the stands. After taking off the lower C-clamps and seeing it not move at all, it’s definitely ridged.
Next up will be a total repeat on the right wing.


