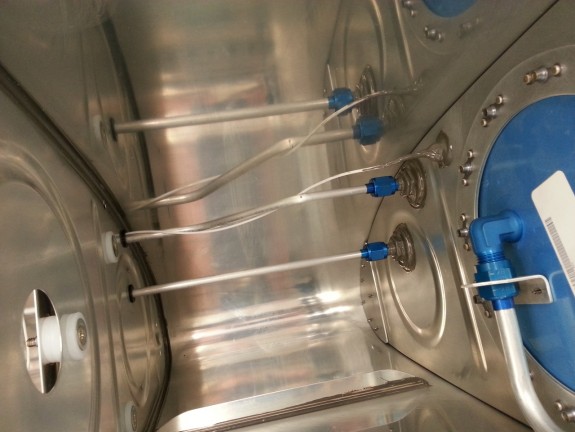
Left Tank Lines Complete, Senders Started
Had a couple of minutes…uh huh…to head to the shop tonight. Decided to fabricate the left tank vent line. It actually went pretty fast as I used the right line as a template. What I did forget to do was to slide the flare sleeve on to the tubing before I bent it. Seems a little out of order, but I had already flared the end before bending. DOH! So, I had to cut off the nice flare I had done and re-flare. Speaking of flares….
I read on a thread on VAF about flare size specs. I shouldn’t have. Turns out most of mine were too small in diameter. I had to wonder why, since my Rolo-Flare tool from Parker has a depth gauge. As it turns out, I was not clamping the tubing quite tight enough in the dies, and when I began the flare, it pushed the tubing back in the tool. This created flares way under spec. For 1/4″ tube the flare should be 0/35″ ± .01″. Mine were anywhere from 0.32″ – 0.33″. For more info, click the link for the thread. Needless to say, I redid all the flares already complete in the right tank. Fortunately, I have tubing cutter that allows me to get really close to the prior flares, so the tubing length loss was minimal on the right tank lines. Left tank lines are just right.
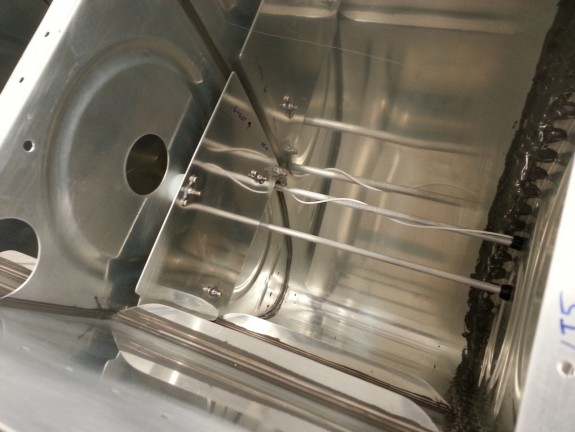
Once the tank lines were complete, I figured I would install (or at least test fit) the left tank Capacitive Fuel Sender plates to get ready to complete the interior component parts. Above you see the outboard plate in place and the wire run inboard to the other plate. Eventually, I will put dabs of sealant on the wire/line interface to hold it solid.
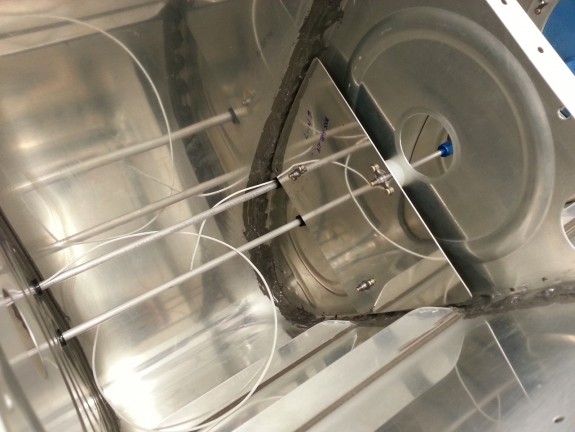
And here is the inboard plate, screwed into place. I need to measure and trim the wires and then crimp them into the ring terminals, screw them to the plate, and then seal the terminals/wires/screws. Once done, it will be time to seal and rivet the outboard and inboard most ribs. Moving along. Still praying for leak free tanks!


