Match Drilling the Rudder Skins
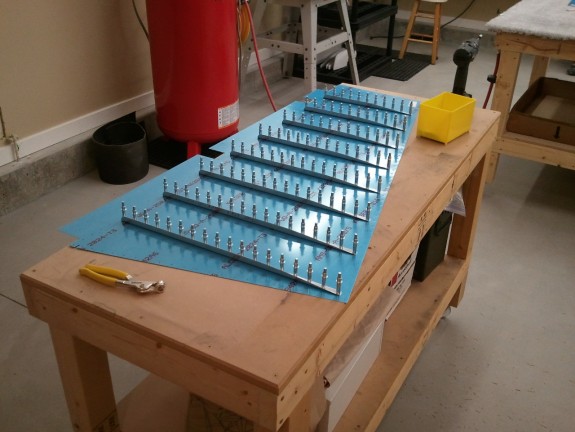
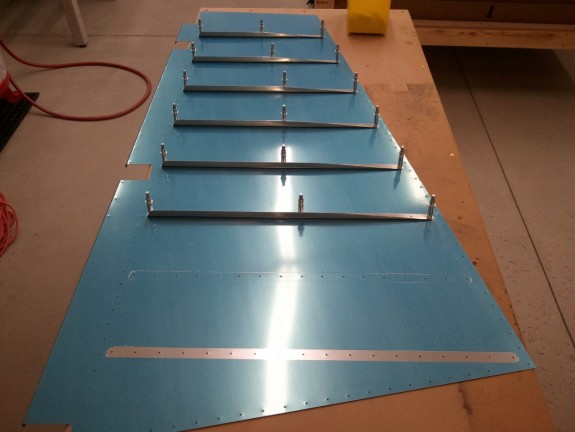
Once the kids were off to bed, I figured I could get at least one step in the build manual checked off. It calls for match drilling the skins and stiffeners together. Van’s has a tip in this step where if you have a table that you are willing to drill into, that match drilling can be made easier on these thin 0.016″ skins. I came up with a decent system that worked well.
- I laid the skin on the bench.
- I drilled the lower left hole in the skin only and clecoed it to the table.
- I smoothed the skin flat on the bench and then drilled the skin only in the upper right corner and clecoed it (thus anchoring the skin).
- I then would drill the skin only in the outer holes and another hole in the middle of that line of holes.
- I then clecoed on the stiffener using the 3 holes that we now in the bench.
- I drilled the holes through the stiffener and skin into the table adjacent to the holes used in step 5 and clecoed them down.
- I then removed the first 3 clecoes and completed match drilling the stiffeners to the skin and replaced the clecoes.
- I then match drilled each hole adjacent to a cleco and then clecoed them down to the table until all holes were drilled and clecoed.
- Repeat steps 4-8 in each stiffener until complete with all the stiffeners.
It sounds like a lot but it seemed to work like a charm and was fairly quick. I completed both skins within 30 minutes or so.
Once the skins/stiffeners were drilled, I thought about how I would remove the vinyl coating so I could then deburr and dimple the skins. I had an epiphany of sorts and thankfully it happened when I had not removed the stiffeners from the second skin. I was about to remove them when I remembered the EAA Video of Doug Kelly showing the hot soldering iron trick I have used in the past on the other skins.
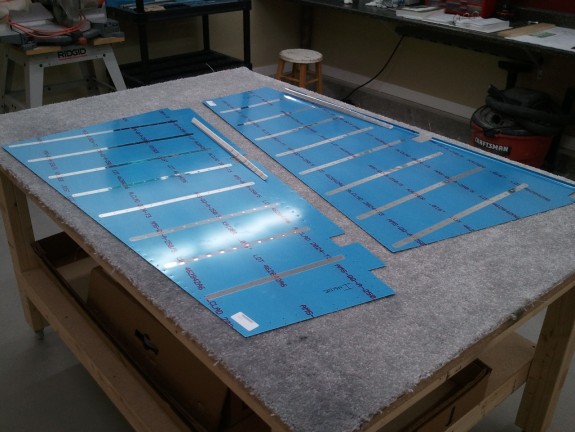
Here is what the end of the day left me with. With both sides sans vinyl over the rivet lines I can deburr, dimple, scuff, and prime the rivet lines. I can now do the same on the stiffeners. If all works out, I can be back riveting the stiffeners on Saturday!


