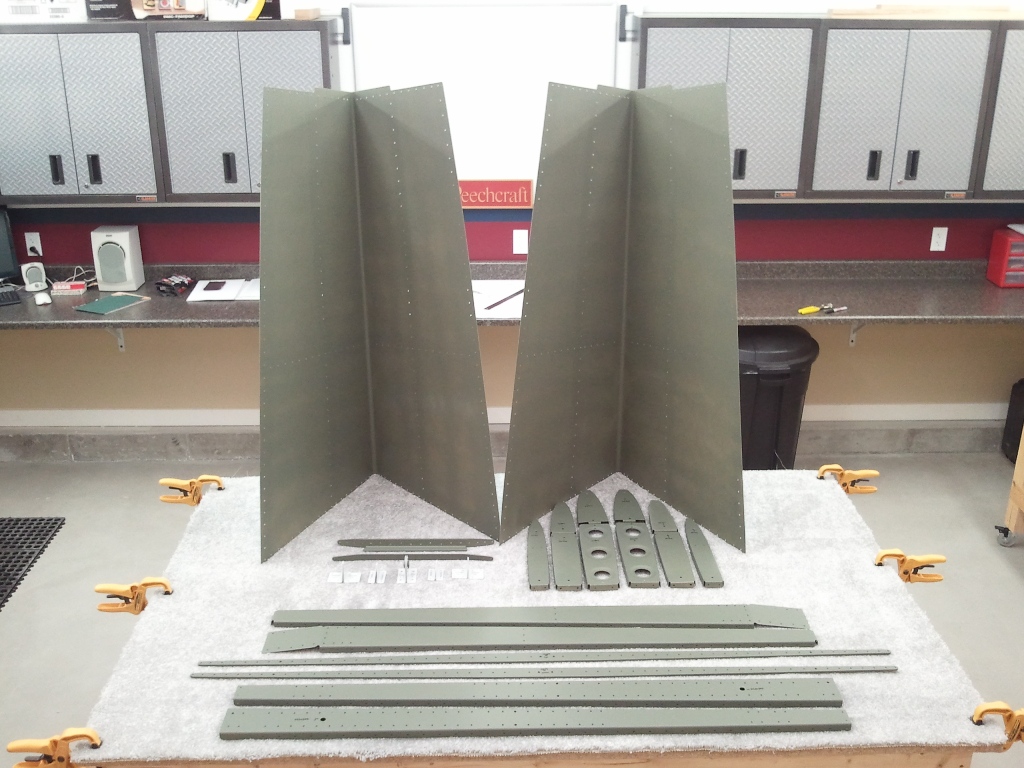
HS Parts Primed and Ready
Those around the RV world know the primer debate is a hot one. There are MANY general aviation aircraft in service that have been around a long time with no primer…but they were not hand crafted by the owner either.
I have chosen at this point to prime all the parts internal to the airframe. I know that currently I do not live near a salty coast or a highly wet climate…but that may change in the coarse of life. Of course at this point it feels like I do considering the very wet spring we have had lately. I do live near the Great Salt Lake, but again, it seems to evaporate and disappear rather than linger in the air. So the next decision is which primer to use.
I decided on the Dupli-Color Self Etching variety. I have had great success with it on other projects. It takes care of the etching and is very durable. The other bonus is that it comes in cheap spray cans. The other point is…I do like the color. Kind of a throw back to the old bombers of WWII. It also seems to get good reviews on VAF. The other rattle can variety that gets good reviews is the NAPA 7220 Self Etching. It is grey in color, but has the same durability.
Once all the edges/holes were deburred, I scuffed the parts with a maroon scotch bright pad. Good thing I have a local source as I am sure I am going to burn through these fast. I then cleaned all the parts with Denatured Alcohol and let dry. From that point on, I wore nitrile gloves so to keep any oils from the parts. Then I hung them from my overhead shelving racks in my garage and sprayed.
I did find one item of interest as I was spraying. It was my method of the hanging the parts. It seems that hanging them vertically is not very effective and results in a lot more over-spray. I think I may have sprayed more on the floor than on the parts. I think for the next round of parts, I will rig up a spray tray out of chicken wire or some other method of being able to set them horizontal so that I can better place the parts for maximum coverage and minimal waste.
Otherwise, they look great and are now ready for assembly. I will let them rest for a few days to simply make sure the paint is good and cured and then get to it. Those gold plated rivets will look really good against the green. 😀


