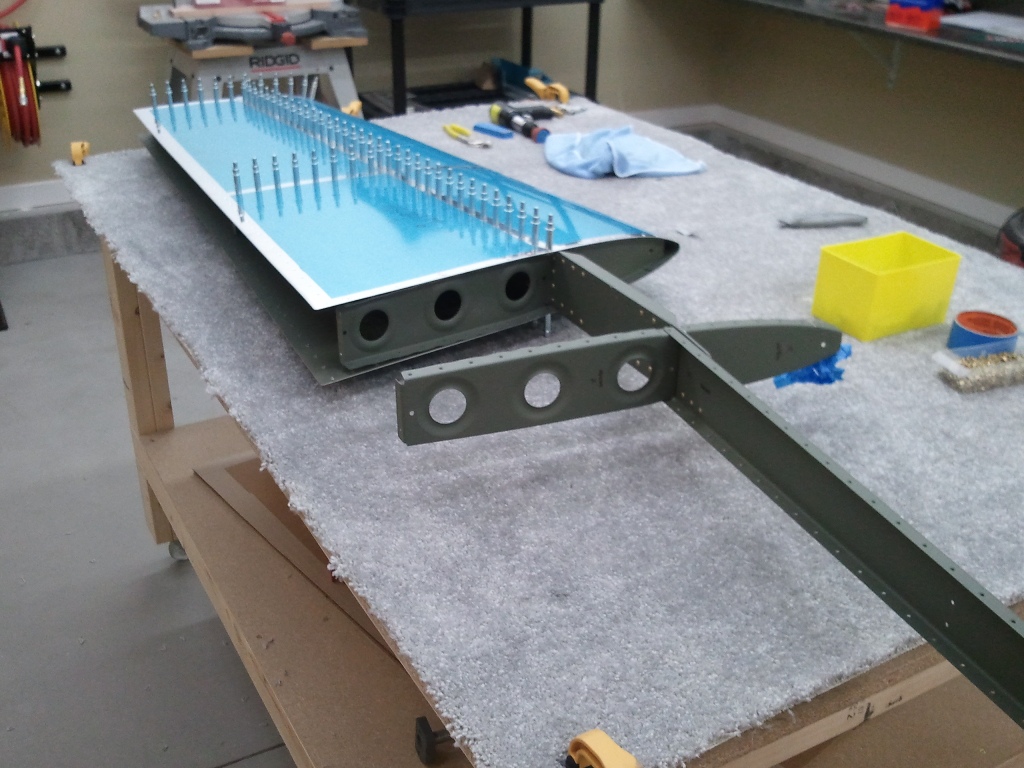
Horizontal Stabilizer Final Assembly Begins
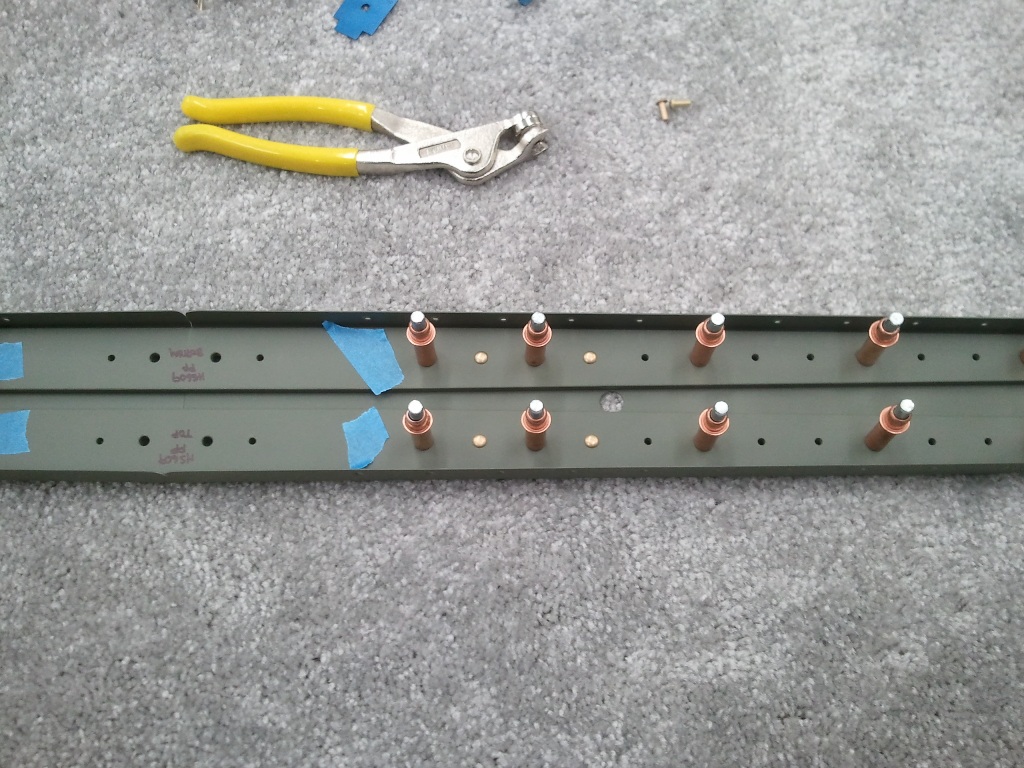
After a weekend of traveling south for CAP, it was time to take the primed parts and start doing some assembly. Here you can see the first 4 rivets in the HS Aft Spar in their locations. I was worried that the AN470AD4-6’s called for in the plans were too short. My length gauge from my tool kit said they were, but all the reading I did said that this was normal and would be OK. Here goes nothing.
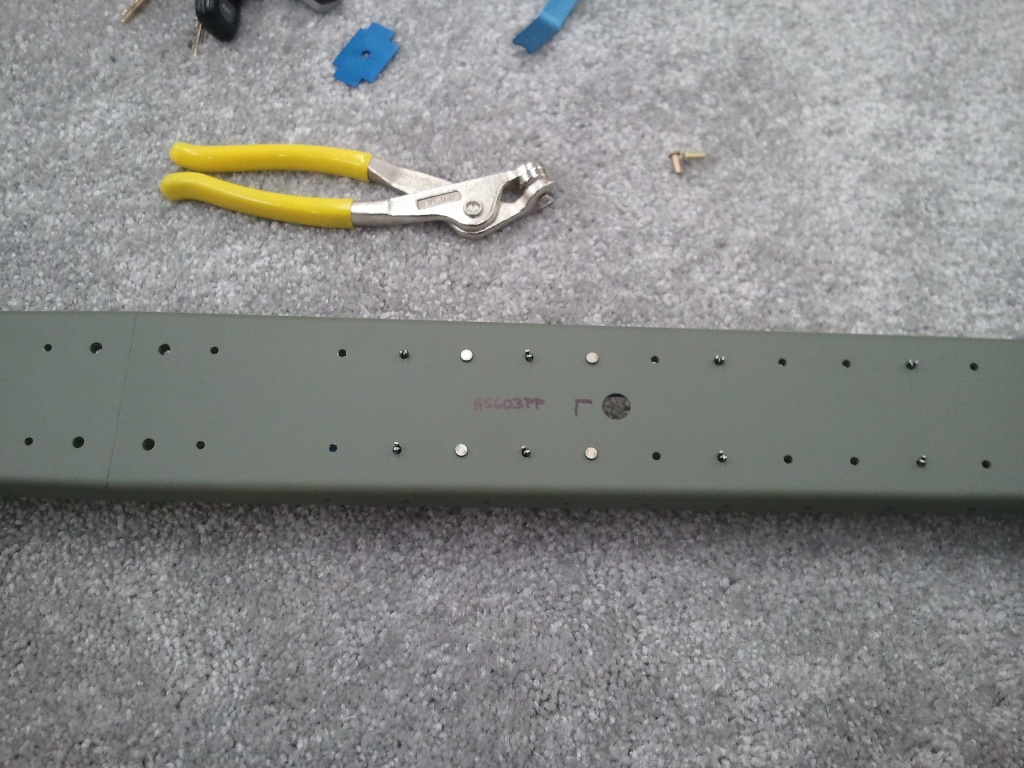
Here is a backside shot of the same after taking my pneumatic squeezer to set them. That tool is worth every cent. Made for clean, consistent, well set rivets over the whole spar. The call outs are correct on the plans after all. I started to feel like I could calibrate my eye after checking the shop heads with my go/no go gauge. I was correct! After a short while, I could tell by simply looking at them. (I still checked them though 😉 )
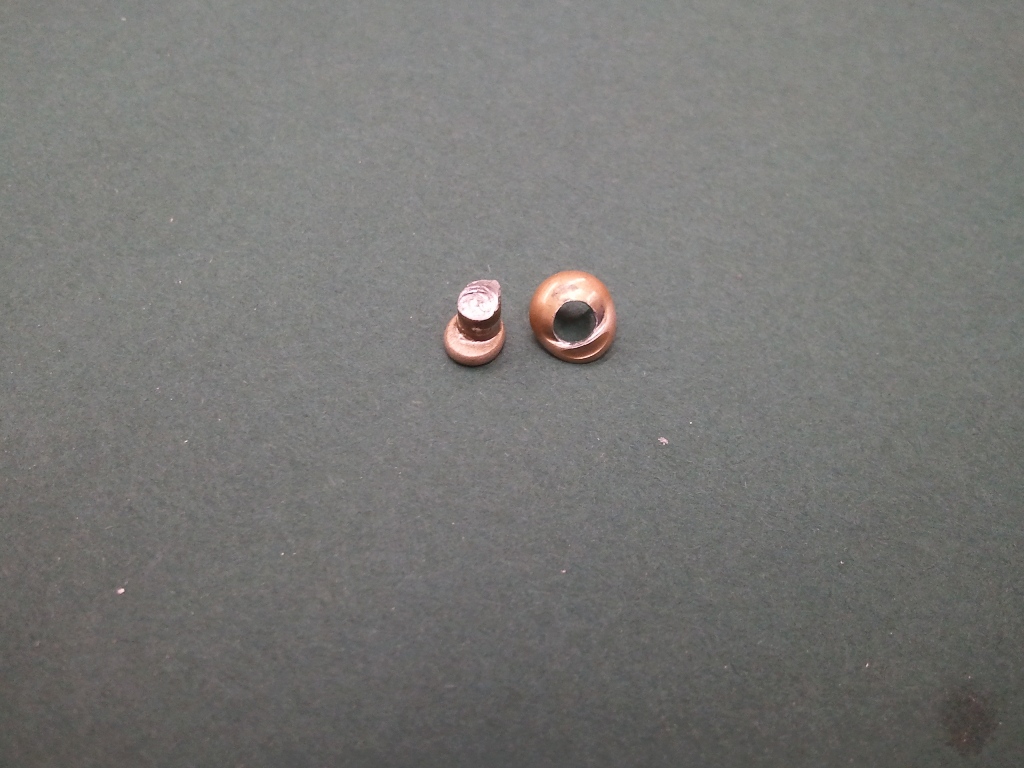
I was happily setting rivets and thought I was complete with the HS Aft spar and was going over them one at a time and noticed this gem. Apparently I let the squeezer slip and it mangled both the shop and the manufactured head. It just looked bad. Many builders tell you to resist the urge to drill out a rivet just because it looks bad, but this one was not acceptable. I center punched the divot in the manufactured head with a #40 drill and then followed it up with a #30 just until I knew I was just below the rivet shoulder and was able to pop the head out with a punch. I then drove the rest out. The nice thing was, no hole elongation or mangling. I then reset a new one and you cannot even tell. Whew…however, I know there will be plenty more I will have to remove on other parts.
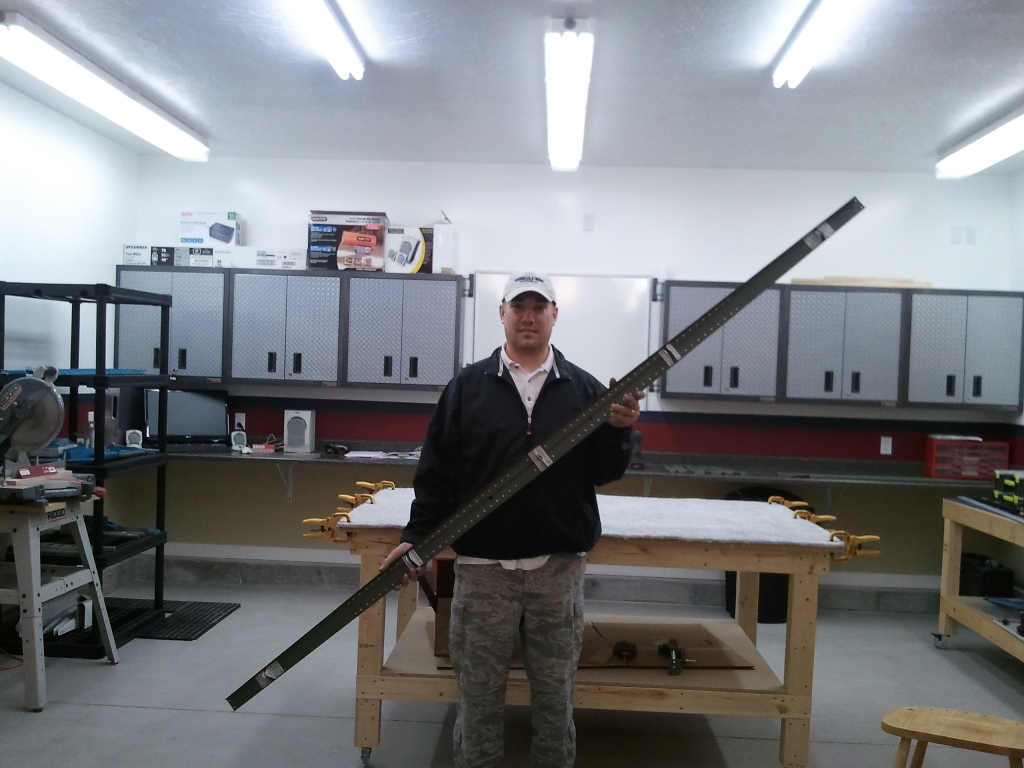
And here we have a complete HS Rear Spar. The gold rivets look great against that green of the primer. Now on to the Forward Spar. I assembled it per the instructions. Had to break out the rivet gun for some tighter spots the squeezer could not reach. My dies did scratch up the primer on the reinforcement bars a little. Once both skins are on…I will shoot another dusting of primer on the center section and the stiffeners. Other than that, it went together OK. Then next step was to start working on riveting the skins of the HS on. I started with the center nose rib. I clecoed it to the top of the left skin. My 3/32″ clecos did not seem to hold well under the spring tension of the skin. They kept popping off as I bent the skin around the rib. To solve the problem, I simply drilled a bunch of #40 holes into some scrap stock and then on my band saw cut squares out around the holes to make little washers. Then when I clecoed the parts together, I simply put the little washers on last and they held strong. Kind of a pain, but an easy solution. I got the first 10 or so flush rivets set in the top and bottom of the skin and pressed on. They are not perfect…but final paint will do fine to make up the difference. 😀
After the center nose rib is riveted, you have to install the forward spar assembly into the skin and then the aft center and outboard ribs. Once in, you blind rivet (pop) the two center ribs and spar together. This is not easy to do when your hands are XL in size. The Army Air Corps knew what they were doing when they hired all the Rosie Riveters in WWII. I needed one in the shop for these. I got them in though. I may shoot some primer to cover the scuffed areas my blind riveter hit when the mandrels broke. Otherwise…it is looking good in there.
It was time to call it a day. I was able to rivet the end rib to the spar, cleco in the aft center rib, and cleco on the skin to all the parts. Next step is to set all the rest of the flush rivets. Once complete, you do the same for the other skin and then rivet on the aft spar completed earlier. Then…you have a completed Horizontal Stabilizer!!! Hope to have this complete over the Holiday weekend. I am beat, but it really looks like I am building a plane now!

