Right Tank Drilling Done, Left Tank Started
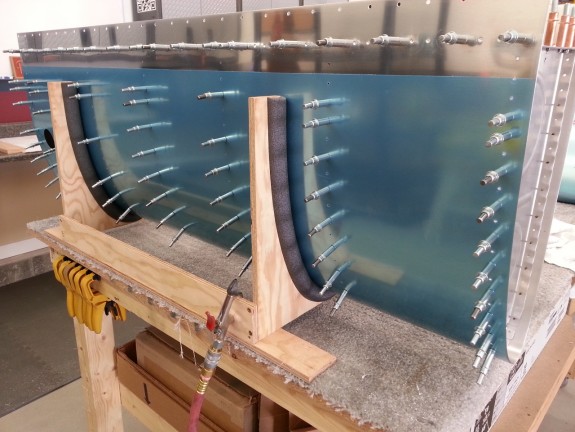
I had a goal for the day. Get the drilling done on the right tank and get the Z brackets drilled on the left. I had match drilled the right tank skins and ribs earlier so all that remained was the rear baffle. I reamed all the holes in the skin to baffle and then set out to decide if I was going to countersink or dimple these. Vans tells you to countersink them to make installing the baffle easier when sealing the tank. I have read where others have successfully dimpled these, which is a stronger joint. I tossed the idea around and then decided to stick to the manual here. It does not seem right to countersink 0.032″ material, but it truly is the minimum you can. I tested a scrap piece with my countersink cage and once set, countersunk the holes. I had to remove the plastic to the point where my cage would sit flush to the skin.
Once done, I still was not liking the idea of the countersinks, but many a tank have been built this way and are flying fine. With these done, all that remained were the stiffeners to match drill.
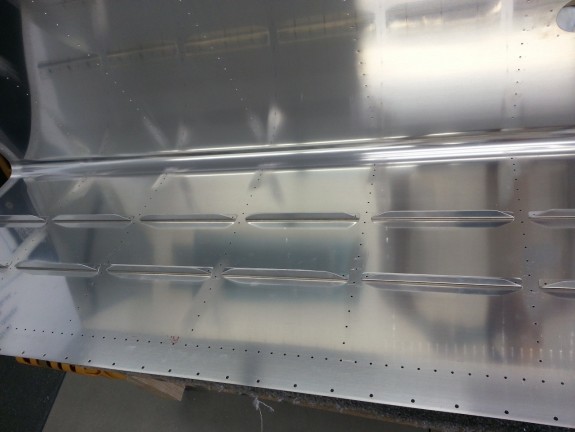
I disassembled the tank and then clecoed on the stiffeners and match reamed them to the skin. Before removing them I marked their location so I could return them to the same place. With the stiffeners done, I then opened up the screw holes around the perimeter with a #19 bit. At this point the drilling is complete on the right tank [except for the fill cap and drain port]. I have a lot of prep to do for the capacitive senders and plumbing, but I will do those at the same time as the left tank parts.
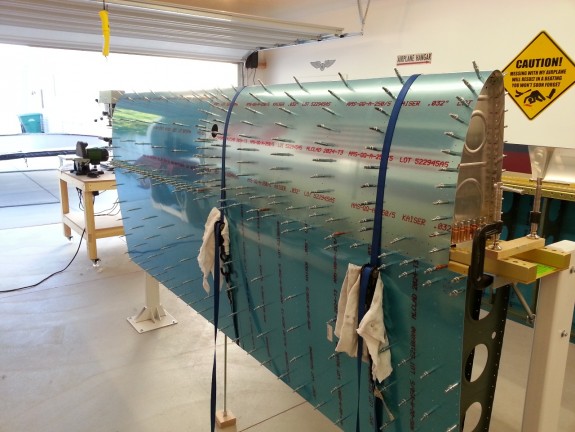
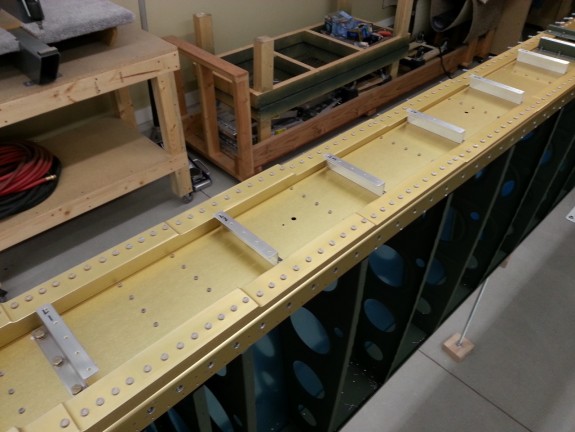
Now that I had all the clecos from the right tank, I assembled the left tank so I could drill the baffle Z brackets. Here you see the tank in place and strapped down. I had already drilled the inboard bracket and was about ready to remove the outboard leading edge to get to the inboard. I completed the outboard bracket and then took the skin and ribs off and drilled the rest of the brackets in short order.
With the brackets now drilled for both tanks, I will be able to get the tank prep done. The next time the brackets attach to the spars, it will be on a completed tank. Next up is match drilling the left tank, stiffeners, baffle, and then countersinking the skin to baffle holes. Then I will work on all the attachments to the tanks and start sealing away. I may have completed tanks by Christmas.


