Archive

Archive for the ‘Builders Log’ Category

Wing Stand Work

September 1st, 2012 No comments

No pictures. I simply attacked the now sandblasted, and painted wing stands that my neighbor generously helped me out with. Pays to know a custom auto body painter!

I will likely do a writeup on the stands as I have been asked by several people to describe them. Basically, I ripped off Rudi Greyling from South Africa. I used his design as a starting point and then made some enhancements I thought would make them a bit nicer. I am not sure if the enhancements made them better, but they seem to be sufficient to me.

I added the horizontal angle, all thread, brackets, and hardware. It took most of the day and a few trips to the Lowes Aviation to get the stands to where I needed prior to use. The one remaining question was how would I attach them to the floor?

I have not liked the idea of drilling my brand new shop floor, so I added what I thought would be a solid base so I could perhaps liquid nail the base to the floor and then cut them off and clean up the residue when done. I have seen where some have glued blocks to the floor with success, but not metal stands. I set up a test of some scrap steel and some concrete to see if it would hold. It did not. With little effort, I was able to separate the parts.

I also thought about all the temperature fluctuations my shop sees. I would hate to have my wings in the stands and then come into the shop and see that the cold had caused the adhesive to snap free of the base of the stands and my wing was on the floor.

In the end, I think anchoring the stands to the floors with concrete anchors is the best way to go with the least risks. I plan to finish the floor anyway and when I am filling the expansion joints with the self leveling filler (designed for allowing the flex) I will simply fill these holes too and then epoxy the floor. Once done, you will never know the holes were there. It got late so the anchoring will have to wait until Monday.

Categories: Major Wing Sections

Ribs/Spars Riveted

August 31st, 2012 No comments

Ribs to Spar Assembly Begins

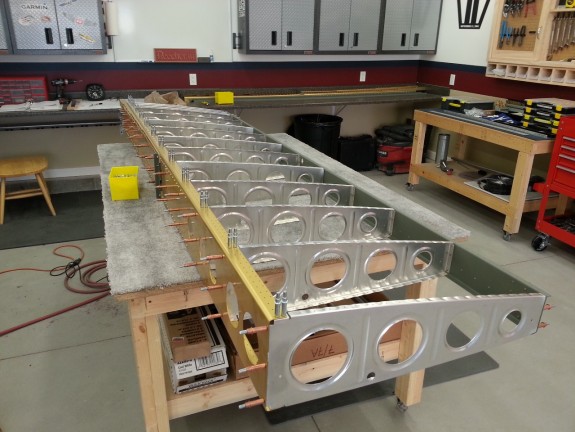
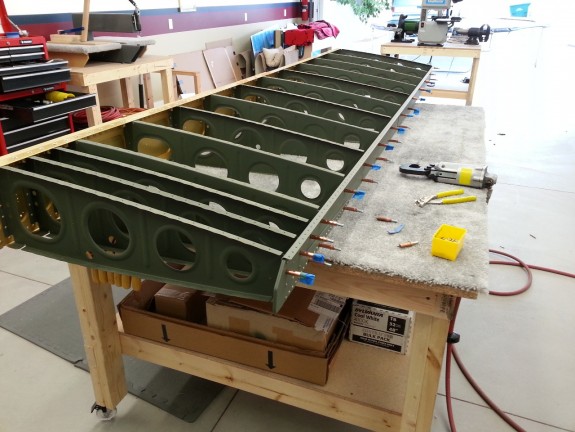
Since the ribs had been primed and dry for a day, I decided that it was time to get out to the shop and get the spars connected together. Above you can see the right wing process starting. Based on advice from other builder sites I have read, it is easier to attach the ribs to the main spar first, then attach the rear spar. This allows you to get the gun on the manufactured head by bending the rib out of the way a little.

Another tip is to start with the third rib out from the root and do the wing walk ribs first. As you can see, the ribs at the root are closer together and trying to get in between them with the gun would be difficult at best. This worked out well and I was able to quickly set the AD4’s with my gun and bucking bar. I also used some Snap-Soc’s from Avery Tools to assist in keep the rivet set on the manufactured head. They work as advertised and I highly recommend them. It took some time to get back into the riveting rhythm since it has been a while since I have had to use a rivet gun. I got it back pretty quick and was able to knock out the main spar rivets pretty quick. I only had to drill out 1 rivet, but it was really bad as the gun had wandered all over the head for some reason.

Once the main spar was done, I attacked the rear spar. I clecoed the spar on and then marked the holes that would not receive rivets now with some tape. This kept me from moving them to another hole and having to drill out extra rivets. The squeezer made quick work of these. One word of caution, do not try and put the manufactured heads on the spar side. It will cause the rib flanges to distort. You may be tempted for aesthetics so they match all the other heads on the spar if you put them in like I did. I also read this on another builder log and I am glad I listened. All mine set nicely.

I did notice that the call outs for rivets may be a little off in the root area of the rear spar. Pay close attention here and if needed, use a little longer than called out and cut them to be right if needed. If you use the rivets called out in the area of the doubler and rib, they will not be in spec. Specifically the W-710,W-711 to W-707A, W-707G, W-707D Rivets called out as AN470AD4-8’s. I used 9’s here and it seemed better…or at least made me feel better in a potentially high stress area like this location is. Measure twice, set once.

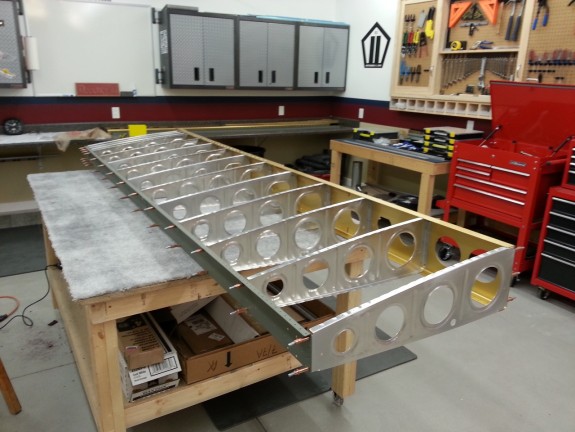
Right Wing Riveted

Here you see the right wing ribs and spars together. Starting to look like a plane part.

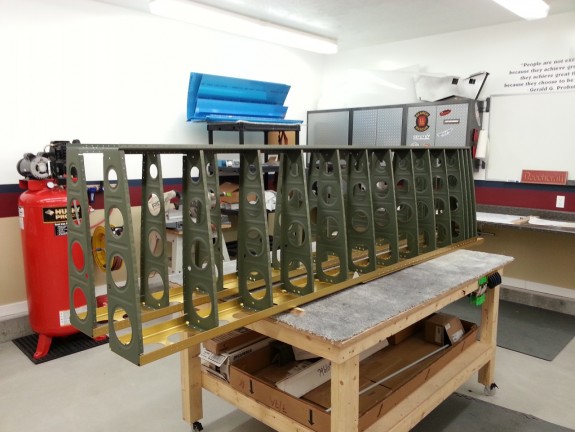
Root to Tip Line-Up

I had to take another shot with the ribs all attached and primed. I love the precision of this kit.

Skeletons Done

I repeated the process for the left wing and was left with 2 wing skeletons ready to be hung in the assembly stands. Problem is they were not in the shop yet. My neighbor was not done sandblasting and painting them yet. Not bad for an evening’s work. (My office did close early though.)

It was funny, as I was cleaning up my shop for the night, my neighbor kid came over (apparently to eat dinner) and asked, “what’s next?” I replied that I needed the stands her dad is painting for me to move on. Just then, her dad walked into the shop and said…”I have some widgets for you!” Talk about timing. Looks like I have what I need to move on. This should be a good Labor Day Weekend.

Heck…for Posterity Sake

Categories: Major Wing Sections

Ribs Primed

August 30th, 2012 No comments

Primed and Drying

I think my index finger is still numb from the spray cans, but with all the fumes, I am not sure. ๐Ÿ™‚ I was able to get the ribs primed and ready for assembly with the spars. Other than the Duplicolor Self Etching Primer cans spitting/dripping in some places, the ribs look great! I really do dig the color. It just seems to scream airplane parts. After living near and touring the USAF Museum at Wright Patterson AFB many times, I just like the green color. Kind of a throw back to the bombers and fighters of WWII.

Left Wing Ribs Drying

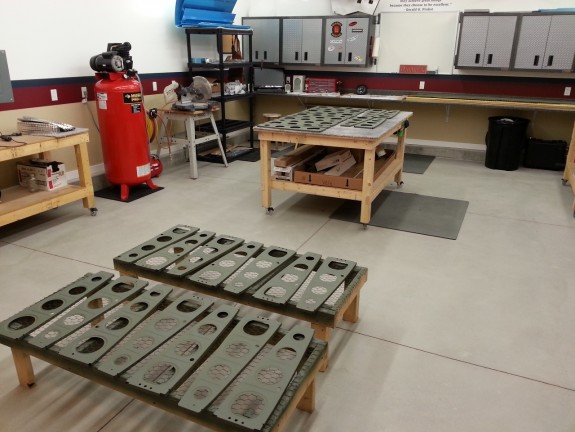
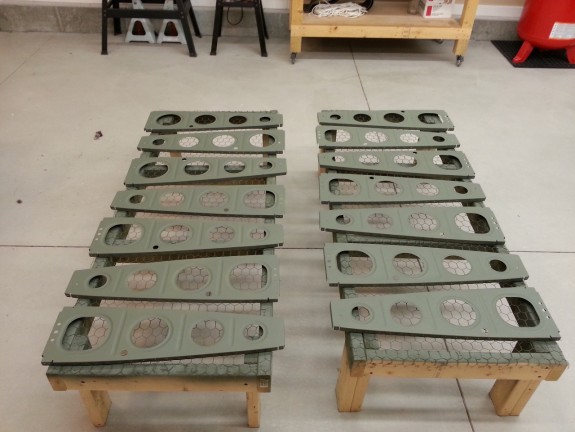
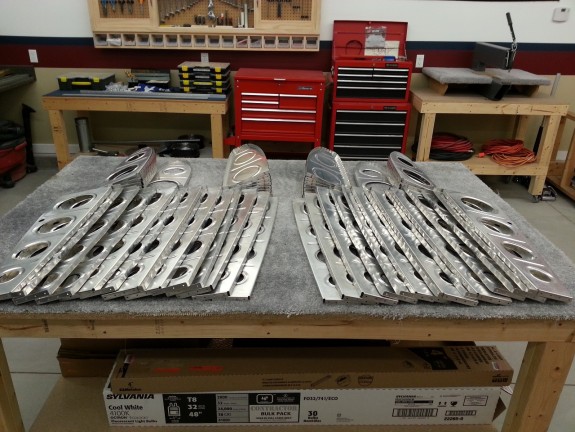
Here you can see my cheap but effective priming tables. They are simply chicken wire stretched over a 2″x4″ frame. They work pretty well. I usually will startย  priming the parts with the flanges up so that when the part is flipped, the chicken wire only contacts the parts in a few places where they have been primed before. These are the left wing ribs drying.

Right Wing Ribs Drying

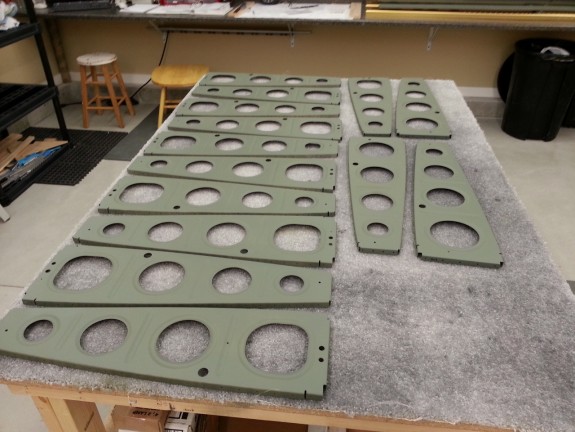
Here are the right wing ribs drying on my bench. I will let them sit for a day or so and then start riveting them to the spars. This should be a productive Labor Day weekend!

Categories: Major Wing Sections

Main Ribs Ready for Primer

August 29th, 2012 No comments

Scuffed and Clean, Ready for Primer

I was able to get some work in the shop tonight. I spent the time scuffing the ribs in prep for primer. I hope to shoot the paint on them soon so I can assemble them with the spars over the holiday weekend. Again, the shop computer turns out to be a good asset as the 3rd season of 24 was playing in the background to keep me from focusing on the repetitive nature of the task. Some may wonder how that works, but I do not actually watch the show, I simply listen. Some like music, I like shows. To each his own.

I went through a lot of scotchbrite pads. Then again, there are a lot of ribs, so it makes sense.

Once the scuffing was complete, I wiped each with MEK to clean them. I will hit them once more with MEK before priming them just to make sure I got them all clean.

My body is sore, but the prospect of assembly in the near future is exciting!

Categories: Major Wing Sections

Spar/Rib Match Drilling Complete

August 23rd, 2012 No comments

Match Drilling Done

After the assembly of the left wing spars/ribs last night, I was anxious to get the match drilling done on it. I pulled out the #30 reamer and went to town on the spar attach holes. There are several holes in the ribs for the wing walk area that require a drill over the reamer because they are new and do not line up with the pre-punched holes in the ribs/rear spars. I am sure this was done at Vans to save production time/cost on the ribs. No big deal, you simply have to drill them and abandon the punched holes. The same applies to the first two leading edge ribs outboard of the tie-down block. I was able to match drill all the ribs for the right wing and then disassembled it. I was actually sad to see it apart. So was my son who ran out to the shop too late to see it all together. Oh well, it will be back together soon enough.

I then moved on to the left wing and repeated the process. Assembled, match drilled, and disassembled. I then deburred all the holes on the ribs and spars.

The night ended with the start of scuffing the ribs for primer. I made it through eight ribs before I ran out of Scotchbrite pads and will power. I will purchase some more pads tomorrow and hopefully be able to get the rest of the ribs scuffed this weekend. Then I can prime the ribs, assemble permanently, and hang the wings in the stands [that are being sandblasted/painted by a neighbor as we speak]. Despite the pain of rib prep, I am excited to be making progress again.

Categories: Major Wing Sections

Mindless Deburring, then Some Fun Progress

August 22nd, 2012 No comments

Now the fun really begins!

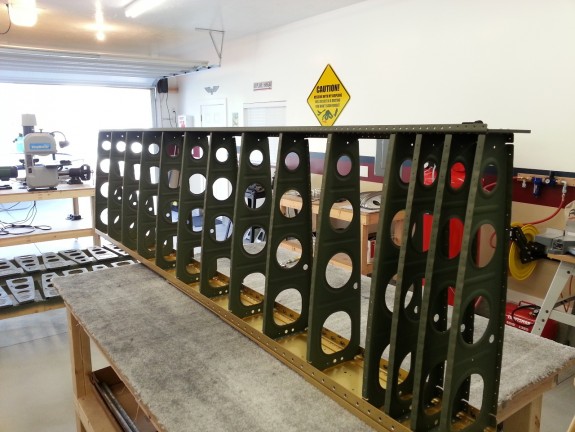
I was able to get out to the shop tonight. I tackled more mindless deburring on the corners and small tabs of the main ribs. Thank goodness for the second season of 24 playing on Netflix on the shop computer to keep my mind from actually realizing the monotony. I think it took me nearly four hours. However, once I was done, I had a pile of ribs that could be assembled in concert with the spars and prepped for match drilling. I figured what the heck, why not cleco the ribs to the spars on at least one wing and then call it a night. So that is where I left the project as evidenced by the above photo. After all the deburring I have been doing, it was neat to finally see a structure.

I still have the same mindless deburring to do on the leading edge/fuel tank ribs, but I will save that for later to break up the boredom.

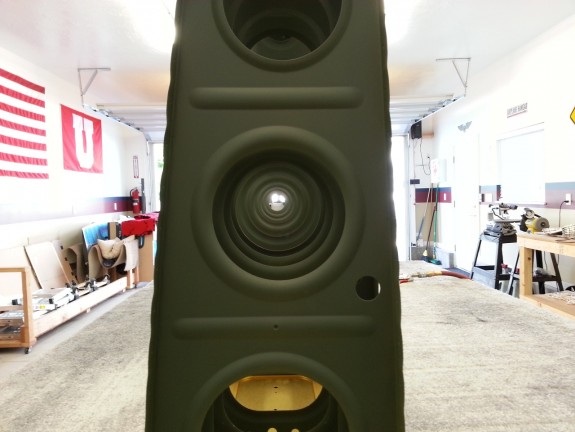
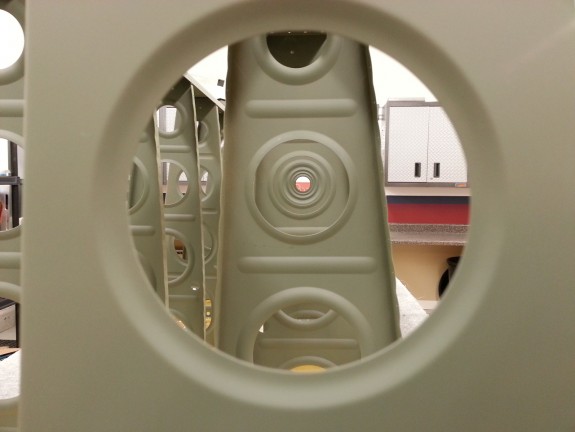
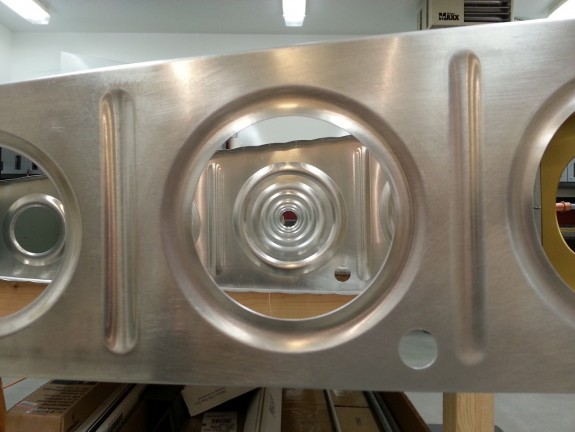
The “Lightening Hole” Shot

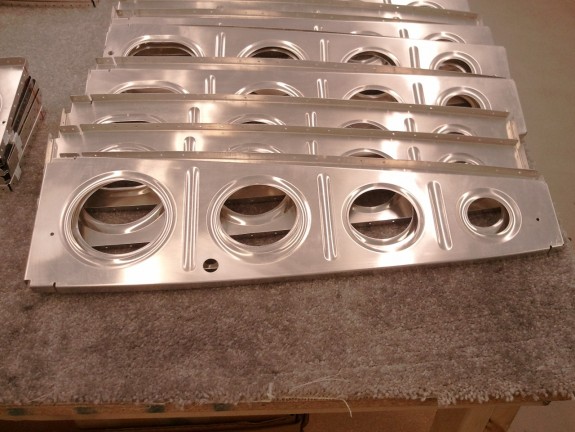
It seems that every builder log I see, there is a picture of all the lightening holes of a wing together. I figured why buck the trend. So here you have it folks! It actually is pretty cool to see.

I hope to have the match drilling complete on the spars and ribs done soon. Then it will be the endless prep for primer. It is starting to really look cool. I can’t wait to get these assemblies in the stands to start getting skins on them.

Categories: Major Wing Sections

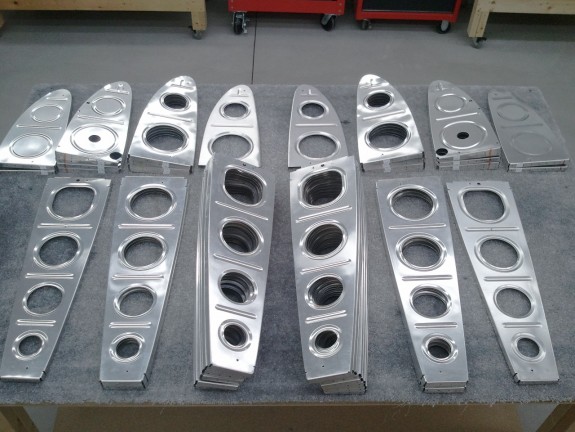
Ribs ALL Straight and Fluted

August 15th, 2012 No comments

Ahhh…Flanged and Fluted

Not much to report other than all the ribs are now straight and fluted. A little more spot deburring and these puppies will be ready for some fun. I guess I had better get my wing stands ready for use.

Categories: Major Wing Sections

Wing Rib Prep Continues

August 9th, 2012 No comments

Half Prepped…

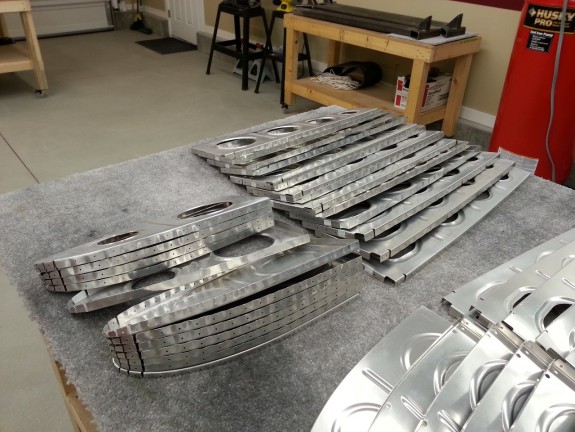
OK, I am back from Oshkosh. I logged 15.5 hours in a RV-6. I saw tons of completed airplanes, so it was time to use all that fun as motivation to get back to work on mine. I am beginning to appreciate why many builders I talk to say that the rib prep was one of the most unpleasant tasks. It really is. I had done a major portion of the deburring earlier last month or so. I have to get all the little corners and nose portions of the leading edge and tank ribs still. I figured I would break up the deburring and straighten the flanges and flute the ribs, then go back to hit the rest of the deburring.

Per the RVator…My Version

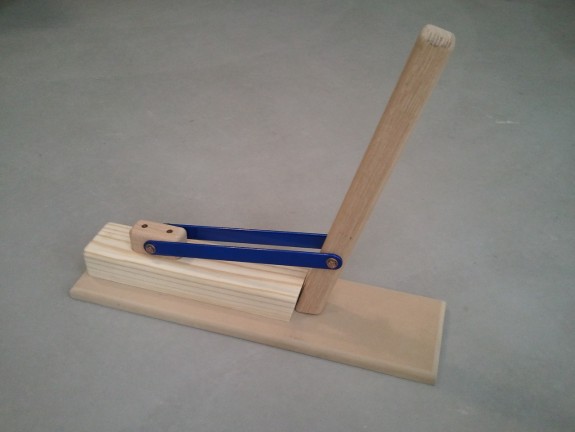
My wife had some church visits to do last night, so I grabbed my nifty handmade flange straightener [described here] and fluting pliers and a stack of ribs and ran in the house so I could tend the kids and knock out some work. I found that my tool works great. I clamped it to the kitchen counter and went to town on the tank and leading edge ribs for the right wing. Once I was done straightening the flanges of each rib, I then fluted the flanges. By the last rib, I was straightening and fluting a rib in 5 minutes or less. The back and forth of the straightening and fluting broke up the monotony.

Once the leading edge ribs were complete, I knocked out the right wing main ribs. After about 4.5 hours, I was done for the night. I did have to make one change to the flange straightener. The block holding the arms loosened up a little with all the use, so I undid the screws and broke out the Gorilla Glue and glued it down and re-attached the screws. Other than that, I am glad I made it. I think it saved some good time and produced a great result.

I decided not to flute the W-408 rib just yet as it is not pre-punched and will work on it once I can mark out where the rivet holes will end up. The W-408 is what ties the leading edge and the tank together in the middle of the wing. There is a strip of aluminum that goes between this rib and the leading edge skin that also supports the outboard edge of the tank and ties it all together. Once I am closer to getting this rib put in assembly, I will flute it.

I get to camp with my oldest son this Friday, so I hope to hit the other half of the ribs straightened and fluted on Saturday and then finish up the deburring. I hope I survive rib prep. Once done, the real fun with the wings begins because you start really making something appear from the parts…WINGS!

Categories: Major Wing Sections

First Tech Counselor Visit

July 2nd, 2012 No comments

Nice to Read

I have been really busy of late with other things that have kept me from building. Nothing terribly interesting, but things.

I got a call from my A&P/IA that lives around the corner from me who asked if he and his Dad could stop by and check out the progress. His Dad just happens to be an EAA Tech Counselor. I said “sure, have him bring some paperwork.”

So they stopped over and checked out the tail and the spar work thus far. I was pleased by his encouraging words and praise. Seems I am doing a decent job at building, so that is a boost.

I also found out I have a ride to Oshkosh this year. A fellow CAP Pilot and RV-6 owner graciously offered his empty seat to me. Thanks Kent! The experience will certainly give me some good exposure to a tail dragger and the RV-6/7 feel/handling. I am super excited!

I love this EAA/RV community!

I love my patient wife more! ๐Ÿ˜‰

Categories: Empennage

Rib Prep Begins

May 28th, 2012 No comments

Drilled and Deburred Holes, Now for Edges.

Happy Memorial Day!!! Thanks to all those that have and are serving for our freedoms!

I was able to get to the shop after a family BBQ. It was time to start some rib prep. I began by taking my angle grinder with a 1″ Scotch Brite wheel and deburred all the interior lightening holes. It went pretty fast.

I then opened up the tooling holes in the forward portion each of the aft ribs for accessories. In the left wing, I opened both the upper and lower holes to 3/8″ and in the right, just the lower tooling holes.

I continued and made a paper template to drill the 3/4″ holes in the ribs for a conduit that will run root to tip. I marked all the ribs and used the step bit on the drill press and knocked out all the holes. I backed the rib with a chunk of 2X4 and each came out nice and clean.

Next up, I deburred the new holes and the tooling holes I had opened up. That is when I had a “head slap” moment and realized I had made a stupid mistake. Can you spot it?

Times up! I drilled the 3/4″ holes aft of the stiffening bulge instead of forward…doh! I sent off an email to Van’s and admitted my folly and asked if I now needed to buy all new ribs. They replied with assurance that my location would pose no problems and to build on. Whew!

Structurally my hole would have no impact any greater than where it should have gone. The biggest concern is if it will interfere with the push rods for the ailerons. They actually give better clearance to the main push rod and no difference in clearance to the aileron push rod than had I put them forward of the stiffening bulge as recommended by Van’s.

Dodged that bullet!

Here is the projected plan for all the holes in the ribs.

Left Wing:

Conduit 5/8″ inner diameter:

  • Landing Light (LED – Low Power) In Leading Edge
  • Strobes (LED – Low Power) In Wing Tip Recess
  • Nav Lights (LED – Low Power) In Wing Tip Recess
  • Wig-Wag/Taxi Light (LED – Low Power) In Wing Tip Recess

Upper 3/8″ Hole with bushing to 1/4″ inner diameter:

  • Advance Flight Systems AOA Kit A
  • Stall Warner wire
  • Pitot Heat wire

Center 7/16″ Hole with bushing to 1/4″ inner diameter:

  • Pitot (5052-0 1/4″ OD 0.035″ wall aluminum tube) hard line to the root of the wing. SafeAir1 pitot line from there to instruments/AHRS.

Lower 3/8″ Hole with bushing to 1/4″ inner diameter:

  • Open for future need for Com/Nav/Marker antenna in wing tip or other accessory.

Right Wing:

Conduit 5/8″ inner diameter:

  • Landing Light (LED – Low Power) In Leading Edge
  • Strobes (LED – Low Power) In Wing Tip Recess
  • Nav Lights (LED – Low Power) In Wing Tip Recess
  • Wig-Wag/Taxi Light (LED – Low Power) In Wing Tip Recess

Center 7/16″ Hole with bushing to 1/4″ inner diameter:

  • Auto Pilot Roll Servo Wiring
  • OAT Probe Wire

Lower 3/8″ Hole with bushing to 1/4″ inner diameter:

  • Open for future need for Com/Nav/Marker antenna in wing tip or other accessory.

Hopefully that is enough and insures that no noise is introduced into any of the systems. High wattage lights were/are traditionally where most noise is introduced, so by separating them from any potential com/nav antenna wires should help eliminate this problem. That and the LED lighting being so low in wattage, I should be OK.

Next up, flange deburring….yippeee!


Categories: Major Wing Sections

Rib Sorting

May 20th, 2012 No comments

Oh the Work Required

Nothing to see here. I sorted the ribs per the plans to segregate them into stacks for each wing. The work to get to using these is extensive and daunting.

  1. Deburr lightening holes, flanges, corners, accessory holes.
  2. Straighten Flanges to 90ยฐ
  3. Flute to straighten the ribs
  4. Drill for conduit and accessory locations
  5. Scuff
  6. Prime
  7. Use

I hear the first 3 steps take hours each. Oh the fun to come.

Categories: Major Wing Sections

Rear Spars Riveted

May 19th, 2012 No comments

Rear Spar Doublers Riveted

Not too many pictures, I spent the day doing “Honey Do’s” and then got to smashing rivets. I was able to get all the rivets that can go in now done. The open holes that remain are for ribs or other brackets that will come later. I love it when you can smash parts with rivets. Means you can move on to something else.

I even got my wife to smash a few with the pneumatic squeezer. I hope to have her help more as the tasks and her time permits. Shop gets brighter when she comes to visit. ๐Ÿ™‚

Categories: Major Wing Sections

Rear Spar Parts Primed

May 18th, 2012 No comments

I was able to prime all the rear spar parts tonight and clean up the shop for riveting tomorrow. No pictures.

Categories: Major Wing Sections