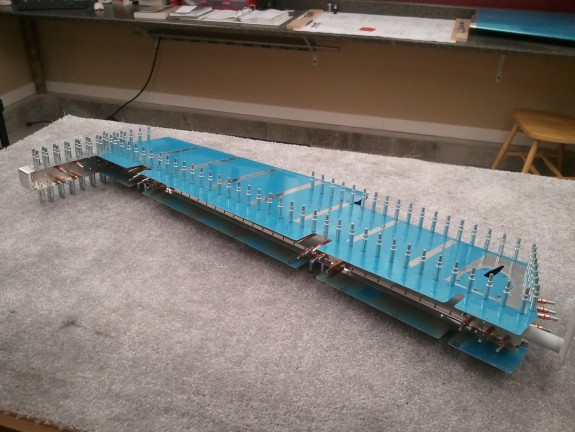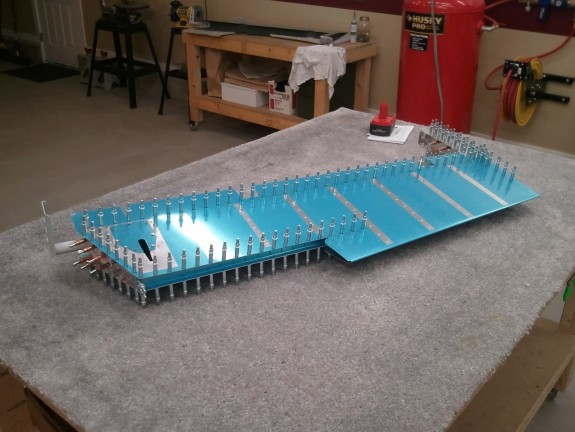
Ready to be Match Drilled
With the right elevator now closed up, the manual has you move on to the left (or harder) elevator. They note that it is a little harder because of the complexity of the added trim tab that is part of this assembly. I still had some time after finishing up the right closure so I grabbed the parts for the left and began to assemble. I began with the spar, added the reinforcement plates and plate nuts. Worked on the outboard ribs and counterbalance drilling. Added the spar for the trim tab, the root rib, and the skin. It is amazing how quick it goes when you have done it before.

Back Side of Left Elevator
After about an hour, the left elevator parts were all clecoed and ready to match drill. I decided to call it a day. I will hopefully match drill this some time next week. I cannot believe I am almost done with the empennage major work. However, what is left is some of the harder parts to do right…so I am going to pace myself.

Right Elevator Closed Up
The replacement E-709 rib arrived on the 27th and as soon as I got home, I went right to getting it prepped. I first reamed out the four holes on the forward flange and then dimpled the holes with my pop rivet dies to be safe. I then clecoed it into the elevator assembly as I had left it on Saturday. I was able to match drill it to the skin and to the horn. I then removed it, dressed the edges, dimpled it and then shot it with primer. Took about an hour to complete all the steps. I then dimpled the rest of the skin where the E-709 goes. I then disassembled the parts again and set them aside and ready for the next build session.
Friday was a busy night with Halloween parties so I was unable to get the skeleton finished. No worries, it was all ready for assembly for my build session today.
As soon as the sun was up and breakfast was done, I ran out to the shop. I joined the new E-709 to the E-702 spar and then riveted on the the WD-605-R-1. The skeleton was complete now. I then added RTV blobs to the ends between the trailing edge portion of the interior stiffeners. The idea is that it ties them together and dampens vibrations. Apparently some builders have reported cracks in this area after the plane has flown for some time. Hopefully this helps counter/eliminate this problem.
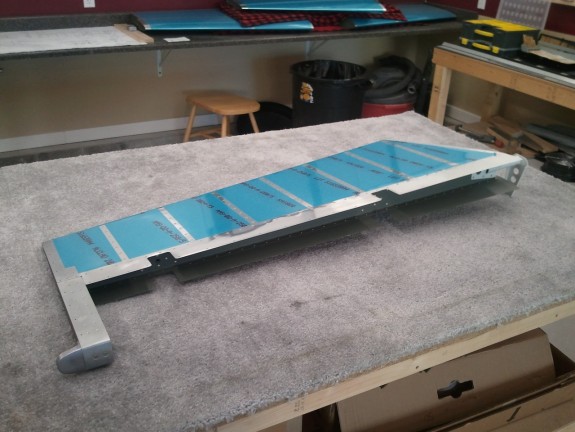
I inserted the E-714 counterweight previously milled down in the nose of the E-713 skin and then inserted the skeleton. I then clecoed it all back together for the final time. Now it was time for fun. I final riveted the E-703 and E-704 ribs to the E-713 skin on both top and bottom. I then continued along the E-703 rib to the second to the last hole with my pneumatic squeezer. The last holes near the trailing edge are just too tight. I then did the same along the root E-709 rib. Then I did the spar. With the squeezer, you can move along pretty good. The final riveting took no more than 30-40 minutes to complete. As for the last trailing edge holes on the outboard and root ribs, I simply used some MK-319-BS blind rivets and called it good. Better to fill the heads with body filler than have to repair an entire panel with the stuff.
I then added the washers and nuts to the counterbalance weight. I still need to torque them, but the weight is attached permanently now. The right elevator is now closed up. I then taped off the E-713 counterbalance skin forward face and filed the counterbalance weight to the shape and profile of the skin. It still needs a little more shaping to be ready for the fiberglass tip install…but I will do that when I get to installing them. As you can see above, it is nearly done. Now that is progress. 🙂


