VS Final Assembly Complete!

August 6th, 2011 No comments

Another Crew Shot

After getting the lawn mowed, and making a final dump run to get rid of all the larger junk laying around, it was time to get started again on the plane.

Not too many pictures taken today. Too busy working. Had a visit from my other son, Alex (9). He is my reader and my very verbally curious helper. “Dad, why this, why that, how come you…” He stuck around to help hold the VS as I was bucking the rivets on the front spar and the ribs. It was fun to see him get into the process. Asking why Van’s did what they did. It was equally nice to see his nose out of a book. I know, that sounds strange, but it is true.

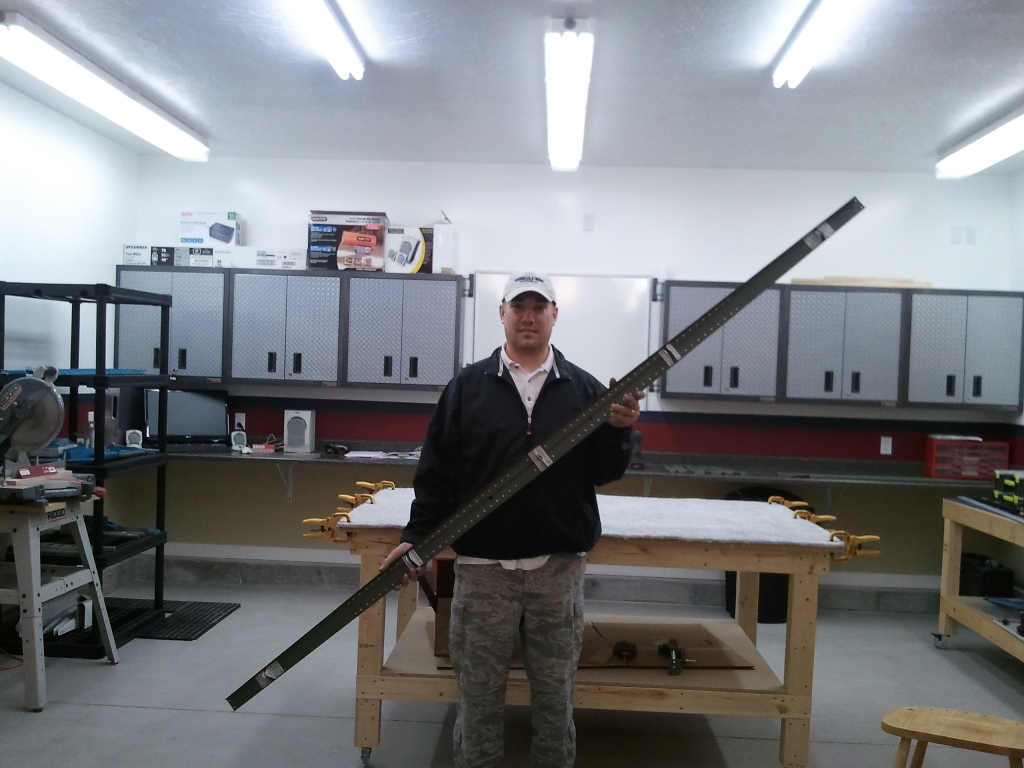
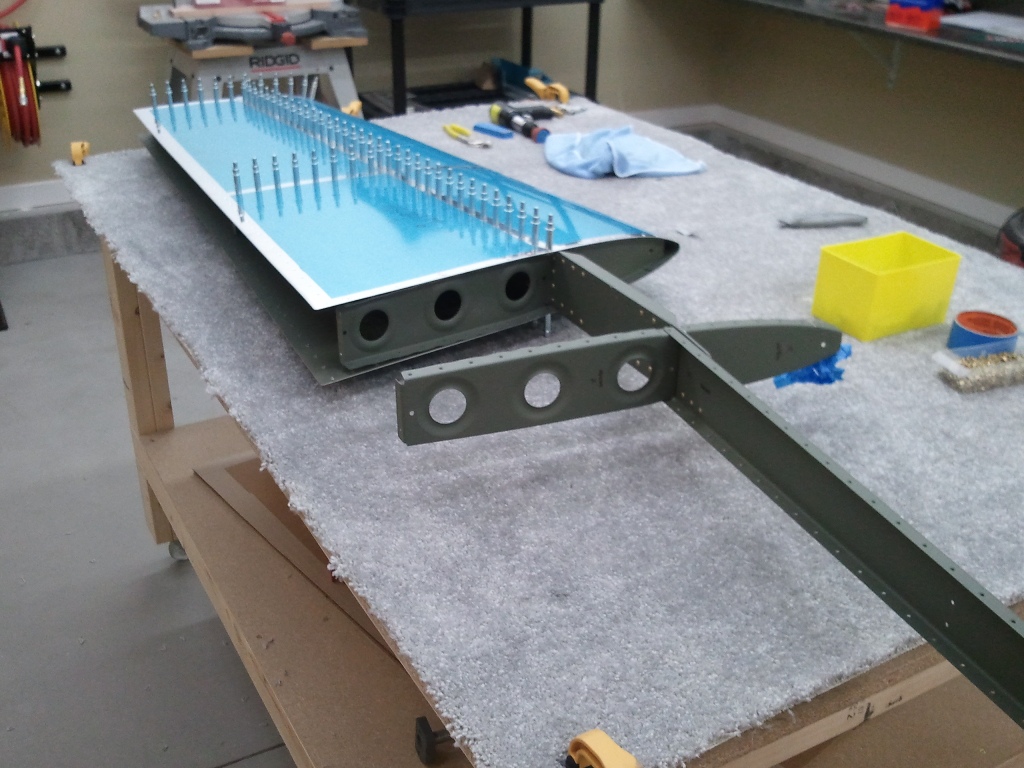
I got the field rivets bucked and then clecoed on the rear spar. As before, everything just lined up. I was able to use the squeezer for most of the spar and end ribs. The exception was a few rivets near the center hinge brackets. The rivets on the skin/spar are just too close to the brackets for the squeezer flush sets to get in there. The other exceptions were the ribs in the nose of the tip rib. Fortunately, my tungsten bucking bar was just small enough to get in there and get them bucked. There are other methods for doing these and some use blind rivets, but I had success with my bar and gun. Finally, you use 3 blind rivets to nail the center rib in place on the spar. VS DONE!

Another Assembly Down!

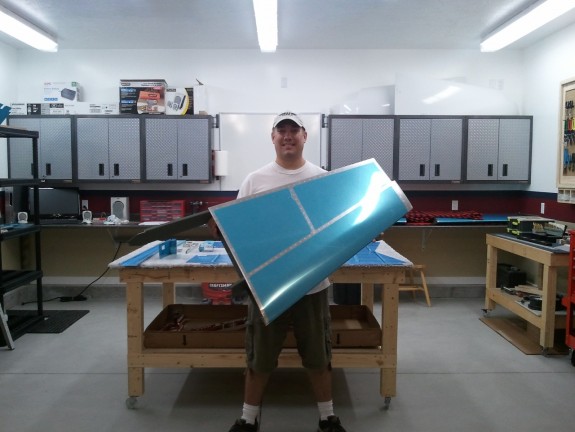
Had to take some more shots. (These are required…right?)

It's True Folks, I AM Building a Real Plane

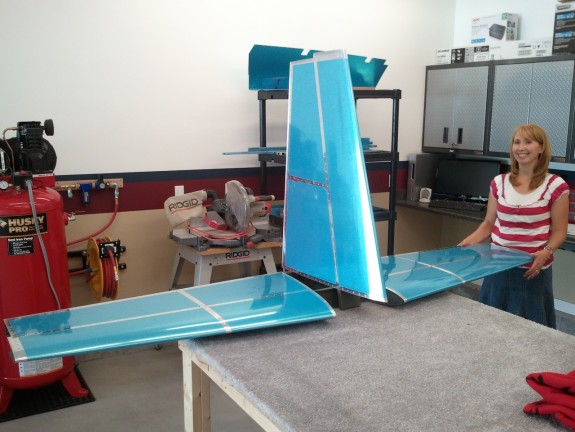
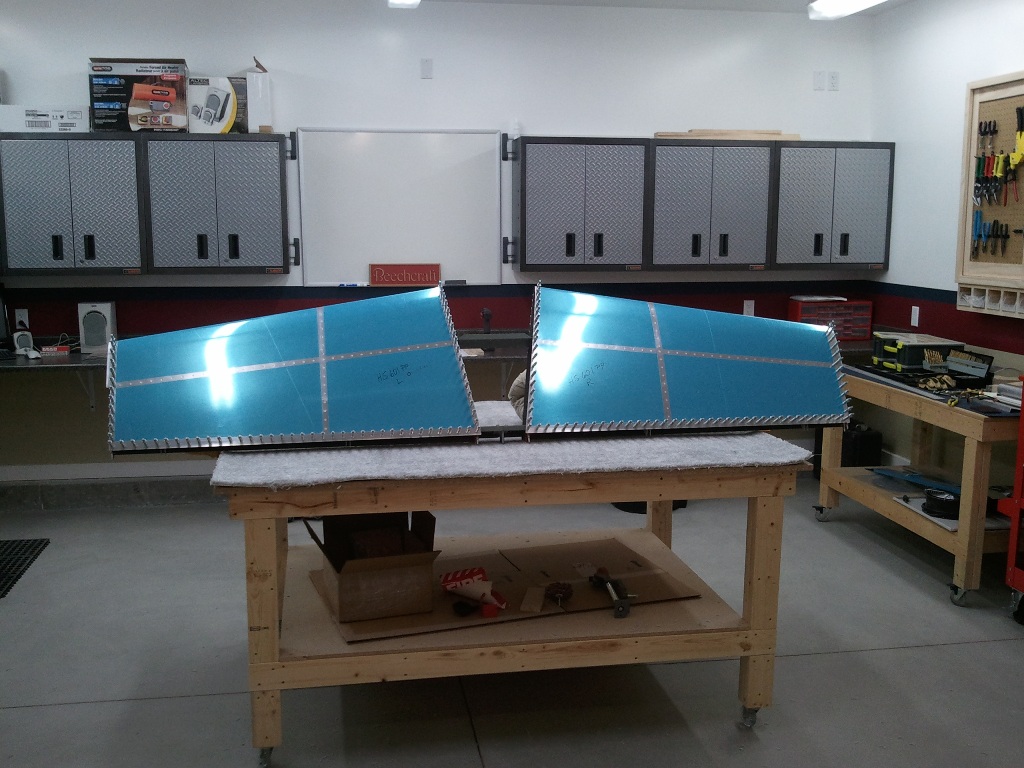
I love showing off my progress to my lovely wife. She is a VERY busy gal with our kids, me, and church responsibilities, so shop visits are fun. While I had her in the shop I set up the HS and VS in near relative position and took this shot. I love how it shows the actual scale of the empennage as well as evidence that she is smiling while being in the presence of the project. Gotcha dear!

Categories: Vertical Stabilizer

Primed and Ready!

August 5th, 2011 No comments

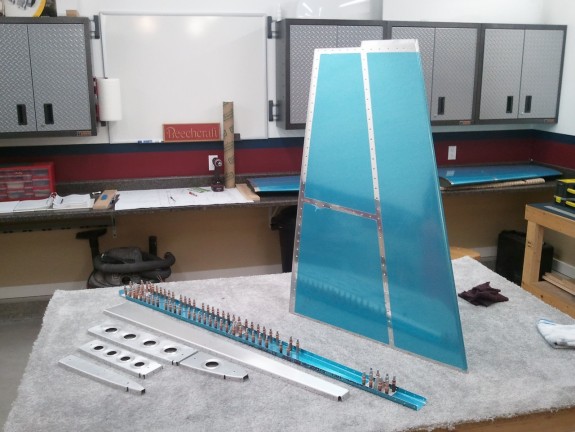
After the last couple of days of real progress, I was anxious to get home from work, kiss the wife hello, and get to the shop to prime the VS parts. It was a beautiful day with a little wind, but I was able to get my priming tables setup on a tarp and get the parts started. I really like the Duplicolor Self Etching. It seems durable and the color is great. Additionally, it is dry and ready in a hurry. I was able to get a good coat on both sides of the parts with much less overspray than the HS parts took on my new primer tables (Details to be in the Shop discussion soon). It may have been a little warm and windy for the paint though…seemed to dry almost too fast at times (like before it hit the part). Once it was all dry, I lightly schotchbrited the coat of primer to knock down the fuzz that the drying left. Smooth and even all over.

Primed and Ready for Assembly

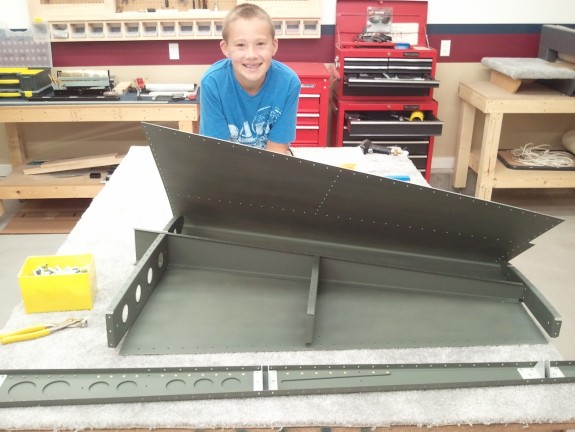
Every so often, my build crew would sneak in and out of the shop. Sometimes to watch, sometimes to ask, sometimes to help. Meet Taylor, the grin in the photo. He is my eldest son at age 10, nearly 11. He has always been my curious but quiet observer. When he was born, we were remodeling a 1926 house in Salt Lake proper. As I look through all the progress photos we took it was fun to seem him in diapers, always with a tool in his hand, trying to help. Great kid. When he heard that I wanted to build a plane, his eyes lit up and he was instantly on board. He was a big help with the shop construction as well. He help set the trusses, set shingles, and general gopher. He loves to just watch and learn. The speed he seems to picks stuff up is amazing.

Primer Dry, Spar Riveted

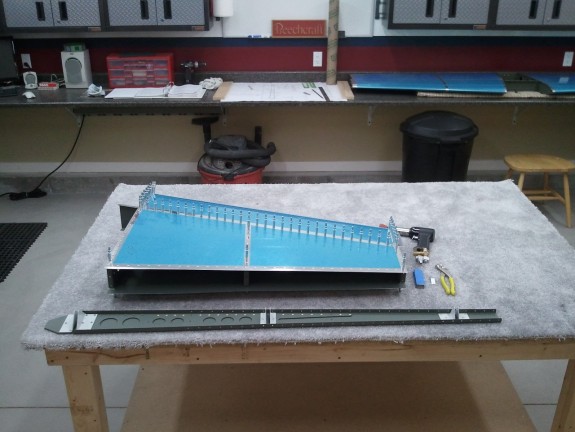
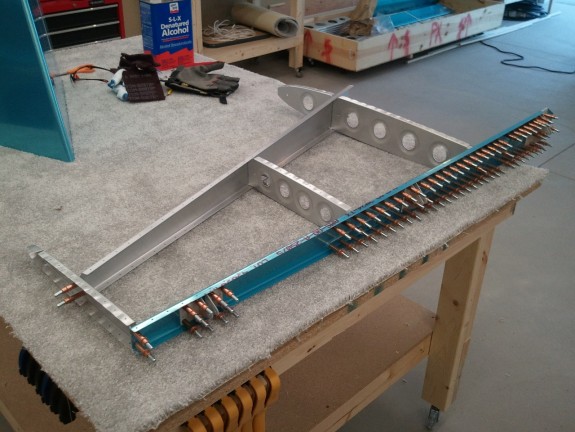
Later in the evening after eating some dinner, I checked the primer and it was good and dry…so I decided to get a jump on the work for tomorrow. I riveted the skeleton together and then went full speed on the spar. I just love the gold rivets against that green color. Just looks cool. I was able to squeeze most of the rivets with the pneumatic squeezer. That tool is worth every penny. Speed and accuracy is great. I started with the flush rivets at the bottom and then quickly knocked out the AN470’s. Got the hing brackets on and figured I could nearly call it a day.

Last Task for the Night

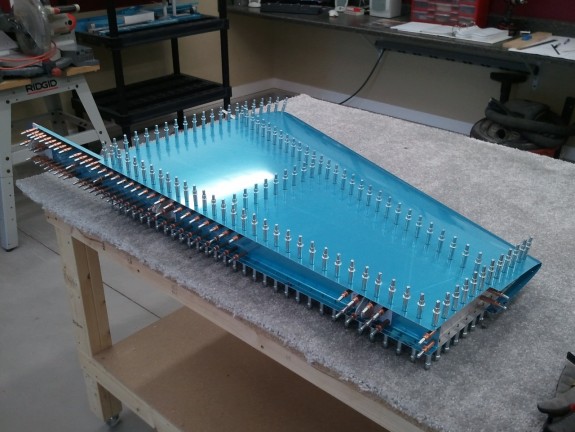
I was feeling like I was on a roll…so I figured, one more task and then I will call it a night. I clecoed on the skin again for the last time. I then got all the tools out and on the bench and readied them for use in the morning. It is really rewarding to step back at an assembly and see a plane part coming together. So, that finishes the Friday night progress. Time to get to bed and ready for the finish work tomorrow.

Categories: Vertical Stabilizer

Deburred, Dimpled, Countersunk, Scuffed, Cleaned and Ready for Primer

August 4th, 2011 No comments

Prepped Today, Prime Tomorrow

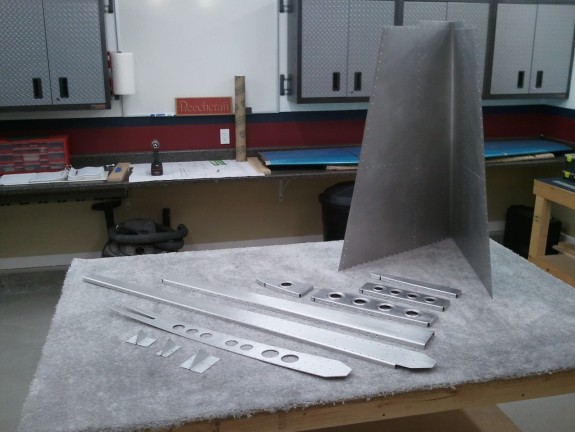
Today was another productive day. I was able to get the VS-808PP Doubler cleaned up, deburred, and countersunk. Cleaning the lightening holes was a challenge at first. Then I simply grabbed my Dremel and a sanding drum and was able to get the punch/shear marks cleaned up. The other challenge was the V notch, so I have some fine toothed rounded files that seemed to fit the bill. After that was done, I was able to dimple all the ribs and spars. Had to pull out the pop rivet dies to get to the nose holes on the VS-706 rib and the VS-801PP skin.

The VS-808PP Doubler prep took most of the evening, but it looks like a real airplane part. Last thing was to scuff all the parts including the inside of the skin. I hope to have good weather tomorrow after work. If so, then priming all the parts will be done and drying overnight. Then I can have a solid Saturday assembling the VS for good.


Categories: Vertical Stabilizer

Vertical Stabilizer Work Resumes

August 3rd, 2011 No comments

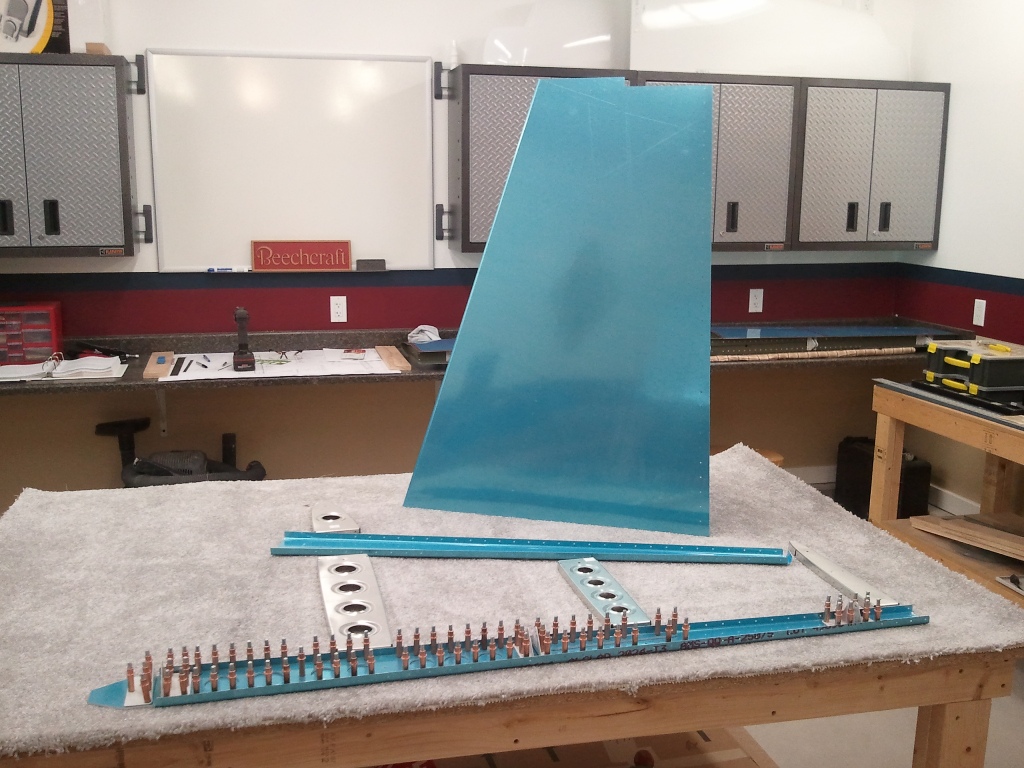
Skeleton Assembled

So after not being able to work on the bird for some time for one reason or another, I was able to get some work done tonight. With the two boys clearly entertained with the work I was doing and the Princess entertaining herself in the back yard, we set out to get some real work going on the VS. I had done a good amount of the rear spar done already so it was time to get the skeleton together and prep it for the skin. So as you see here, I got the skeleton cleco’d together after fluting the ribs and deburring the edges of all the parts less the rear spar parts. Still amazes me how precise this kit is. Everything goes together perfectly aligned.

Skinned

After getting the skeleton together, it was time for the skin. Went on with no issues. The .032″ thickness is clearly sturdy. Once on, I match drilled all the holes, removed the skin,  removed the vinyl from the rivet lines, dressed the edges, and deburred all the holes. Figured, I was on a role, so I dimpled the skin over on the DRDT-2. I was able to get to all the holes except the first 2 leading edge holes on the upper row. I will hit those with my pop rivet dies later. All that is left is for me to do before the skin can be primed is to scuff the inside. All in all, some good work for one night.

Skeleton Ready for Dimpling

So it’s quitting time tonight. Just need to dimple the skeleton, debur the edges of the rear spar and dress the edges of the doubler and all the holes. Then some primer and I can get riveting this assembly together. It was great to get back at it.


Categories: Vertical Stabilizer

Short Build Hiatus

July 5th, 2011 No comments

So, to the followers of my log, fear not, I am not dead nor have I stopped building. Life has been a little hectic around here. I have been spending some time cleaning up the yard since the shop is complete, spending a bit more time with Civil Air Patrol, work, and sneaking in some actual flying.

I intended to spend some time this weekend building, but between barbeque hosting, setting up the pool for the kids, Church, CAP duties, building time was eaten up. Stay tuned as I hope to get my priming rack done this week and resume the Vertical Stab work.

Happy July to all and be safe out there.

Oh…and check your ELT’s and 121.5MHz 😉

Categories: Hangar Chat

New Gate Installed

June 21st, 2011 No comments
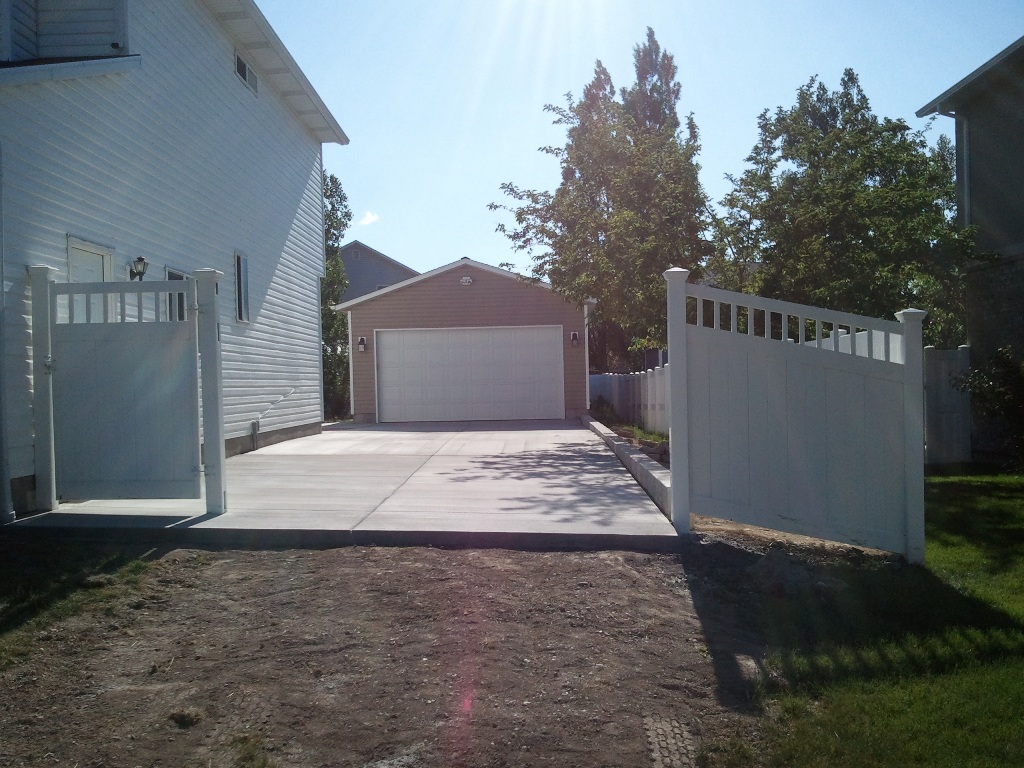
From Shop

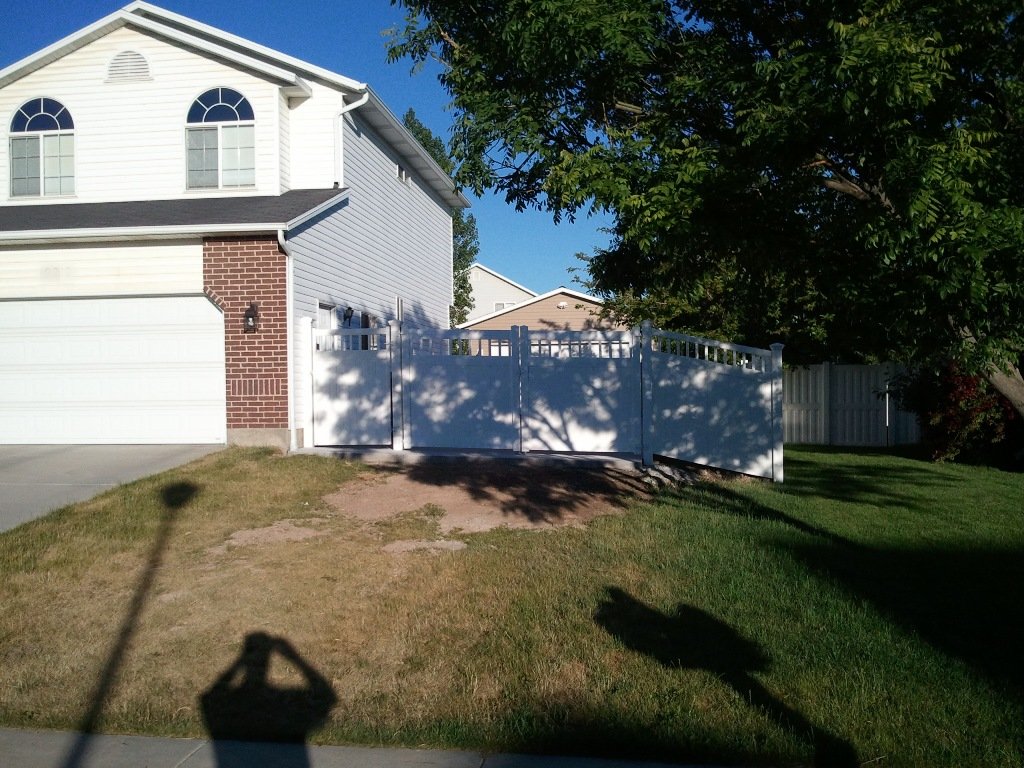
Now that the ramp area to the shop has been poured, we needed to fill the gaping hole in our fence so that the poor dog that was chained up could have her domain back. I had a local fence shop make me up a gate that I installed after work. It turned out OK. I also had to re-rig the man gate that was part of the old fence so that it would operate smoother. In the process, I lowered it a bit and it looks and works great now.

From the Street

Now when the time comes, we can get the plane out of the shop and to the airport with little trouble. Once we recover from the expense of getting this complete, we will eventually get a driveway to the street put in. The other advantage of the new drive is that when my kids start driving, they can park their inevitable eyesore of cars off the street and behind a gate. I can’t stand cars parked on the street. It does not look good and invites vandalism and theft. Overall, the gate operates very smoothly and looks good. It was painful to drill the hole in the slab for the drop bar…but it had to be done.

All Lined Up

Kiowa was thrilled this morning to be let out and run free again. She has not been able to explore the new drive and watched all the excitement from a chained up position. She was back to her happy self now that she has free roam of the land.

Categories: RV Factory/Shop

No Plane, All House/Shop Work

June 17th, 2011 No comments
Runway Done 🙂

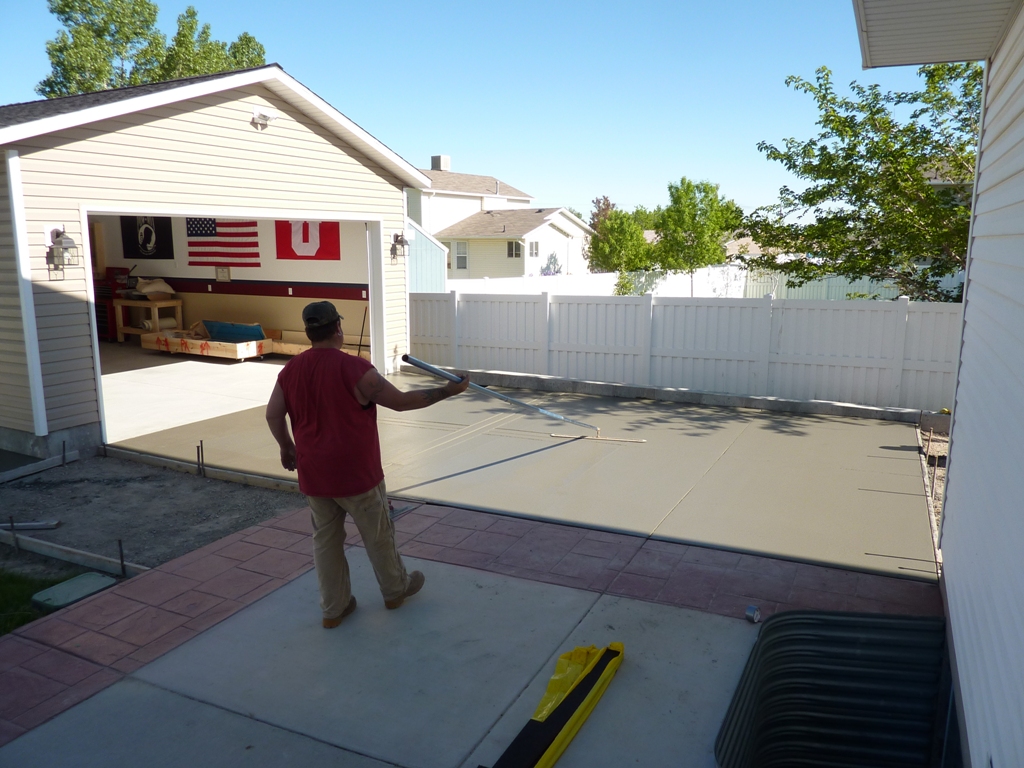
Was not able to get any work done on the plane this last 2 weeks. I had the concrete guys finishing the approach to the shop to the front corner of the house. I also had to fix the fence, set a new post, and get the area ready for a gate that is coming soon (I hope). I also had some CAP work to do in preparation for an all day training exercise. Cannot say I’d not rather be bucking rivets over the options, but you have to do what you have to do sometimes. The final pour was completed Monday this week. I got the fence put back together on Tuesday and called in to the city for my final inspection for Wednesday. Apparently “early morning” means something different to a city agency than to someone who works a corporate job. He finally arrived Wednesday near lunch time and quickly handed me the paper below. The inspection time is NOT accurate…I think that is when he left to come over and stopped off for a BIG GULP and a pastry and read the whole morning paper. 😉

Passed with No Squawks

What a relief to have that done. Now to get the gate in and fix the yard. I hope to get some plane assembly done in there too. Have to keep Mom happy! 🙂

Categories: RV Factory/Shop

Another Big Day for the Shop

June 7th, 2011 No comments
Looking good there Travis!

The last thing the shop needs before I can get the final inspection is at minimum a 3′ x 3′ pad at the man entry door. I knew I wanted to have a nice transition from the patio to the shop and eventually I would need a driveway from the street to the shop…so I decided to to at least from the back corner of the house to the shop with a sidewalk to the man door. I had planned to have this complete a long time ago, but the weather made other plans. With the weather finally cooperating, my concrete guy showed up last Saturday and formed up the sidewalk and set my drain box and pipe. They showed up this morning to pour the pad to the back corner. When they were doing the work Saturday, I asked for a bid to get from the back corner of the house to the front corner. He came in much lower than I had expected, so I said….”let’s do it!” So after the pour today, they are going to form up and get ready for the rest of the drive to the front of the house on Friday.

That will leave from the front corner of the house to the street. I can also get my gate done and in. We will be waiting a little to do to the street to figure out exactly what we want to do, and save up some money as well.

The other bonus is that we can now set up the basket ball hoop that my parents gave the kids for Christmas. They cannot wait, and neither can my wife. Next we can get the sprinklers redone and get the backyard as good as new.

If you need a crete guy in the SLC area…these guys to GREAT work.

Categories: RV Factory/Shop

Vertical Stabilizer Work Starts

June 3rd, 2011 No comments

Vertical Stabilizer Parts Prep

Started the Vertical Stabilizer today. Nothing real special to report. Matched drilled the stiffener to the aft spar, added the hinge brackets, and cleco’d the skeleton together to show the wife. Not sure why Van’s does not have you start with the VS. Seems to me, fewer parts, more consistent hole sizes to drill and would give a good intro before tackling the HS. I undid the clecoes on the VS skeleton and need to flute the ribs. I will then debur all the parts and then reassemble to match drill the skin.

Categories: Vertical Stabilizer

Milestone…HS is Complete

May 30th, 2011 No comments
Thing of Beauty

Memorial Day 2011 will be memorable for sure. I was able to get all the assembly of the HS done. I had bucked all the rivets in the field of the skins earlier and only had the perimeter to do. So I started with the HS-404 and HS-405 ribs and grabbed my pneumatic squeezer and knocked them out. I did remember to leave the open holes for the fairing between the Horizontal and Vertical stabs alone. Some have reported that they got so into it, they just riveted those and then had to drill out.

Next was final attaching the HS-706 ribs to the skin. Worked from front to back on each end and each side. Went fast with the squeezer.

Once the ribs were done, I moved on to riveting the aft spar on to the skin. Basically, I pulled out every other cleco from the skin and placed a rivet in. Then I squeezed them. Once complete, I removed the remaining clecos and squeezed the rest.
Vans Said Not a Problem

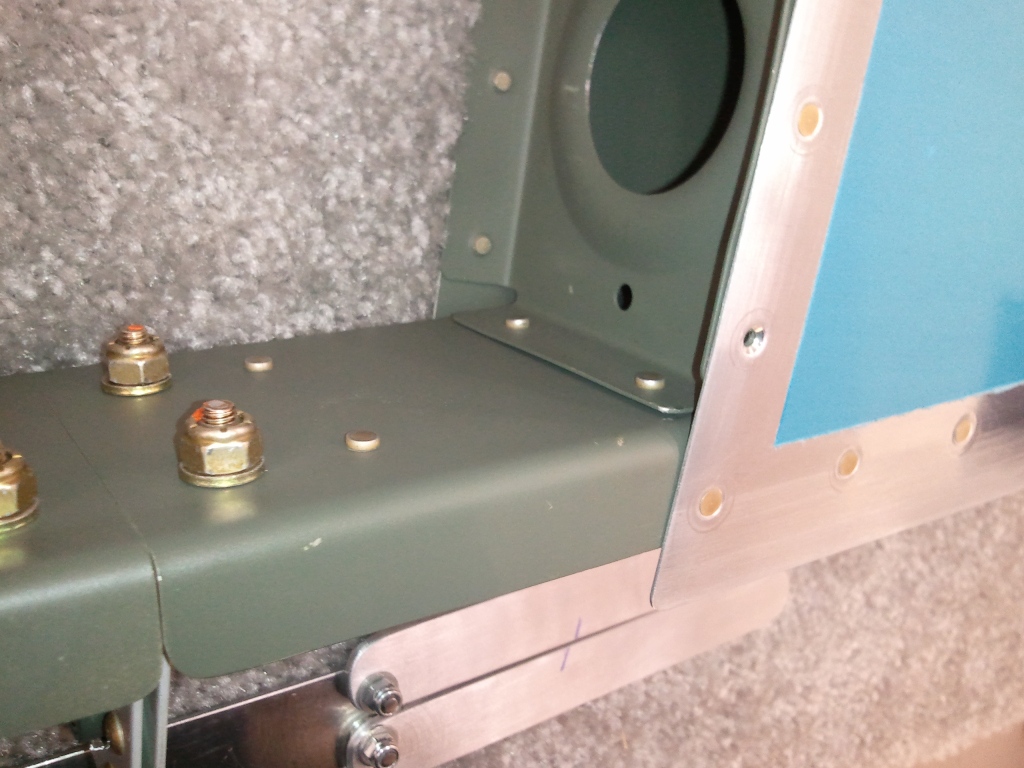
Next, I squeezed the HS-603PP to HS-706 AD4’s, then the HS-603PP to HS-609PP to HS-405 holes. These were a little awkward to get to with the squeezer and the aft flange of the HS-405 lifted/distorted some from the aft spar, though the rivet locations were tight together. Shot an email to Vans which they replied…build on, it will happen.
Ooops Overcome

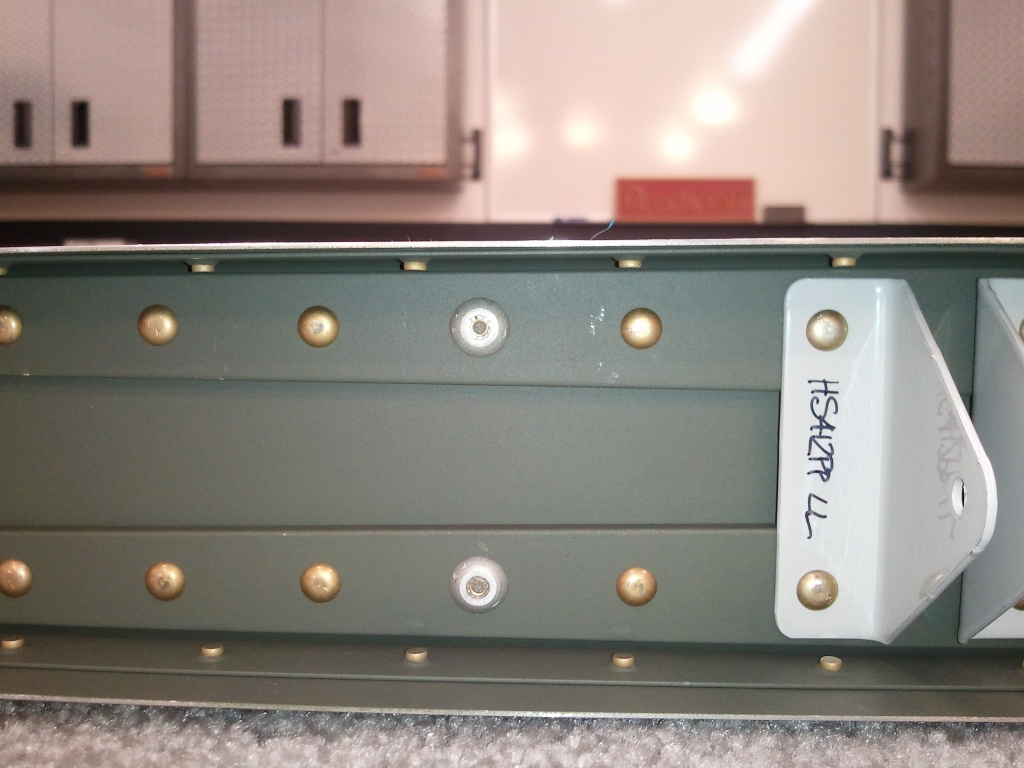
Once these were nailed down, I was left with the HS-708 aft rib holes that are blind riveted to the spar assembly. I failed to mention earlier that apparently I had a fit of dyslexia when I first started the Aft HS Spar. I accidentally drilled the holes that tie the aft of HS-708 to the spar with a #12 bit rather than the called out #21. I felt really stupid and was really discouraged on day one of my build that I had royally messed up. I called Vans then and asked if it was OK to use CR3213-6-4’s instead of the BSPQ-5-4’s called for due to the oversized hole I now had and if it posed a problem to the strength of the HS-609PP spar doubler. They assured me, you could not measure the loss of strength without visiting NASA. They agreed that using the much stronger (aka overkill) Cherry Max rivets was perfectly acceptable. I sent them another email as I finished up with this picture, and they replied again, all is well and build on. They mentioned several times my work looks really good. Whew! One note of caution, make sure that when you insert the blind rivet into the spar that it really is in the rib. You can check by looking through the HS-405 lightening hole. I thought several times that the rivet was pushing the flange away from the spar and was glad I checked before I set these tough little rivets.

Within Spec…Build On

The last area of concern I had when I got all done was the HS-710 stiffener to HS-702 to HS-405 rib interface. I mentioned it earlier, but I sent it on to Vans to just be double safe. I mentioned I was a couple of thousandths of an inch short of the 0.250″ ED and they replied…you are well within MilSpec, build on. Again they complimented me on my work. Perhaps they know something about new builders. We worry tooo much. It was still welcomed assurance.
HS Complete!!!

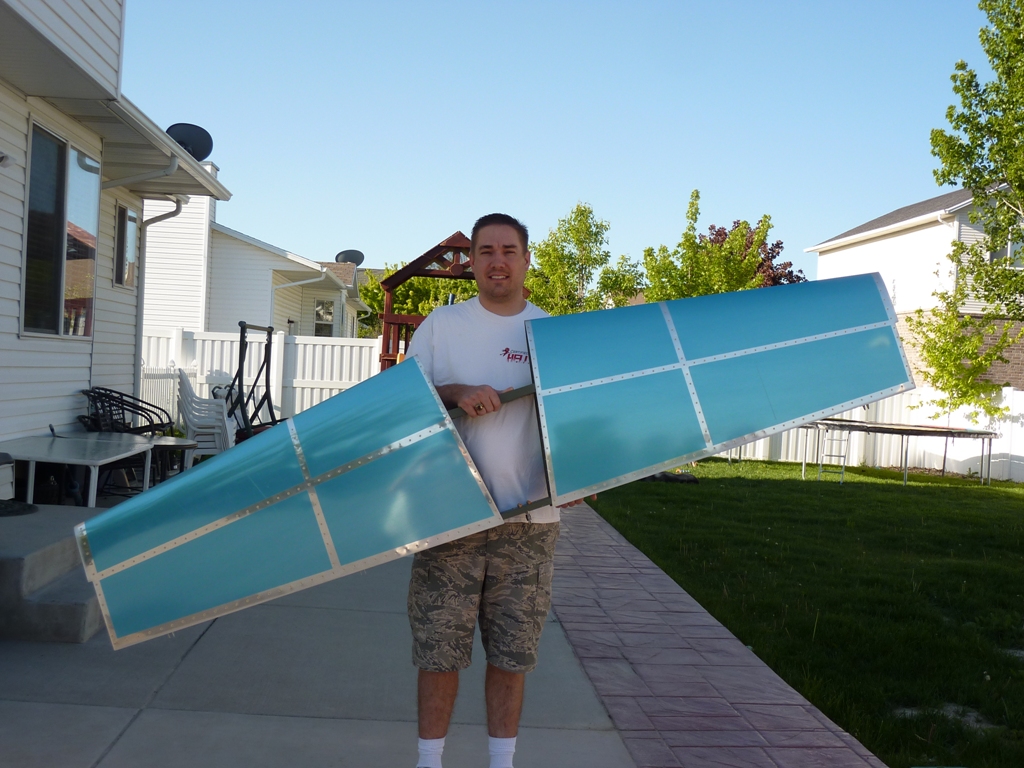
And we arrive here. A completed Horizontal Stabilizer. It is not 100% perfect, but it will fly, and fly well. Thankfully paint will make up the difference. I need to shoot some primer back on some spots that got a little scuffed when assembling, but all in all, it is time to move on to the next stage of the build…the Vertical Stabilizer! If my mistakes really bug me, once I have more of the bird built, I can then decide if I want to do another HS, but we’ll cross that bridge much later. After all, it is not the space shuttle. 🙂

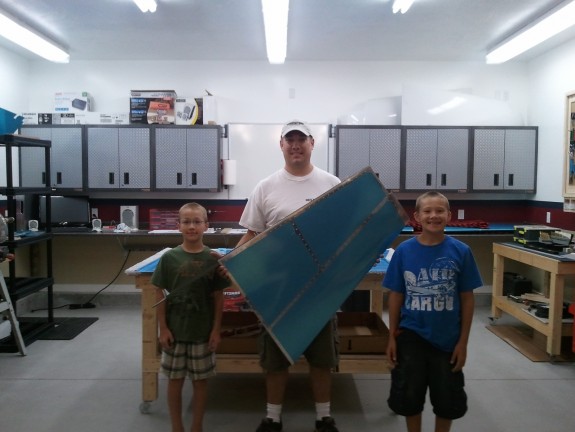
Categories: Horizontal Stabilizer

Wing Kit Inventory Complete

May 26th, 2011 No comments

After a visit from a friend and my A&P/IA who was pleased with my riveting on the HS, I figured I had to inventory the Wing Kit or I may be out of luck and more money if something big was missing.

Yes, There Are 2 Wings In There

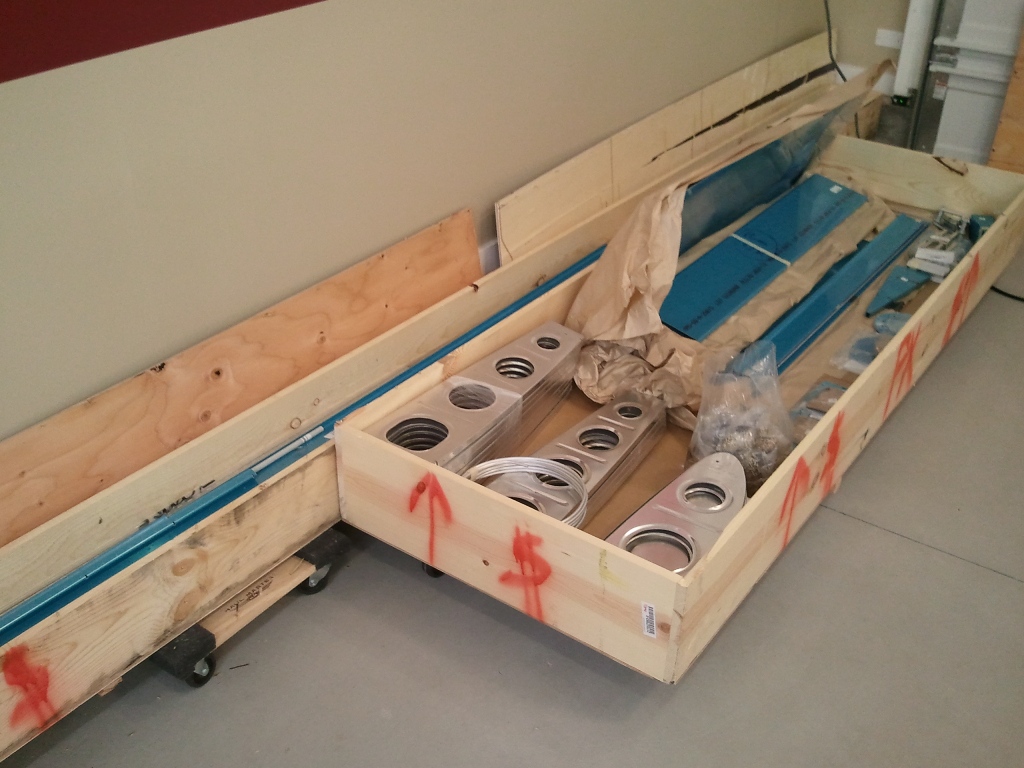
In accordance with Vans Aircraft’s instructions, kits must be inventoried 30 days after receipt. Otherwise, YOU pay for what you are missing. I am a few days beyond that deadline, but figured I had better get it done sooner than later. Since I ordered both the Tail and Wings together, it was very tempting to let the Wings be until the tail was done.

My Tail kit was missing only a small washer that I was able to source locally for free. I figured that the Wings would be the same. It was real close. All the major parts were present and in great shape. Once I got to the hardware bag…wow, these things have a lot of nuts, bolts, and rivets. As it turns out, I was short one of the exact same washers that I was shorted in the Tail kit. Guess I will source another one. The only other missing was 12 K1100-8 nutplates. I called up Vans and they, without any hesitation or question, said they would get me taken care of. Now that is service.

It was neat to see the spar…that chunk of metal is a work of art. The other item that was good to get out of the crates was the fiberglass wing tips. It really gives you a sense of size when you hold one of those. This IS a real plane!

With all this paper, how did they fit the kit?

I had to take a picture of this pile of paper. I even felt like I needed to go through it all again to make sure I did not miss something. It is amazing what they fit in these crates and how well protected they are.

Categories: Wings

HS Nearly Done

May 25th, 2011 No comments
Oh Sooo Close

Not to many pictures tonight but a ton of work. I was first able to get the Left HS Skin riveted on with no real trouble. It became clear that I really should but some tape on my Flush Rivet Gun Set. The first flush rivets and surrounding skins have some scuffing that will go away once prepped for paint. After a while my eye again calibrated to the proper setting of the flush rivets. I spot checked them with the gauge and all seemed good to go. The other lesson learned was you really need to keep a good grip on a tungsten bucking bar. If it is just slightly tilted when bucking, it won’t take long to make a mess. It does make bucking go fast however.

I ate some dinner, returned and started on the right skin. I shot the rivets on the HS-707 rib and had to replace the top nose rivet a couple of times. I thought I was satisfied until I was done for the night and looked at it again…I may need to put a cherry max in there because it is now closed up. I will check with my local expert first, but in the end…it will be OK.

As I moved further aft on the HS-707 rib, the rivet flush set in my gun slipped off the rivet and left a minor indentation in the skin…grr. Why did it have to be on the top of the skin. It is not terrible and a little prep when painting may make it disappear 😉 . Either way…it will still fly just fine. I then joined the other half of the HS and installed the HS-708 Rib with blind rivets in the tight space. Then I attacked all the field rivets on the right skin. I then clecoed the rear spar in. And here is where it ended and the picture was taken.

All that remains are all the rivets around the perimeter of the skins. So close, but it was time to stop before I got too tired. All in all, it looks great…I have a plane part near completion. I may get it done tomorrow or over the weekend.

Categories: Horizontal Stabilizer

Horizontal Stabilizer Final Assembly Begins

May 23rd, 2011 No comments

Getting Ready to Really Rivet

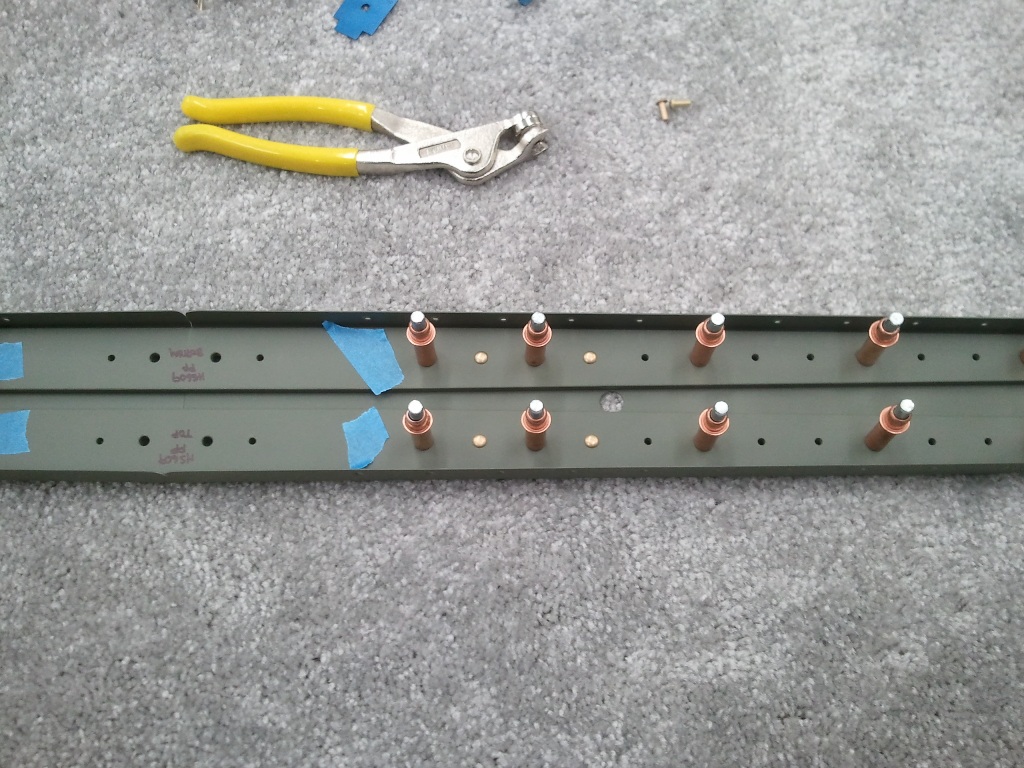
After a weekend of traveling south for CAP, it was time to take the primed parts and start doing some assembly. Here you can see the first 4 rivets in the HS Aft Spar in their locations. I was worried that the AN470AD4-6’s called for in the plans were too short. My length gauge from my tool kit said they were, but all the reading I did said that this was normal and would be OK. Here goes nothing.

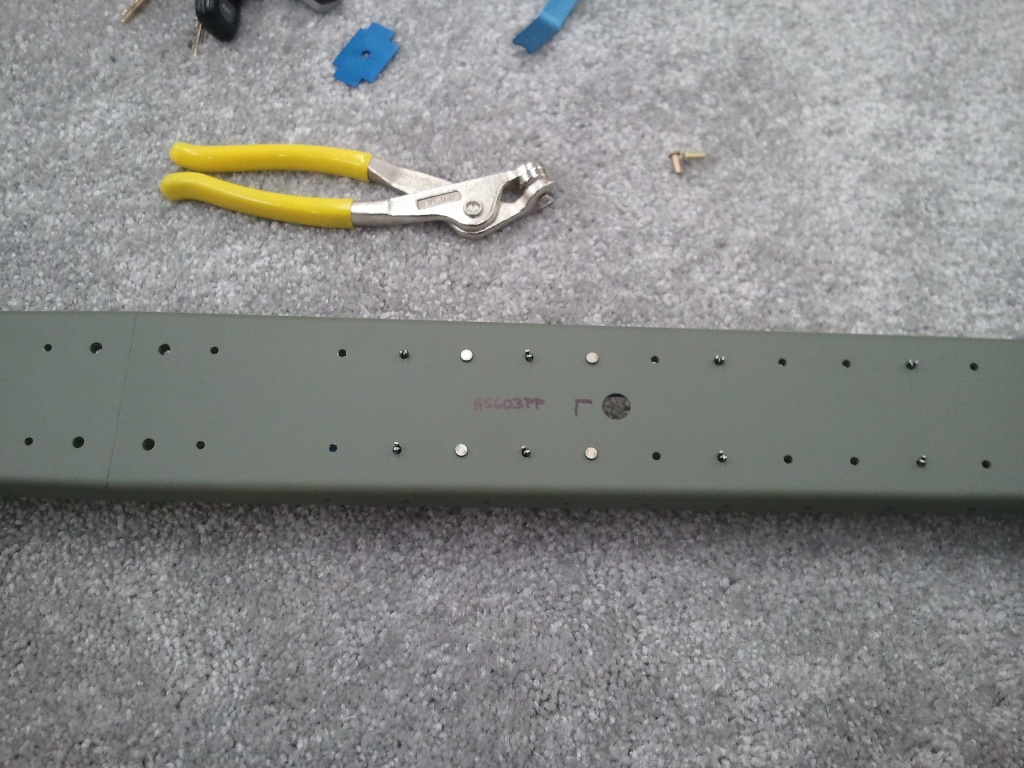
First 4 Smashed and Looking Good

Here is a backside shot of the same after taking my pneumatic squeezer to set them. That tool is worth every cent. Made for clean, consistent, well set rivets over the whole spar. The call outs are correct on the plans after all. I started to feel like I could calibrate my eye after checking the shop heads with my go/no go gauge. I was correct! After a short while, I could tell by simply looking at them. (I still checked them though 😉 )

First Slipped Rivet

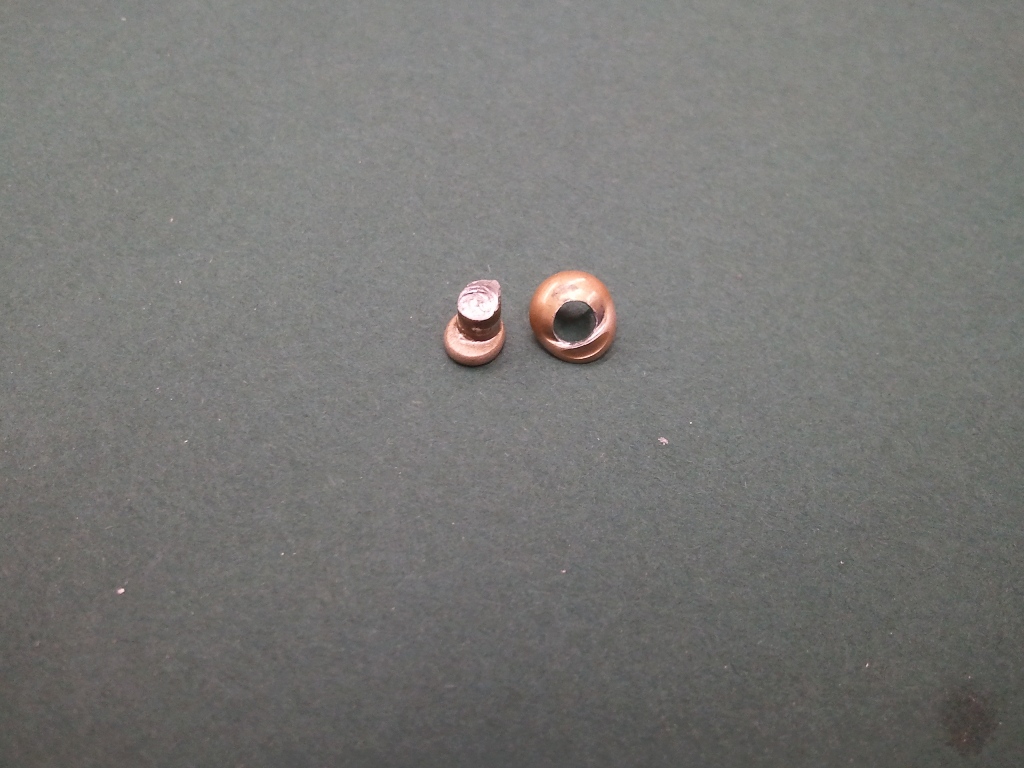
I was happily setting rivets and thought I was complete with the HS Aft spar and was going over them one at a time and noticed this gem. Apparently I let the squeezer slip and it mangled both the shop and the manufactured head. It just looked bad. Many builders tell you to resist the urge to drill out a rivet just because it looks bad, but this one was not acceptable. I center punched the divot in the manufactured head with a #40 drill and then followed it up with a #30 just until I knew I was just below the rivet shoulder and was able to pop the head out with a punch. I then drove the rest out. The nice thing was, no hole elongation or mangling.  I then reset a new one and you cannot even tell. Whew…however, I know there will be plenty more I will have to remove on other parts.

Spar Complete

And here we have a complete HS Rear Spar. The gold rivets look great against that green of the primer. Now on to the Forward Spar. I assembled it per the instructions. Had to break out the rivet gun for some tighter spots the squeezer could not reach. My dies did scratch up the primer on the reinforcement bars a little. Once both skins are on…I will shoot another dusting of primer on the center section and the stiffeners. Other than that, it went together OK. Then next step was to start working on riveting the skins of the HS on. I started with the center nose rib. I clecoed it to the top of the left skin. My 3/32″ clecos did not seem to hold well under the spring tension of the skin. They kept popping off as I bent the skin around the rib. To solve the problem, I simply drilled a bunch of #40 holes into some scrap stock and then on my band saw cut squares out around the holes to make little washers. Then when I clecoed the parts together, I simply put the little washers on last and they held strong. Kind of a pain, but an easy solution. I got the first 10 or so flush rivets set in the top and bottom of the skin and pressed on. They are not perfect…but final paint will do fine to make up the difference. 😀

No Question why Rosie was the Right Person for the Job

After the center nose rib is riveted, you have to install the forward spar assembly into the skin and then the aft center and outboard ribs. Once in, you blind rivet (pop) the two center ribs and spar together. This is not easy to do when your hands are XL in size. The Army Air Corps knew what they were doing when they hired all the Rosie Riveters in WWII. I needed one in the shop for these. I got them in though. I may shoot some primer to cover the scuffed areas my blind riveter hit when the mandrels broke. Otherwise…it is looking good in there.

Ready for All the Rest of the Rivets

It was time to call it a day. I was able to rivet the end rib to the spar, cleco in the aft center rib, and cleco on the skin to all the parts. Next step is to set all the rest of the flush rivets. Once complete, you do the same for the other skin and then rivet on the aft spar completed earlier. Then…you have a completed Horizontal Stabilizer!!! Hope to have this complete over the Holiday weekend. I am beat, but it really looks like I am building a plane now!

Categories: Horizontal Stabilizer