Proof for the FAA.
OK…so I hate ProSeal. I know I shouldn’t, but I do. I despise the sticky, gooey, snot like stuff. That said, I need to get moving on the plane again. A fellow builder/owner has been hassling me (actually giving good moral support) to get going again as well. Does not help that he let me borrow his sealant gun back in November and I have been holding it captive. We chatted this week again and he darn near pushed me into the shop verbally right then. Thanks Todd!
This weekend had a few items on the “To-DO” list. First, we planned to go hiking as a family EARLY Saturday AM. Apparently the powers that be decided otherwise as the regulator for the drivers side window in our family hauler decided to catastrophically fail Friday night. My Saturday morning turned into a “can I find one” mission and if so, “can I change it out” followup. Fortunately, the dealer did have one, and as much as it pains me to pay more for genuine Honda parts and their associated price, they were local, and I could get the van back in service quick. You got to love Honda engineering. They really seem to think things through from a build and repair standpoint. It was actually a pleasant repair all said and done. I was happy to have the family assault vehicle back in shape.
So with that rewrite of my list, I decided to take a nap, then head out to the shop and see what I could get done. Since buying my original can of B2 ProSeal, it has LONG since expired. My friend Todd had some 1 oz. B2 Semco cartridges he gave me when he lent me his gun. They too had expired a little while ago, but in conversation with him, he said if they mixed up smooth, they should be OK. Did not hurt that they were stored in a cold shop for the last few months. He also gave me some newer 2.5 oz. sized B 1/2 type as well this week. Can you see a trend? Todd really wanted me to make some progress. I also learned that I could purchase some 6 oz. B 1/2 or B2 tubes locally for a decent price.
There has been some debate around the mix as you go or Semco cartridge routes. Both certainly have their advantages and disadvantages. I won’t rehash it here unless asked, but I found that I REALLY liked the gun/cartridge route this time, despite tossing some sealant once I ran out of time. The gun really lets you control where the sealant is going and eliminates the headache of measuring out the parts and making a mess mixing it. It costs a little more to go the gun route, but the convenience seemed very worth it. I think I will borrow the gun from Todd a few more times.
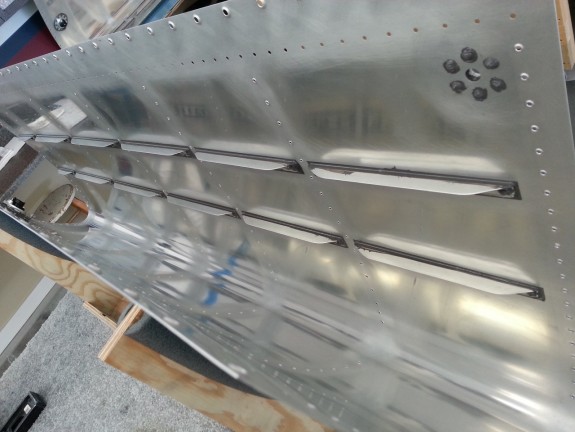
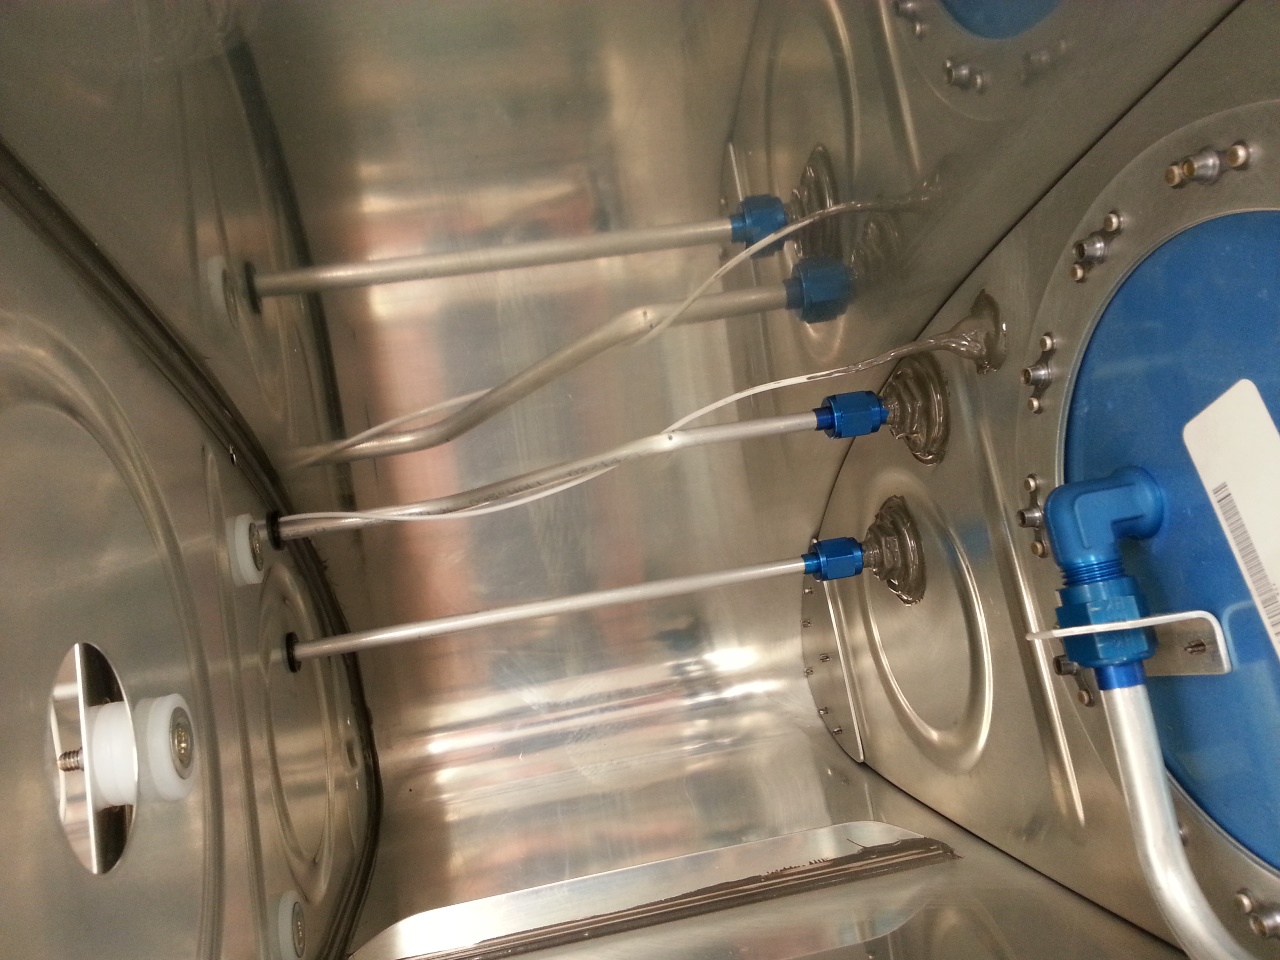
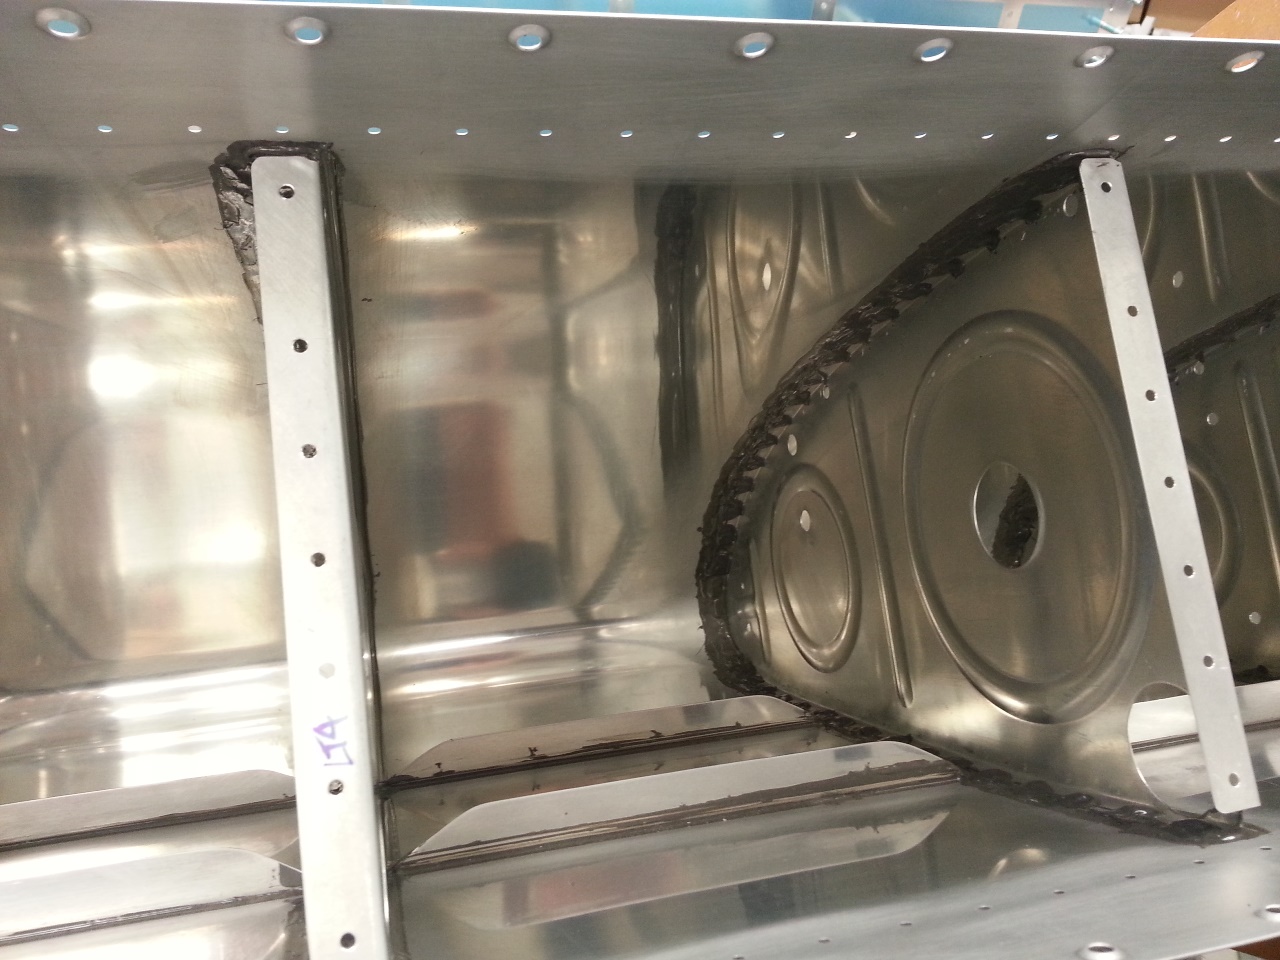
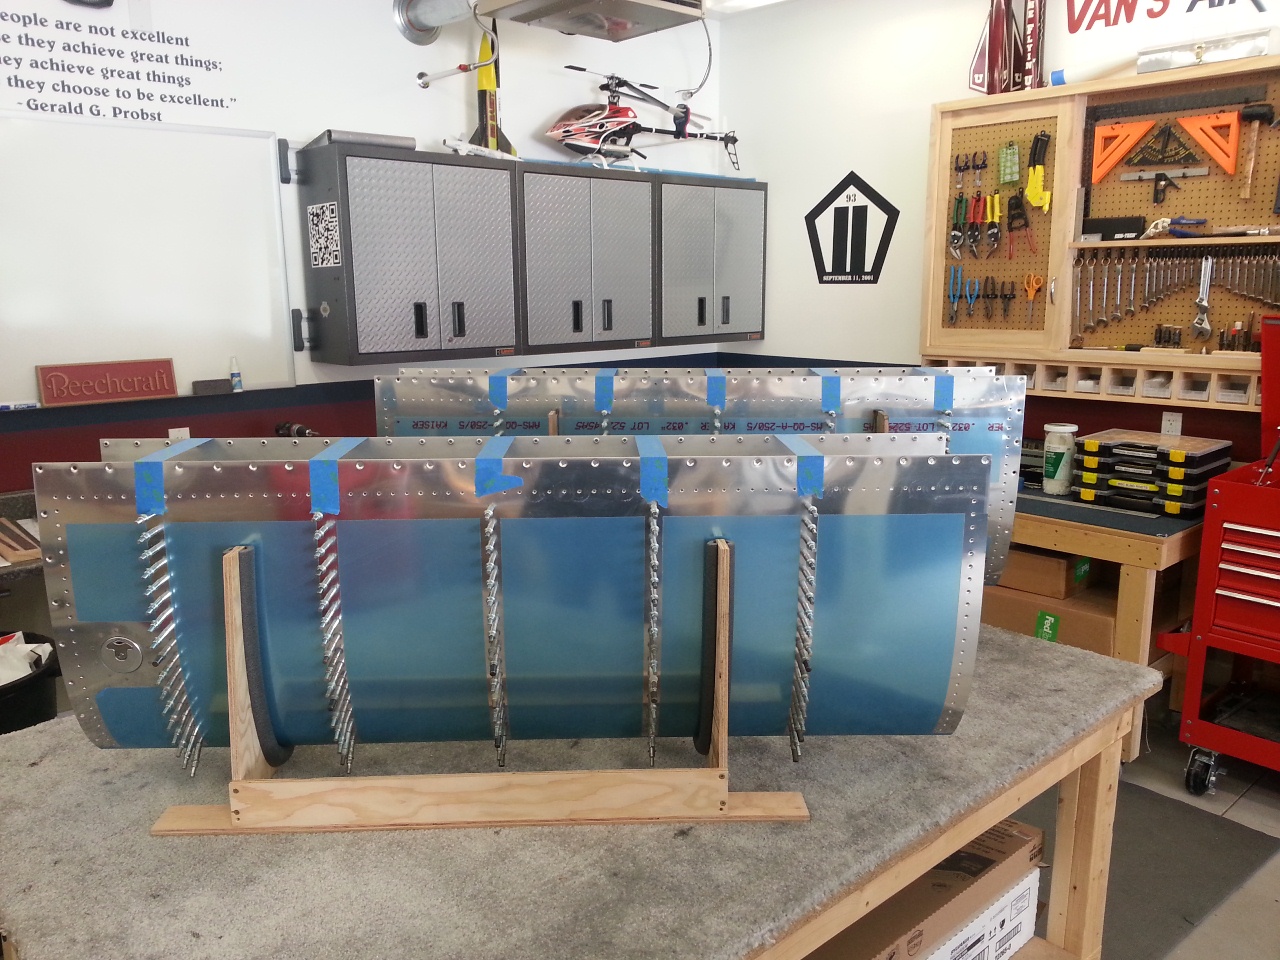
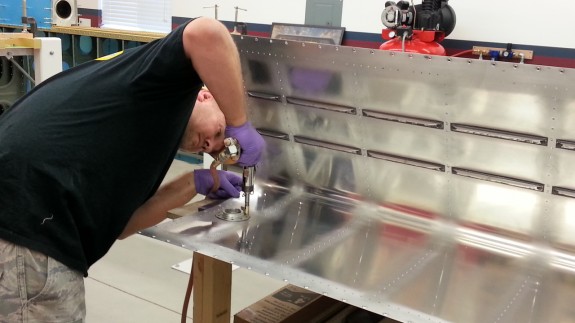
Right Tank Stiffeners Attached
First up were the stiffeners on the bottom of the tank. I masked off the areas with electrical tape after cleaning all the stiffeners and skin with MEK. I then shot each stiffener with a bead of sealant, smeared it over the whole surface, and then clecoed each in place. I waited a few minutes for squeeze out, then back riveted each and formed the fillets. I used the sealant gun to put a dab over each shop head to eliminate any path for fuel to leak. This took about an hour. I used the 1 oz. B2 tubes that were a little old. They mixed well and the sealant came out nice and smooth. (Update, they cured fine too.)
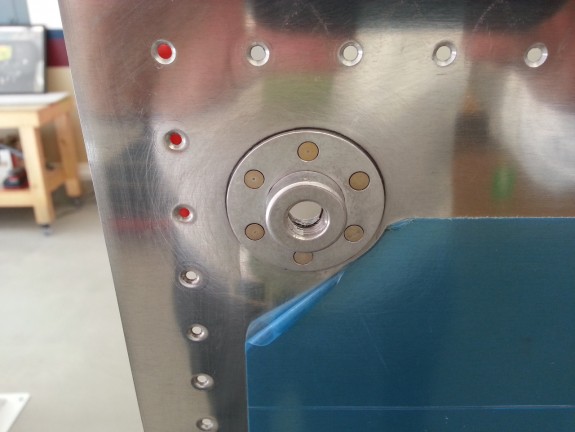
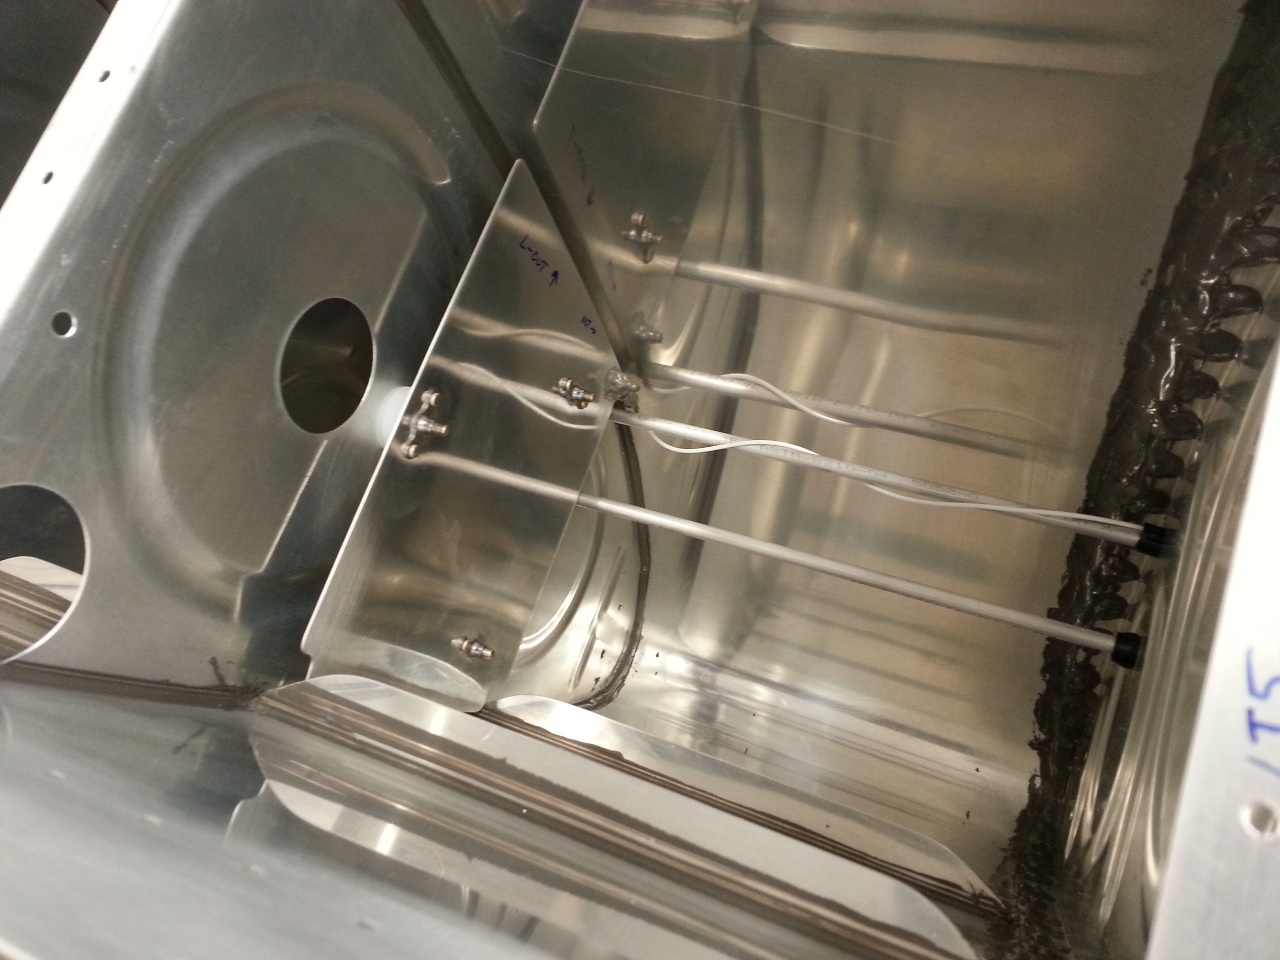
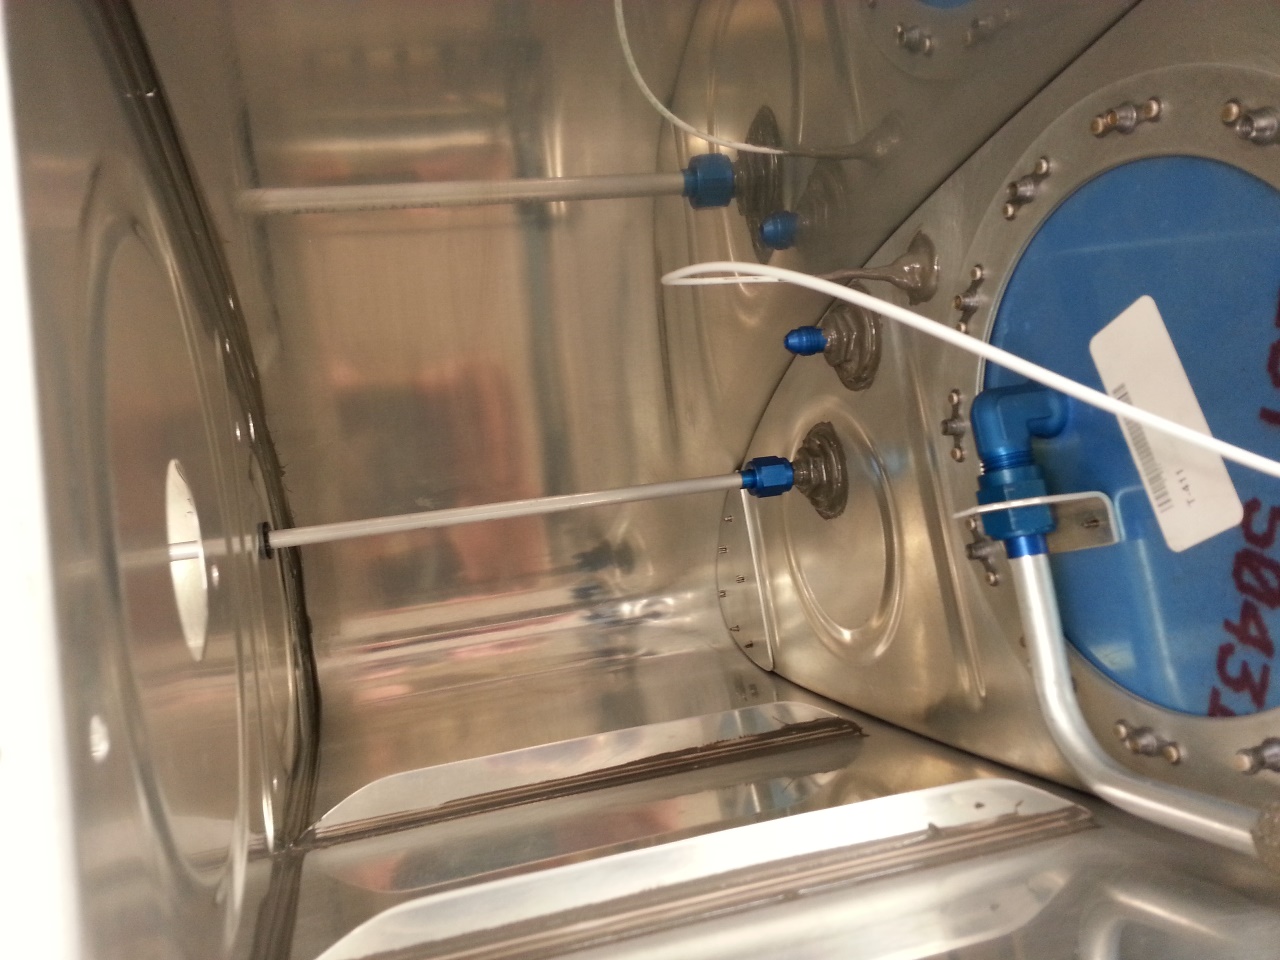
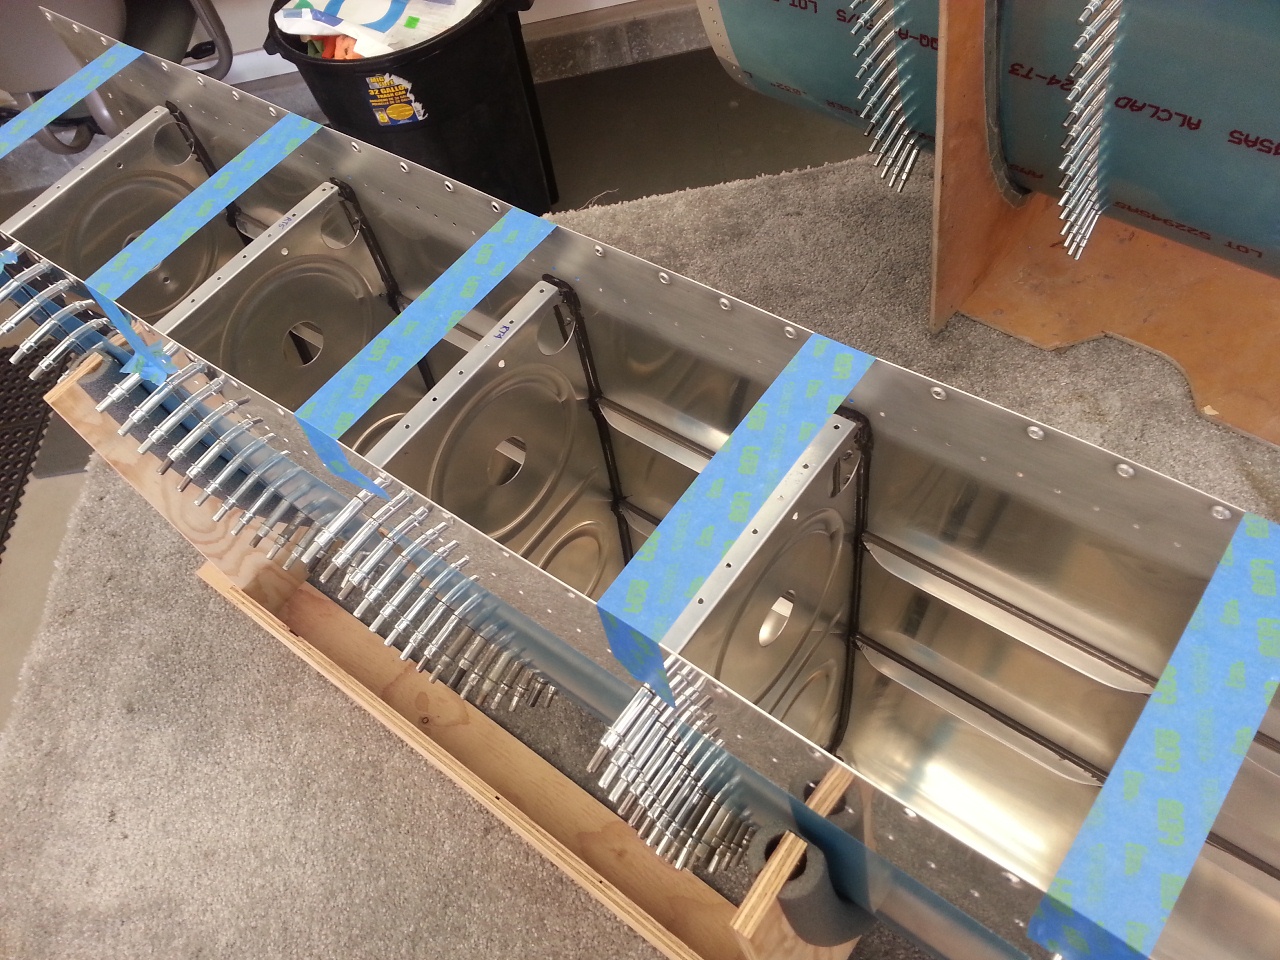
Right Tank Sump Flange
I then moved on to the sump flange. By then my flying bud, Matt had arrived to kill his boredom. He helped keep my mind off my dislike for the sealant. I smeared the faying surface and clecoed it on. After 5 minutes, came back and was able to use my squeezer and install all these rivets. The shot above is after some serious cleanup. I got a little in the threads of the flange, but I think I can clean it out with a tap or rag later.
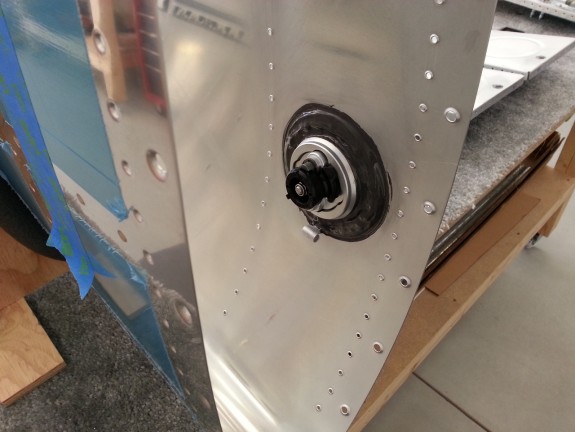
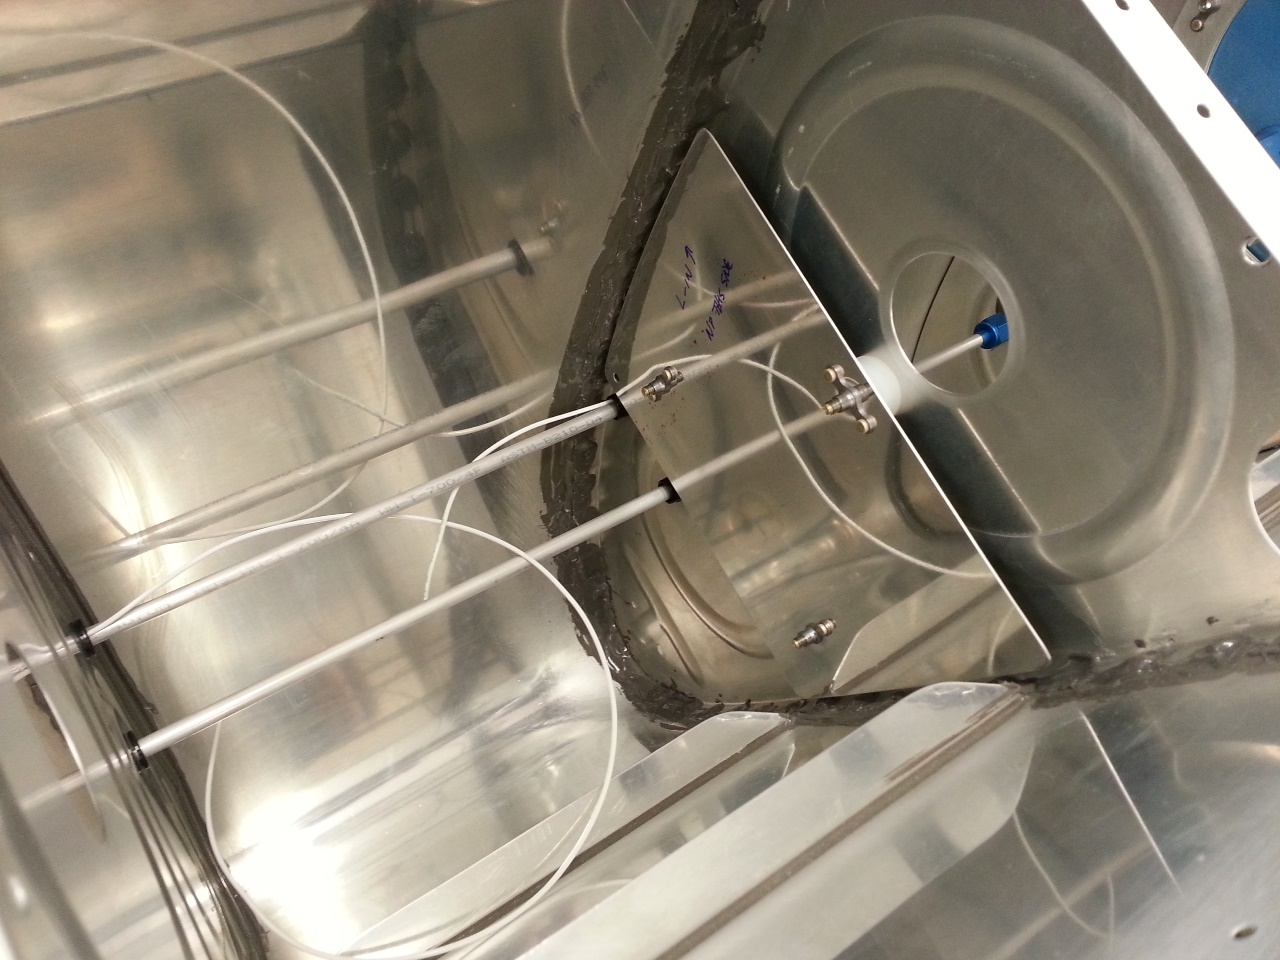
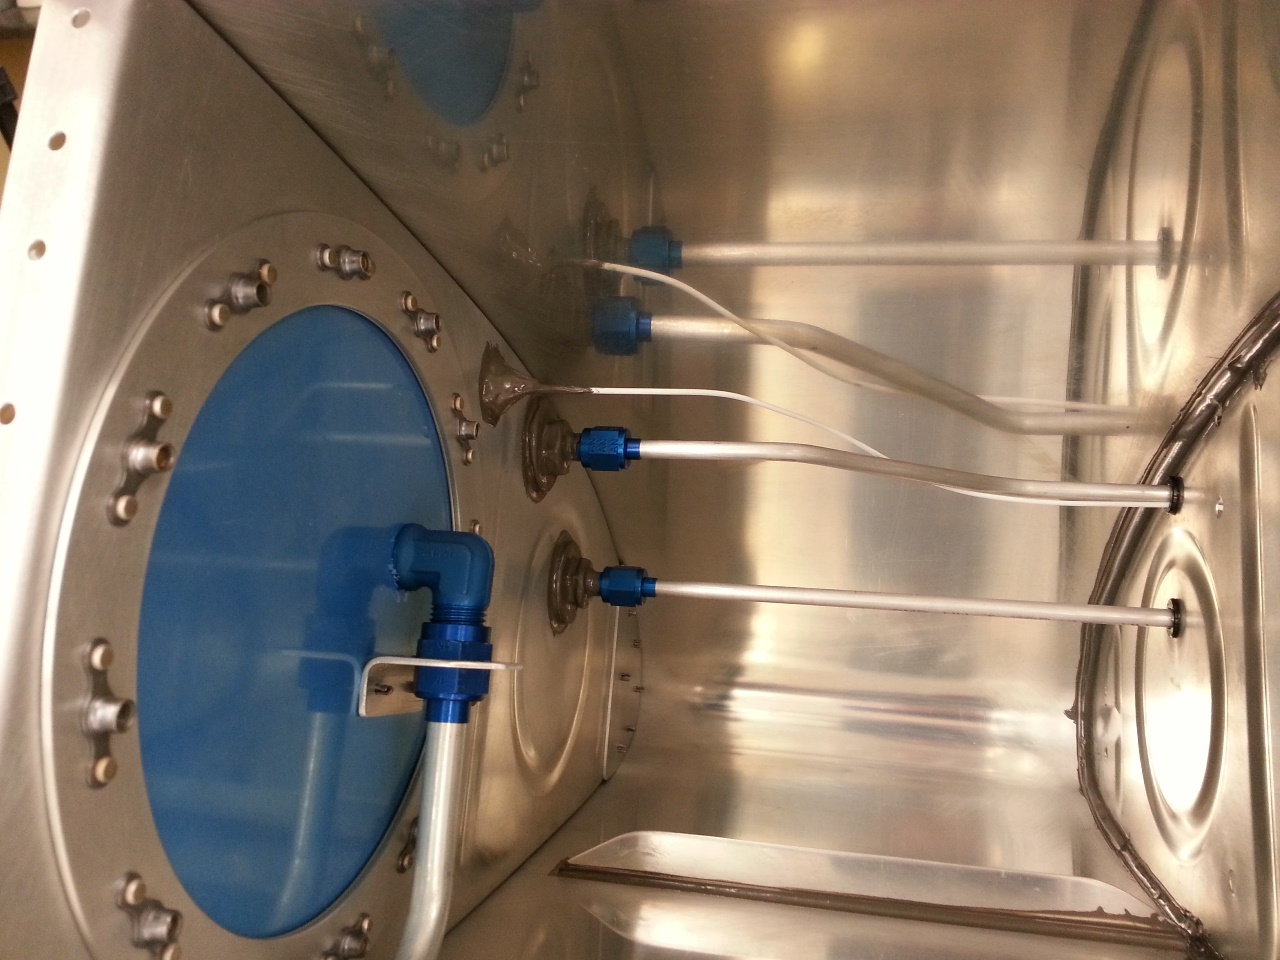
This Should (Better Not) Leak!
Last, or so I thought, was the filler neck and vent line clip. As you can see, I got a little carried away with the sealant here. I had plenty in the tube and was getting short on tasks I had planned out to accomplish. Needless to say, it should not leak, at least not here. I was able to get the four most outboard rivets with my squeezer, but the rest I back riveted in place one at a time.
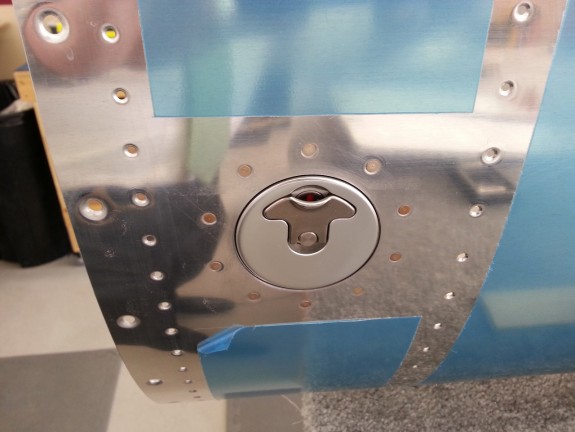
Right Tank Filler Neck and Cap from the Outside
Here you can see the flange/cap from the outside. Turned out OK. I have one rivet that appears to be slightly high, but I will likely shave it down. Replacing it would be very difficult now that I have super sealed it. There is a nice bead of sealant around the opening in the skin and each rivet. The deluxe caps sure look nice.
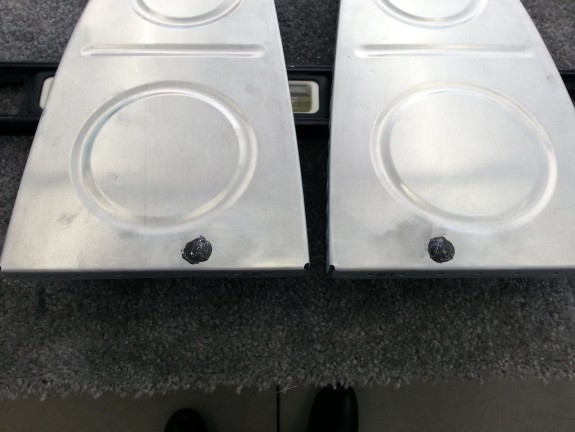
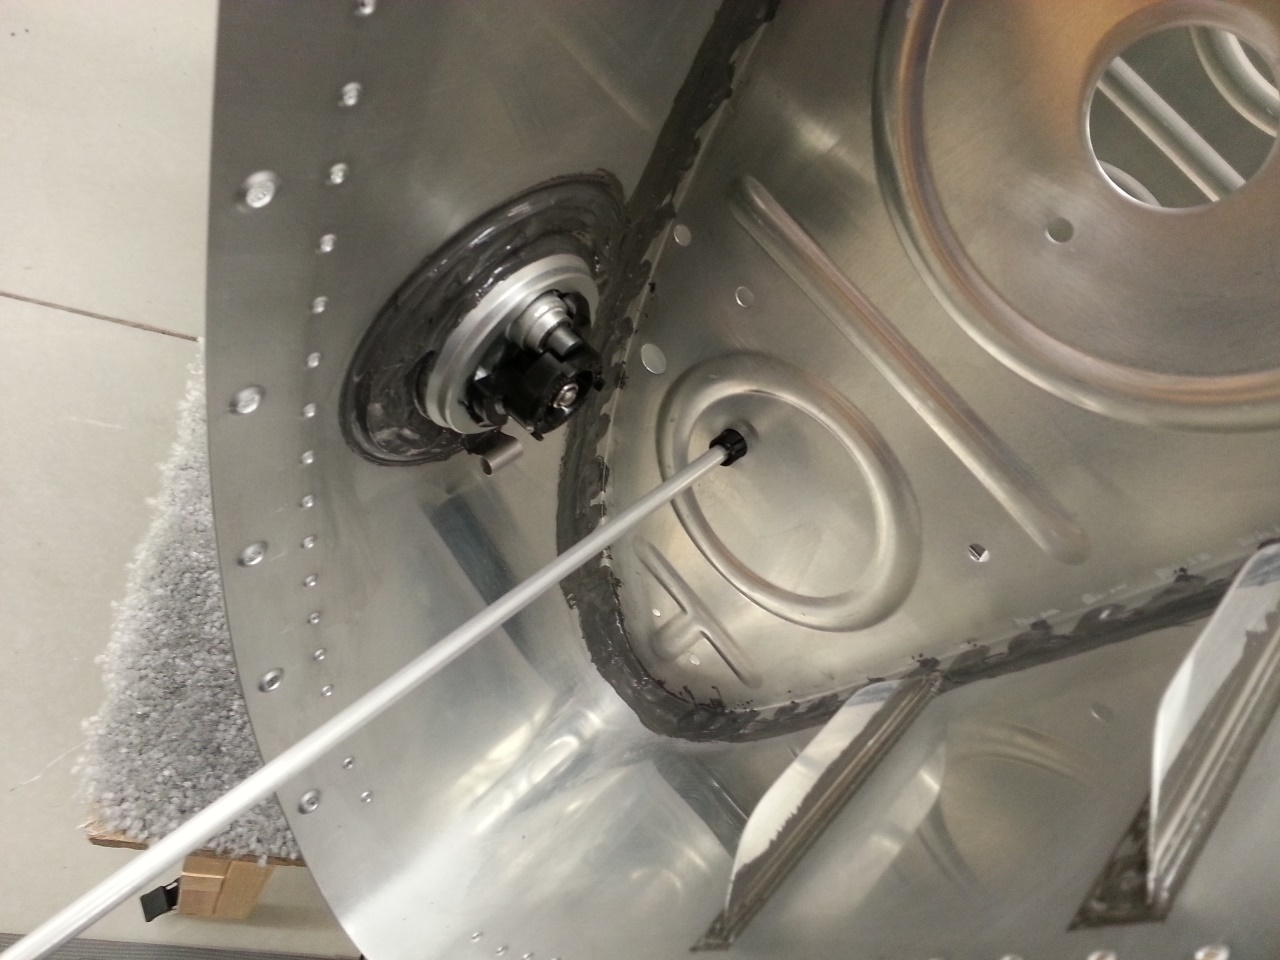
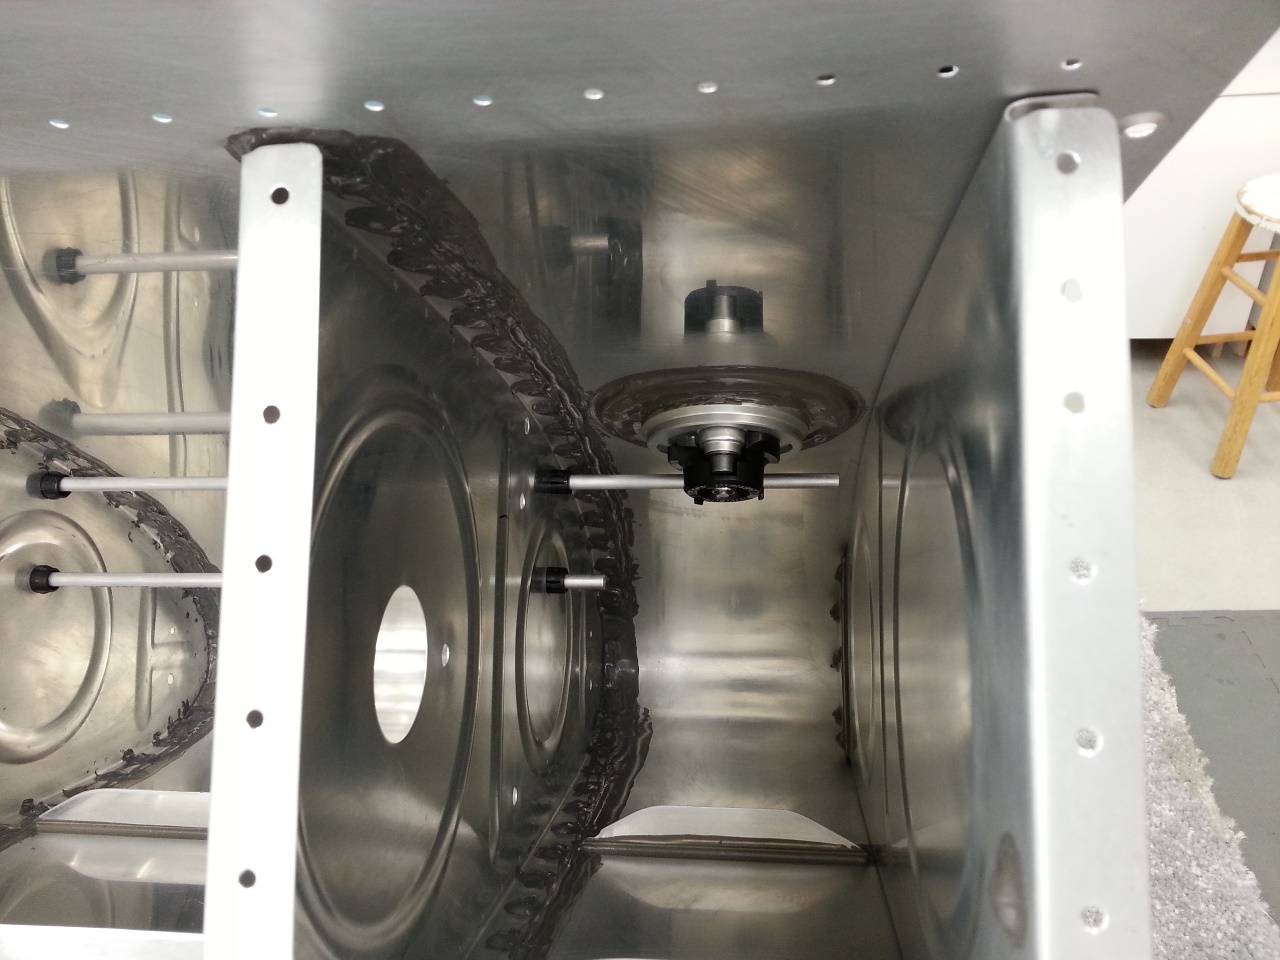
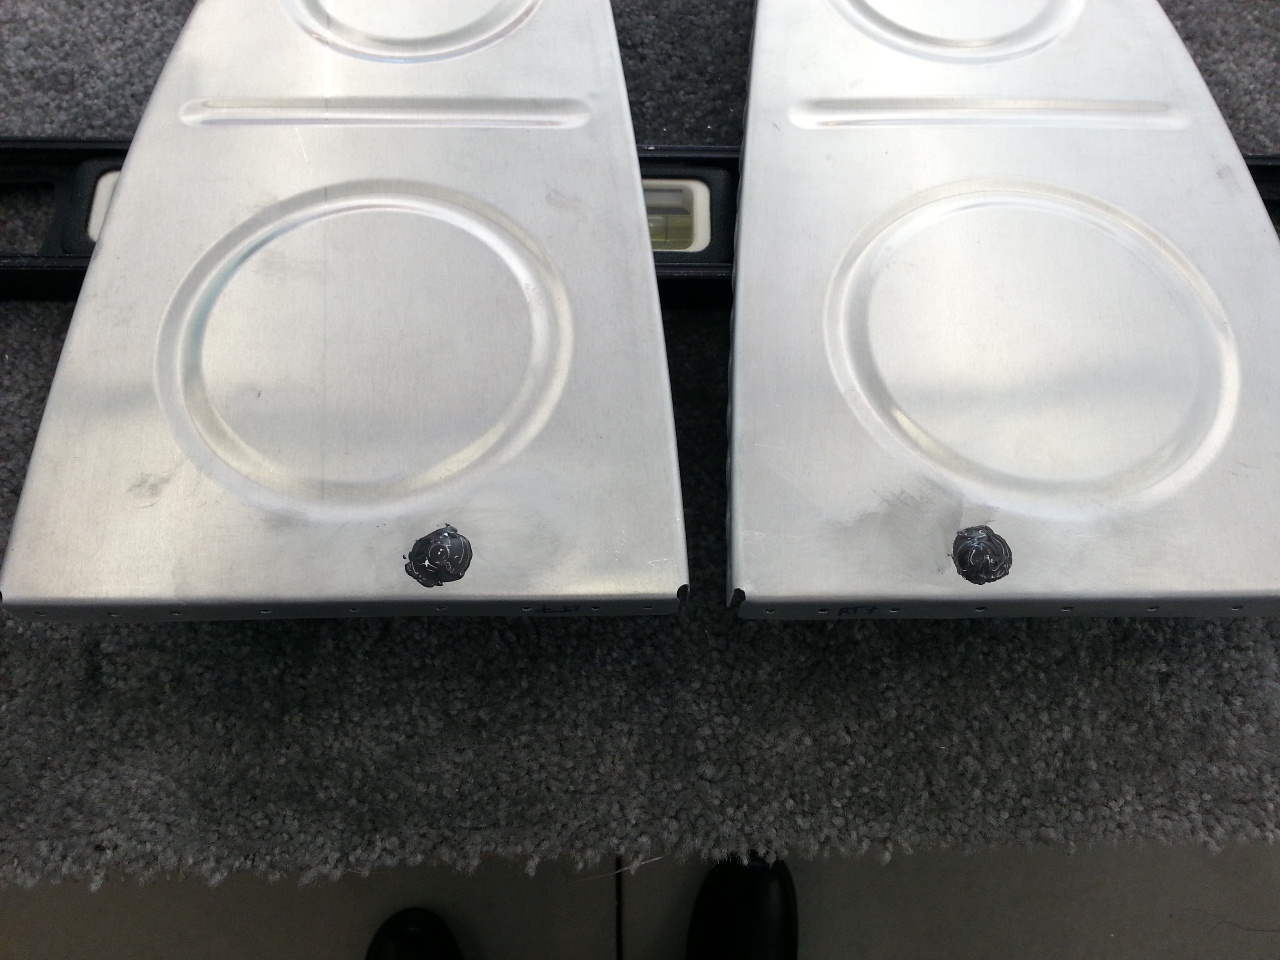
Outboard Tooling Hole Filled and Sealed Inside
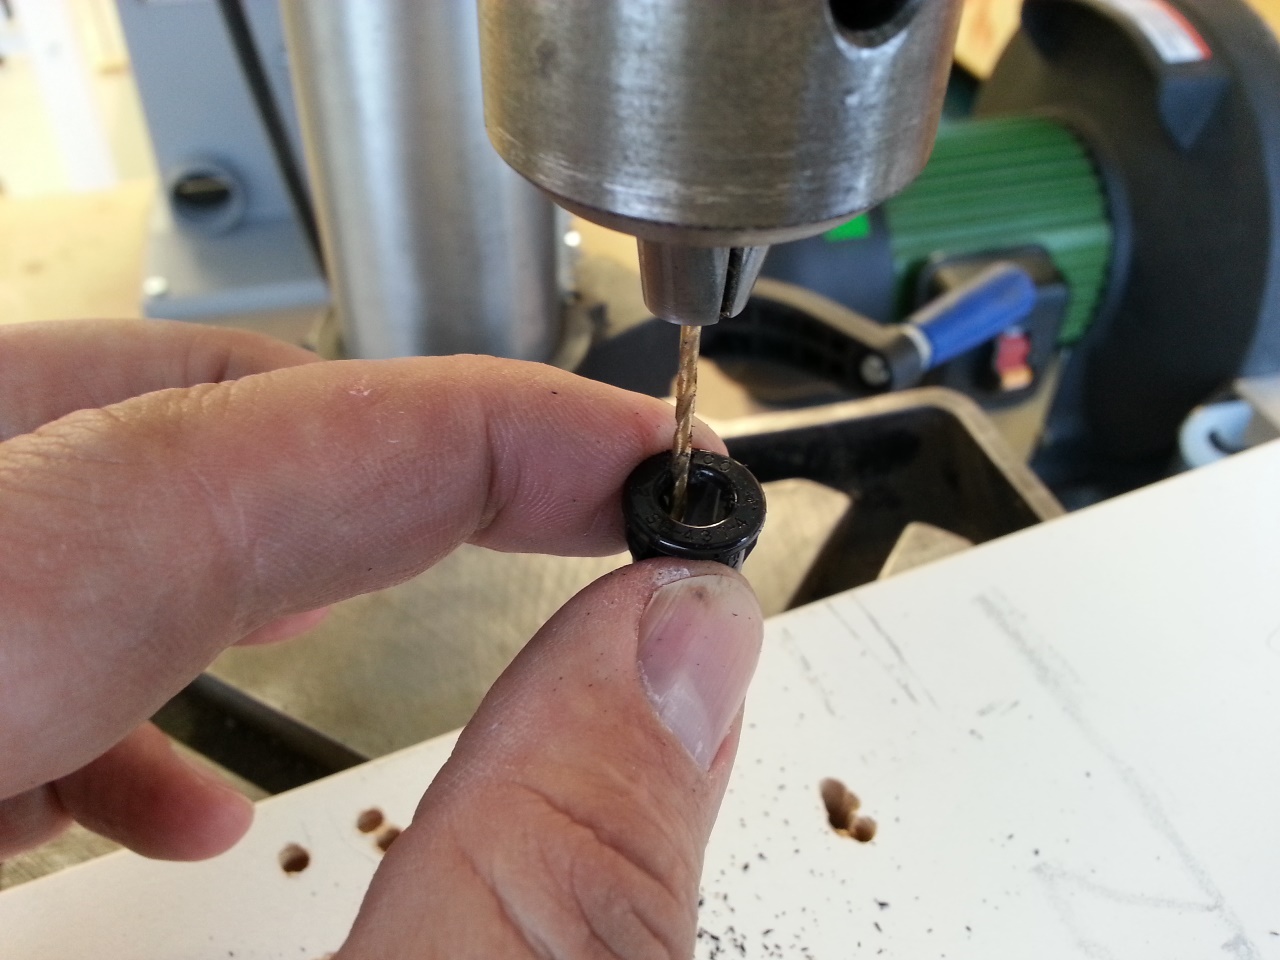
At this point, I started to clean up stuff. As I was looking around, I remembered that I had some AN470AD6 rivets (again from Todd) that I could use to plug the tooling holes in the outboard ribs. These are big suckers and my squeezer just barely did the job. I put the manufactured head on the inside of the tank to give it the best bearing surface area contact. Once I got it smashed in place, I coated both sides with sealant.

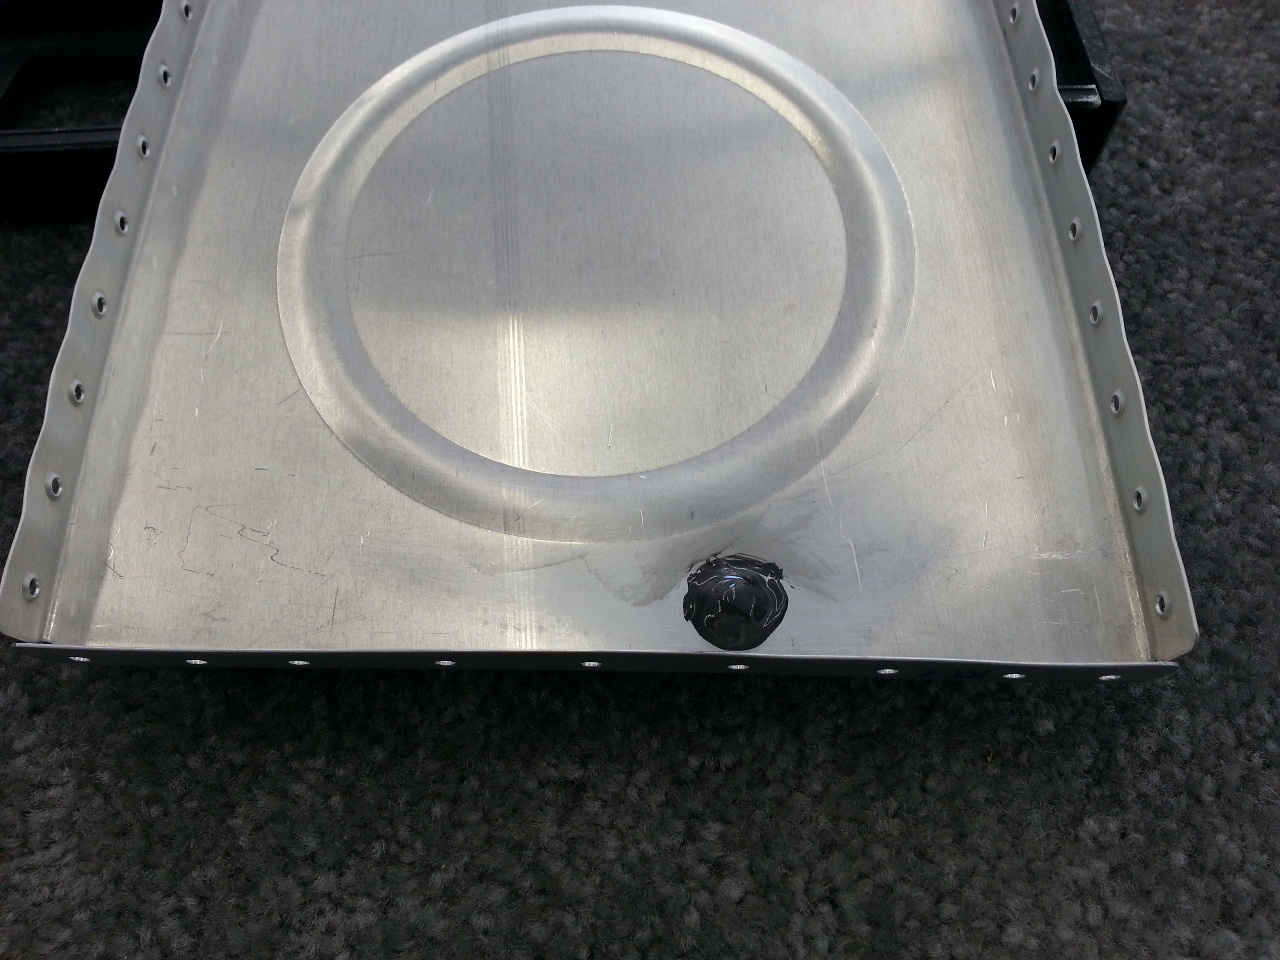
Outboard Tooling Hole Sealed
Here is the outside of the same. Sealed and covered. Takes care of that hole.
The time was spent, I was tired. So I cleaned up, tossed all the sealant covered rags, gloves, cartridges, and friends out and closed up shop. I will let this sit for a bit to cure and then likely hit the inboard rib penetrations/fittings with sealant. Todd told me he would help me with sealing/riveting the ribs, so I need to get everything else done so he is not held up by my feet dragging. I will get through these tanks eventually.