Elevator Balance Mod
As I have read up on the balancing of the elevators, several good discussions have taken place on VansAirforce. One that I really liked was a suggestion from an RV-6 builder that simply enlarged a tooling hole in the forward section of the counter balance arm for a 1/4″ bolt. He then installed a nutplate to capture the threads. Once done, you can add a number of large AN washers to get the balance just right.
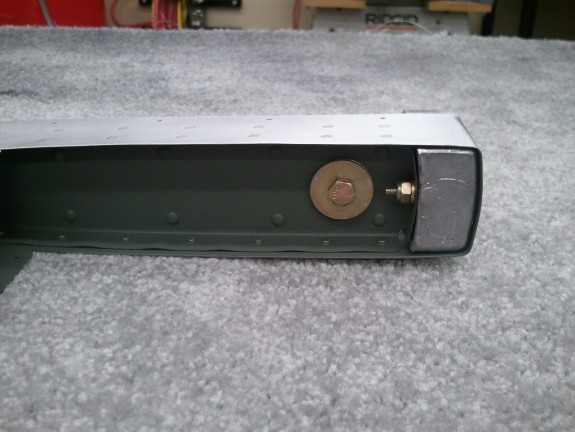
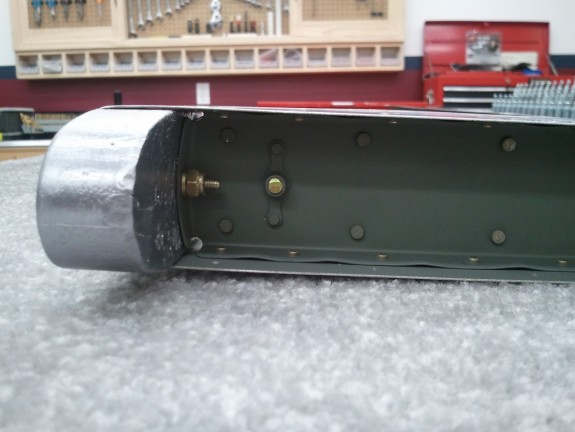
I thought this was a slick method. I did the same, just in case. It is much easier to do it now than later. So I enlarged the tooling holes, used some NAS1097 rivets and installed the nutplate for the bolt.
Some have expressed some concern as the outboard side is covered by a fiberglass tip, so how do you get to the bolt? One suggestion was to make the tip removable by installing it with screws and nutplates. I do not intend on needing access to the outboard side after the tips are on. Another suggestion was to leave the bolt accessible on the inboard side. Then the concern was if the bolt worked its way out if it could jam the elevators.
I decided to install the nutplate on the outboard side and leave the access to the balancing bolt on the inboard side. I also bought drilled head bolts. This way I can install the balancing weights/washers and then safety wire the bolt head which solves the backing bolt head issue. As part of my preflight, I will simply check the safety wire as with all other safety wire on the surfaces.
Heck, if I am lucky, I won’t need it at all and it will balance just fine. Time will tell once it is painted.


