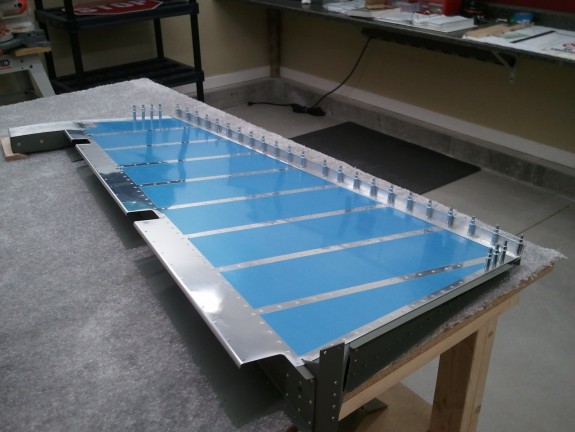
Rudder Final Assembly
I started the day out with a nice flight around the back side of the Wasatch Mountain Range. The Sundowner performed perfect and the flight was smooth as could be over the mountains in the summer here in Utah. I sure love to fly. I cannot wait until I can do so in the RV!
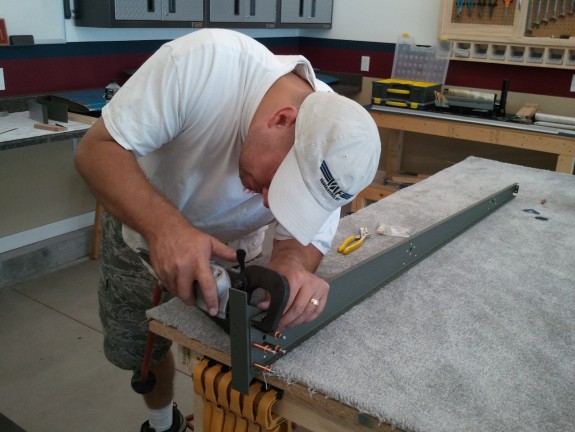
A friend of mine, Matt, has been asking to come watch/help for some time. It worked out that the holiday weekend was going to be the perfect opportunity to do so. Here is a shot he took of me assembling the spar and associated parts. The pneumatic squeezer made quick work of these AD4’s. I let Matt take a whack at a few as well. He commented, “This is just too easy!” Right! 🙂
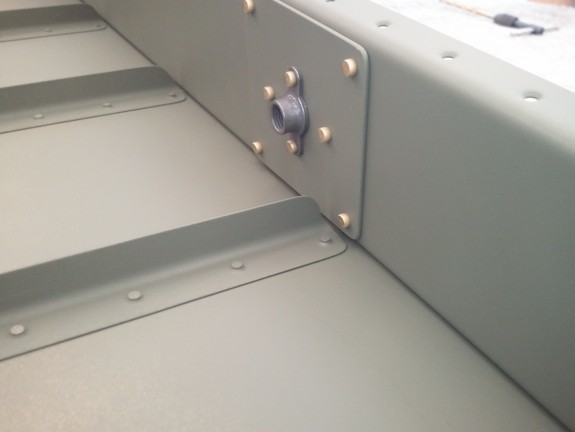
When I was doing the match drilling on the skins and the spar, I noticed that on the center hinge point reinforcement plate, the stiffeners come a little too close. I found this out after I had already back riveted the stiffeners on. So…what to do? I decided that I would gently remove some of the stiffener material and give the reinforcement plate some more room. Once I did, there was plenty of clearance and I felt much better. I shot the stiffeners with a little more primer and got back to work.
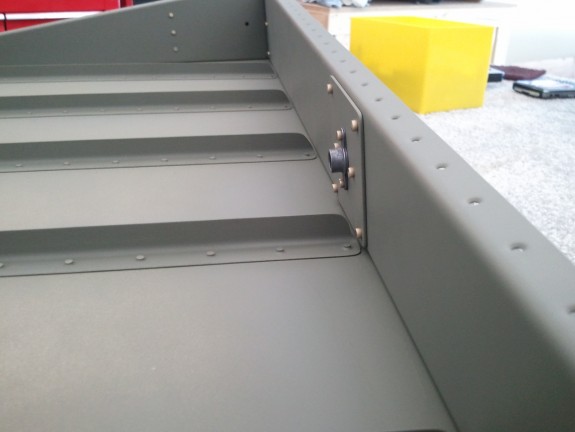
Here is another shot showing the clearance of the stiffener and reinforcement plate. Functionally and structurally, I think it is just as strong as the rest. I had to do the same to the other stiffener on the other skin as well.
So Matt and I took turns on the squeezer around the perimeter of the skins. I did all the rivets that required my bucking bar and gun…Matt will be granted that chore when I have given him some practice pieces to test him on. We knocked out all but the last four on both sides of the top rib and the last 3 on both sides of the bottom rib. These require some different techniques and I decided rather than push myself to a mistake, I would attempt these after some research and rest.
It was time to wind the day down. We worked on the rudder for about 5 hours to that point. Matt was interested in the hinge points. As a fellow pilot it is fun to see how different designers do things so I pulled out the Heim Joints and hand threaded them in to the Nutplates we just riveted in. One was a little bugger and made me nervous it would cross thread. Since we had mostly closed up the rudder at this point, I was a little concerned. What if it is buggered up? How would I replace it now…grrrr. So we decided again not to mess with it now and take a breather.
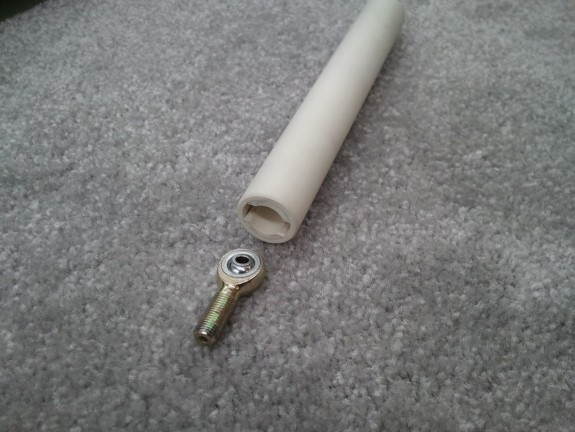
I remembered reading a blog or two talking about how you thread the Heim Joints in without messing the part up. Something to do with PVC Pipe. I had the concept logged in memory and dug it out and decided to take some time and make the tool. Basically, I took a 3/4″ scrap piece of Schedule 40 PVC pipe from my sprinkler redo and a similar length piece of 1/2″ Schedule 40 PVC I stole from a neighbor. I notched the 1/2″ pipe to be just a hair wider than the Heim joints’ flat sections and just deep enough to cover the ball joint portion. Then I used my disk sander to take a little off the outside of the pipe so it would slip into the I.D. of the 3/4″ pipe. I glued them together and then took some time to smooth out the ends and the shank for comfort and part protection. What was left was what I refer to as my Heim Screwdriver. If I got real fancy, I’d throw a bike handlebar grip on it…we’ll see.
That one nutplate was really bugging me…so I went back out to the shop, threaded it in a little ways and then put a little pressure on the head as to apply perpendicular force on it. I figured that riveting the nutplate on may have tweaked it a bit and may have put a little twist on it. With all the material ahead of it in the reinforcement plate and the spar creating a tight tolerance hole, the shaft of the Heim perhaps could simply be unable to fully line up if it was slightly twisted. I am happy to report that this did the trick…whew! I was able to then hand thread the Heim in and no cross threading occurred. I then tested my new tool as well. It appears to be just the ticket for getting these installed.
At the conclusion of the build session, I was left with a rudder that has some tight rivets to set and the trailing edge to glue up and then rivet. After that is the front bend and it will be done. I got done just in time to have some pizza with a bunch of family that had stopped by for the Holiday Weekend to attend and participate in a Baby Blessing in the family. Next week looks to be a busy one. Perhaps I will take a break, order a no hole yoke, and figure out the best way to get to those last rivets before knocking out the trailing edge. Until then…Happy Labor Day!

