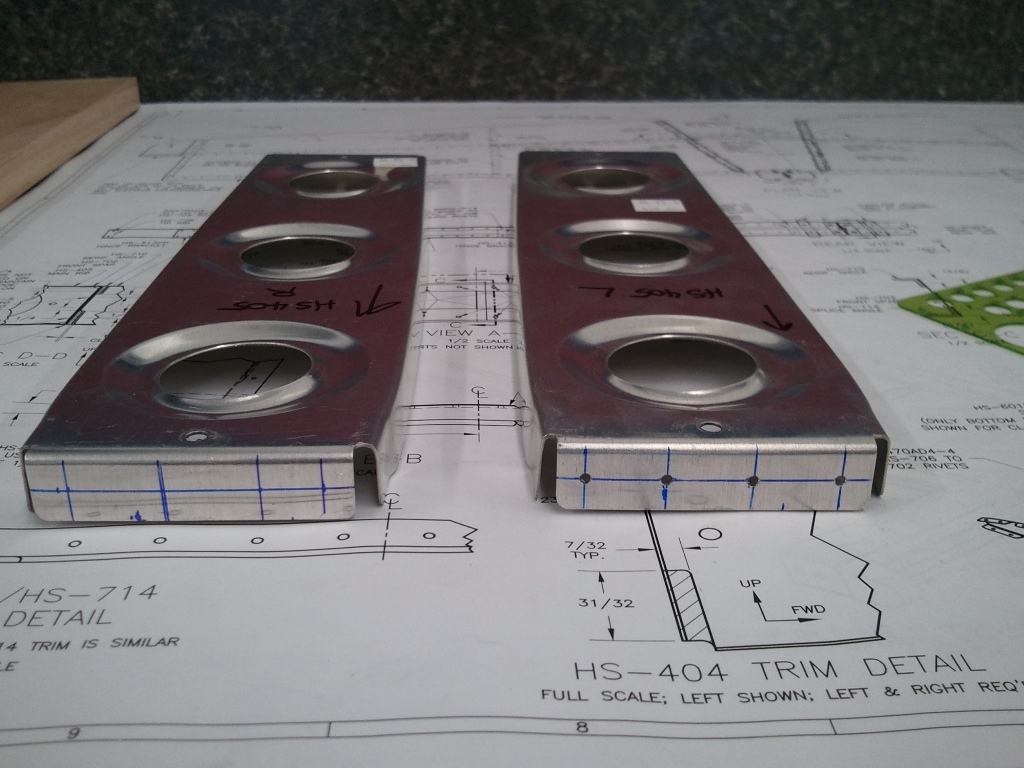
HS405’s Prepped and Drilled
After the HS404’s are notched, the next step is to mark and drill the forward flange of the HS405 ribs. These are located between the forward spar and the rear spar of the HS. The tricky part is making sure that the holes you mark and drill here provide adequate edge distance to not only the flange you are drilling, but the flange of the HS404 tab that was left after notching it, and the stiffeners on the forward spar. I followed the plans to the “T” and still measured 15 times.
I noticed that while the ribs are symmetrical top to bottom, the bends for the skin flanges are not. This means the forward tab is higher than the other if you place these back to back. So, as you can see, the marks on the tabs above are not exactly a mirror of each other. They are offset by the differential in the bends for the flanges being different.
That being said, I was able to mark and drill so that it met all the required distances and compensate for the offset of the tab just fine. This will ring true when they are matched drilled to the spar and stiffeners and the leading edge ribs (HS404’s).
I also learned the value of a good center punch. Makes locating accurate holes a breeze.


