Capacitive Sender Wiring Complete
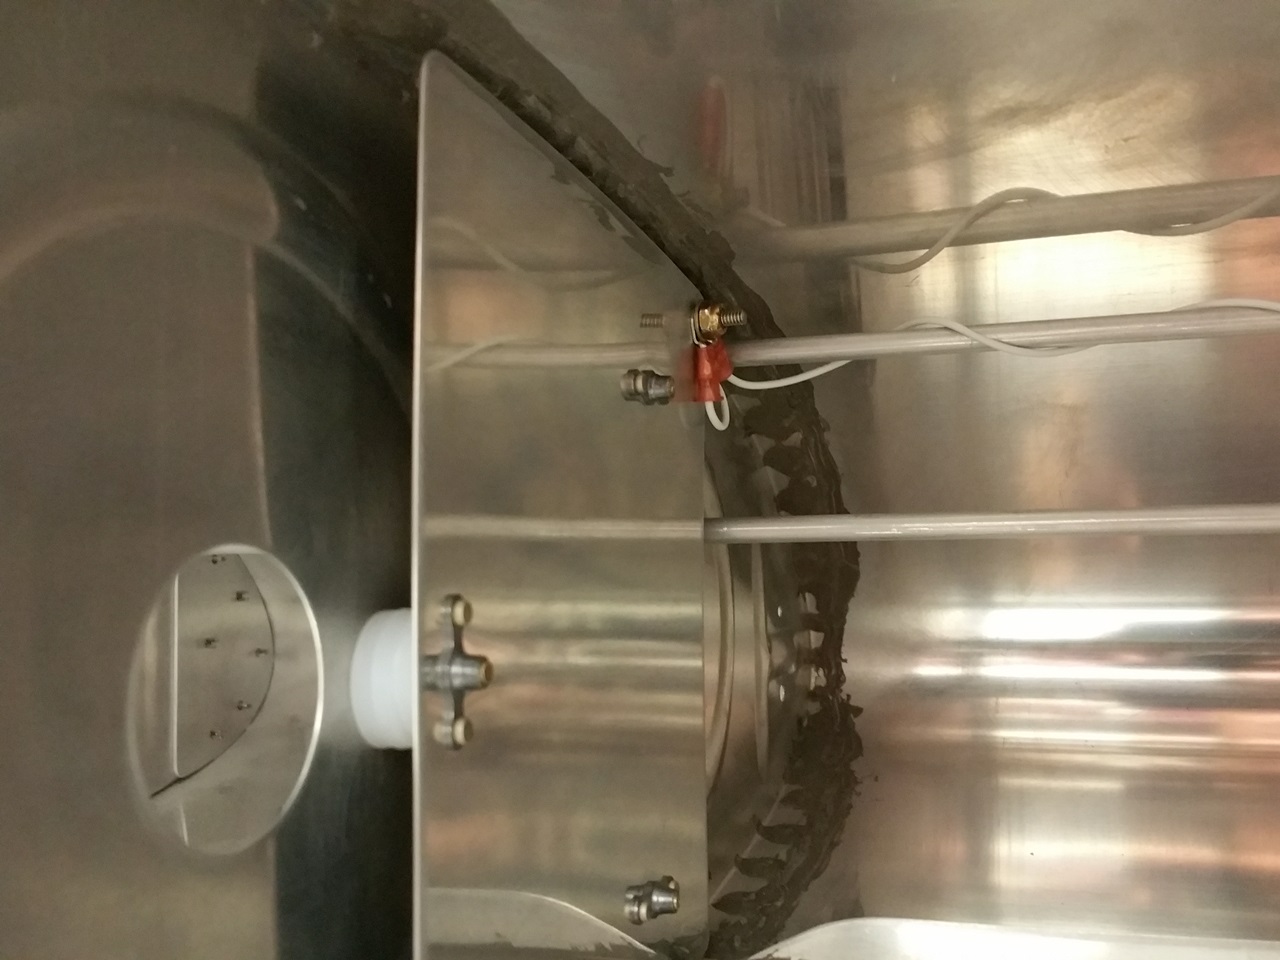
Right Tank Inboard Capacitive Plate
Can it be true? Did he work on the plane?!?
It sure is. I sure did.
I had a good day in the shop cleaning up some items, working on a couple of other projects, and while dancing around the tanks on the bench, decided to finish up the attachment and wiring of the capacitive fuel senders. It’s been almost 17 months since last working full steam on the plane. Life certainly has its way sometimes of setting priorities for you.
So…where are we?
I needed to install the outboard plate in the right tank, and the inboard plates on both tanks. I decided to work on the inboard of the left tank first. I needed to find the appropriate length of both wires and then trim them to final. Once this was done, I thought…”how in the world am I going to get in here and strip these for the connectors?” Then I realized that stripping the wire was going to be the easier part. Make sure to leave a little slack on the wires. What is extra can be wound around the vent tube to remove that slack later. Getting the connectors on would be much more difficult. I was able to get my quality wire stripper on both ends with surprisingly little trouble. I purchased and use the IDEAL Stripmaster® sold by SteinAir. Pricey, but worth it. It does a perfect job of cutting the insulation to the correct profile as “required” by aviation standards.
Once the insulation was stripped, I tried to figure out how I was going to use my cheapo wire terminal crimp tool to securely get the terminal ends onto these short and somewhat tight spaces for these wires. My cheapo tool was really made for a kid doing a science fair project. I’m not sure why they are even sold. You first have to crimp the wire portion with no indication if proper squeeze. Then you have to crimp the insulation side with no real proper slot which can actually ruin the connection. I think I may actually toss this tool (or give it to my sons).
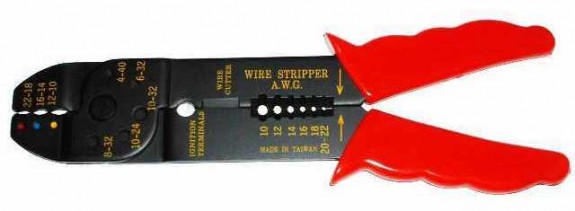
el Cheapo Crimp Tool
Fortunately the wire for the outboard plate can be unwound from the vent tube and better access is possible. The BNC to inboard plate however is not so giving. I decided to run out to my local electronics warehouse for a lunch break and get a quality ratcheting crimp tool. I have been meaning to for some time, but hey…I had a good excuse to go get another tool. Fortunately the store had one, and they were willing to match the lowest price I could find.
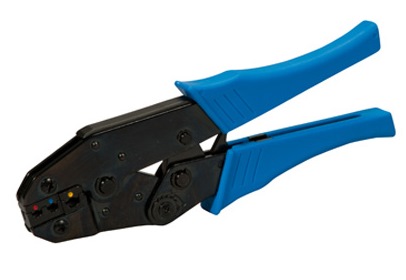
The Correct Crimp Tool
Though still tight, the above tool was able to successfully get into the limited spaces and offer a one stop crimp with a single motion. The beauty of this type of crimp tool is that it does both the wire and insulation crimps simultaneously. The ratcheting action also allows for proper squeeze as it will not open again until the proper depth as been reached. I was able to get the connectors inserted into the tool, close until just starting the squeeze, position the wire in the connector, and then complete the squeeze. One and done.

Left Tank Inboard Capacitive Plate
After completing the crimps of the connectors, the last step is to attach them to the plate. This task is frankly better suited to a Russian Child Contortionist. Once the screw is inserted on the inboard side of the plate, getting the plate in a position where one can both get a screw driver on the head, and a wrench on the nut on the other side is something of a puzzle. Toss in my larger hands and the tight space, I was left thinking for some time and trying MANY angles. I was able to succeed on the left tank after some real time spent and some frustration.
Once complete, I ran the right tank outboard plate/wire and repeated the wiring chore for the inboard plate. As you can see from the top picture as well as the one just above, these are nicely installed and secure with good wire strain relief on both tanks.
As I was prepping for the contortion task repeat for finishing the wiring of the left tank, I caught a glimpse of a tool that would have made attaching the connectors to the inboard plate of the right tank SOOOO much easier. In using it on the left tank, I was right.

Essential Tool for Finishing the Capacitive Fuel Senders
If you don’t have one, get one. I have two. They are perfect for tight spaces. One side accepts standard screw driver bits, the other has a socket for a 1/4″ drive socket wrench handle. This one saved a considerable amount of contorting when completing the connection to the inboard plate of the left tank. Mine are from Craftsman, and if I remember correctly, Sears may have just given them to me as part of a promotion. GO GET ONE or a set!

Right Tank Wires
Felt good to get these steps out of the way. Next up is sealing and riveting of the inboard/outboard ribs. At the same time, I need to seal the inboard connectors to the plates and seal up the wiring connections. I also need to dab sealant every inch or so on the wires wrapped around the vent tube. Then…if all goes well…I’ll soon be closing up the tanks FOREVER!


