High Time for Interior Tank Ribs
Man…am I glad that part is over!!!
As you can see from the log, I have not done a good session of work in some time. I actually sealed the ribs to the skins back in September 2013. The ProSeal on those interior ribs was certainly well cured. It was also nice and dusty from sitting in the shop idle. Needless to say, I needed to get out to shop for a good long day of work.
I spoke to a couple of my fellow RV’ers and was basically given the ultimatum. “Build, or I am giving up on you!” was actually spoken by one. I couldn’t have that. Todd has been a good source of encouragement, help, tools, and general motivation. I needed to be able to tell him next time I saw him, that I had made progress. And I need to return his loaned clecos and sealant gun. 😉
It was settled. I would rivet the tanks over Memorial Day weekend.
I got out to the shop around 0900 and pulled out the two oldest of the cartridges of B2 sealant. They technically expired in March of 2014, but I have had them in the refrigerator (yes, in the house, then the drink fridge I got for Christmas) since I bought them. I have heard that you can extend the shelf life considerably by keeping it cool. Since it is only two months out of date, I decided to mix it up and see how it would flow. Turns out, it was good as new.
So, armed with 12 oz of sealant (two 6 oz cartridges), Semco gun, MEK, and lots of gloves and rags, it was time.
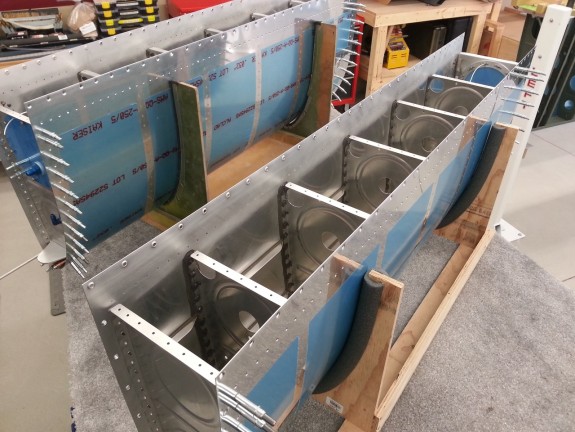
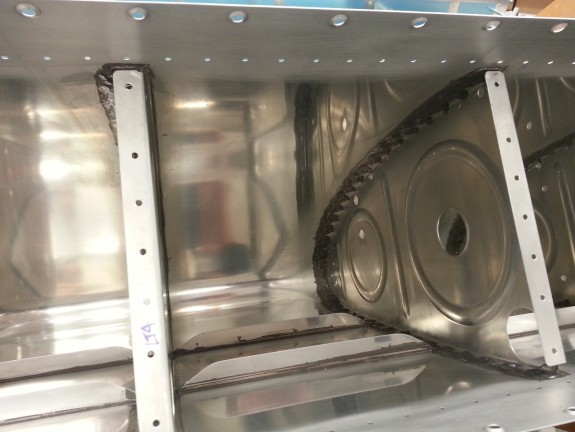
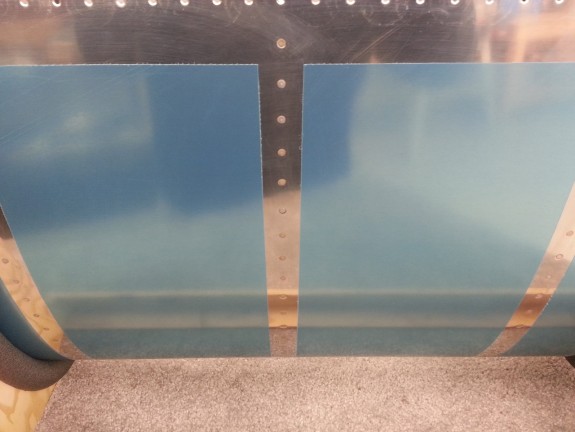
Since the ribs were sealed 8 months ago to the skins, the risk of them pulling apart from the skins was, well, zero. Some airplanes actually seal ribs to skins and call it good, no rivets. I removed all the clecos from the bottom side of the right tank. I figured it has been a long time since I riveted using a gun and bucking bar, so starting on the bottom was a good idea in case I messed some up. Next up, I wiped all the rivet lines inside and out with a rag and MEK to clean any residual cured ProSeal in the dimples and human bi-products. I then mixed up the first cartridge of sealant and got set to rivet. Using the Semco gun, I was able to simply use the nozzle to shoot a small amount of ProSeal into each dimple. I then inserted a MEK soaked and dried rivet into each dimpled hole, and then pushed them with a sucker stick to seat them nicely in the bed of sealant in the dimple. At this point I riveted each rib, nose to end, working from the middle rib out. After each line was set, I cleaned both sides with a light wipe of MEK. This was simply to insure that the shop heads were set correct and not to leave a significant mess.
I was able to get one tank per cartridge worth of rivets done AND then hit the shop heads with a little drop of sealant, smeared with a sealant spoon, to create a completely airtight assembly. I only used about 3 oz of sealant on each tank, but did not want to risk the exceeding working time of the ProSeal. Inevitably, I needed to hit a few rivets a bit more, some I had to drill out and replace. For the most part, I did OK. All in all, I kept the ProSeal on the tanks, or on gloves and rags. Pretty clean surprisingly.
I spent nearly until 1600 riveting, cleaning, checking, sealing, etc. Needless to say, I am sore in places I have not been sore in some time…again. Some of my manufactured heads are sitting a little high, but I know a little cheat…rivet shaving, that will clean those up. That will of course happen after all the sealant is cured and likely before paint. For the most part, they turned out pretty good. I think this may have been in part the sealant that ended up on the flush rivet set not permitting a good hit. It could have been technique being a little rusty. It could have been too much sealant under the countersink. When I say high…we’re talking very slight.
I think I will take Monday off and let this sealant cure for a week in the house before moving on. I will need it to recover from the body soreness anyway. 🙂 Next up will be the plumbing of vent/return lines, capacitive fuel sender wiring/plate install, and then riveting/sealing of the inboard and outboard ribs. Fortunately the rest of the riveting on the tanks is done with a squeezer or rivet puller. As for now, the gun/bucking bar method is done on the tanks. I really cannot wait to be done with ProSeal.


