The “Checkoway” Method, Z Brackets Complete – Right Tank
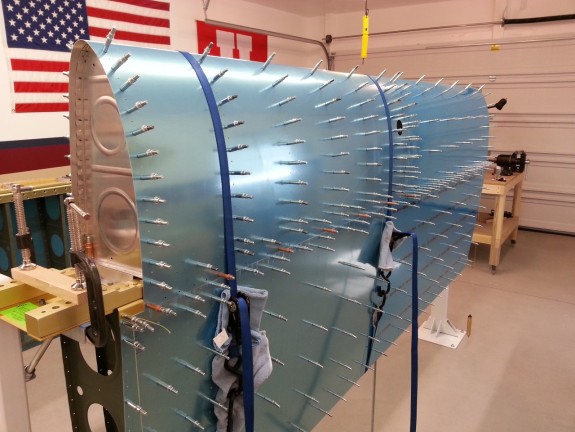
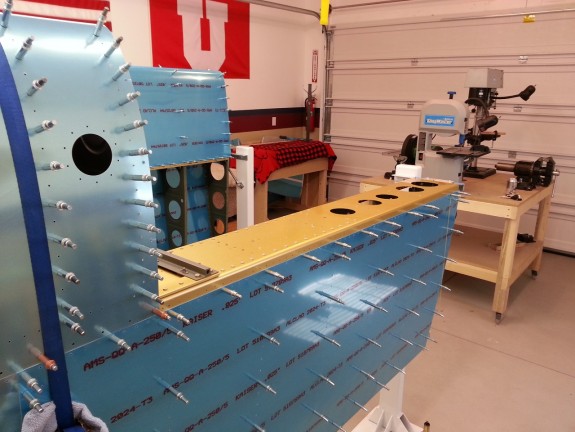
With the tank now on the wing, I made sure that everything lined up correctly. To pull the skins tight together, I used a couple tie-down straps and carefully cinched the tank down. This insures that the tank will not move once aligned and makes sure all the parts are in close formation before match drilling.
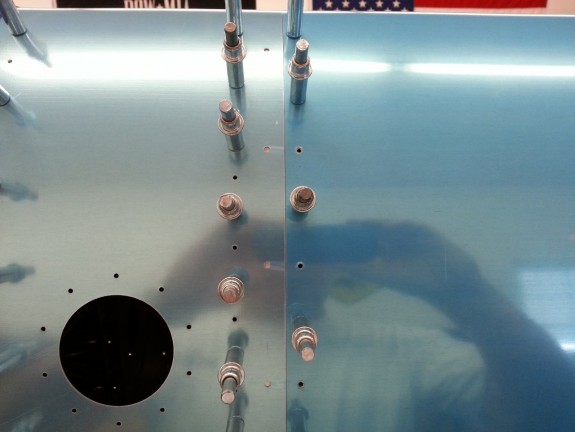
Here you see the joint of the tank and the leading edge. Nice and tight, ready to match drill the splice strip.
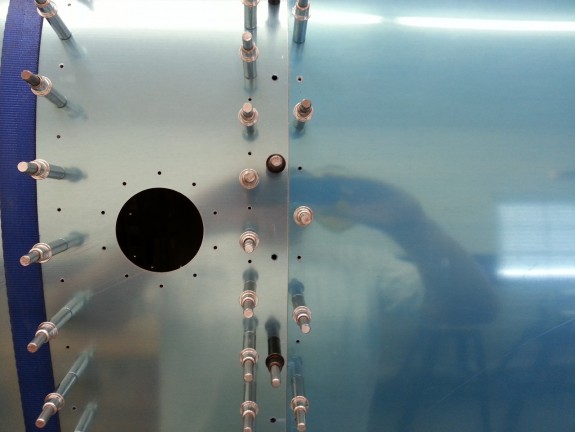
With the tank completely in place and strapped down it was time to match drill the inboard bracket. I used my 12″ #30 bit with a drill stop on it and knocked out the 5 holes for the bracket and clecoed the tank down. I did not attempt the four holes outboard of the bracket ends for fear of nicking the spar bars.
Next was to match drill the joiner strip to the tank end with a #19 bit. I started from the top down and clecoed them together. Looks great.
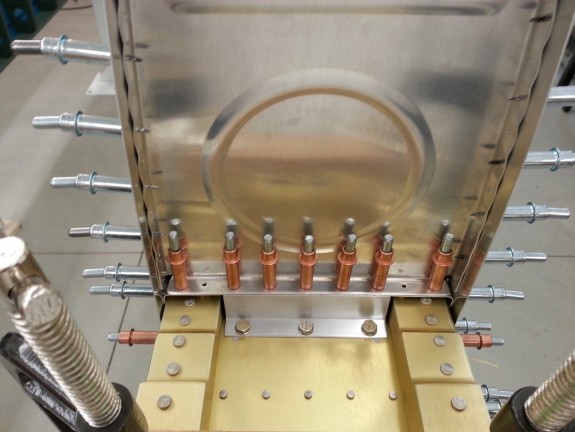
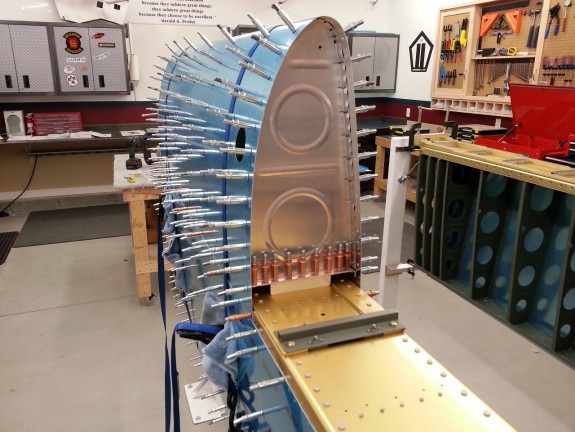
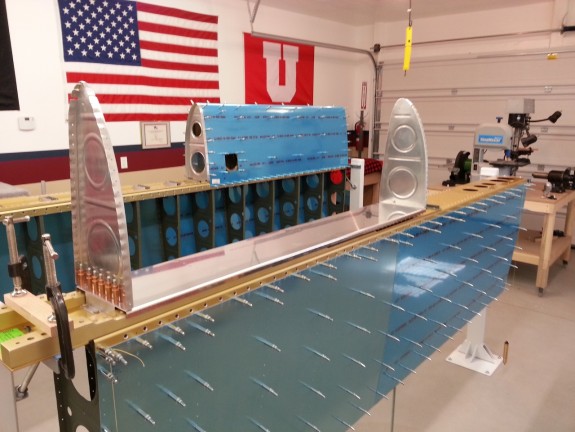
Once the inboard bracket and the joiner strip are drilled, the next task in the “Checkoway” method is to remove the leading edge assembly from the wing exposing the outboard bracket for match drilling. Here you see it removed from the wing.
I drilled all the outboard holes to full size. You can see here that the outboard bracket is right where it needs to be to line up. At this point, the “Checkoway” method is essentially complete. The baffle is now match drilled on the inboard and outboard ends, perfectly aligned and where it should be. Next you take the skin/ribs off the wing and leave the baffle and the inboard and outboard ribs in place.
With the skin removed, you can now match drill all the baffle to z-bracket holes. I took care of these and clecoed them down. If I did my math right, I should be in good shape on all the brackets.
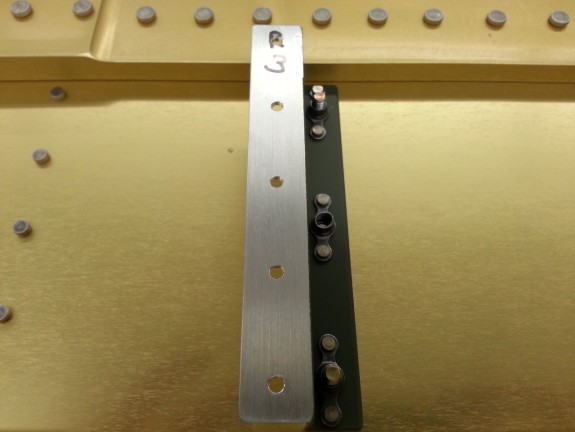
Once I removed the baffle, I was delighted to see that all the brackets looked just like this one. At this point, the brackets are complete for the right tank. I need to repeat the process for the left tank. Thanks to all the sites for documenting the “Checkoway” method. This makes much better sense than the manual method and produces a perfect result. I closed up the shop for the night and likely for the weekend. I have a Scout Camporee with my son tonight and tomorrow in the Utah desert, it is my birthday Sunday, and I have a young cousin who just passed away, so work will be on hold for a few days at least. Once back at it, I will be taking care of the left tank brackets.

