Left Tank ProSeal Begun
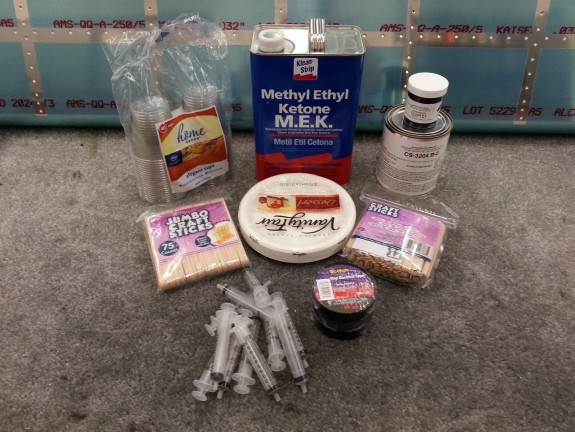
So…the time came to break out the ProSeal and start gooping up parts. I can now see why people do not like this stage of the build. I pulled out my digital scale and the rest of my supplies and started going to town.
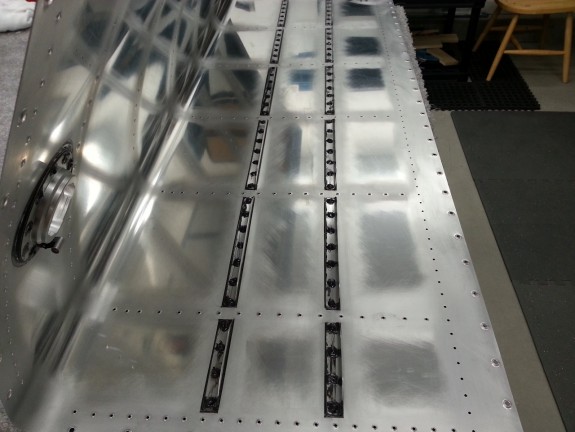
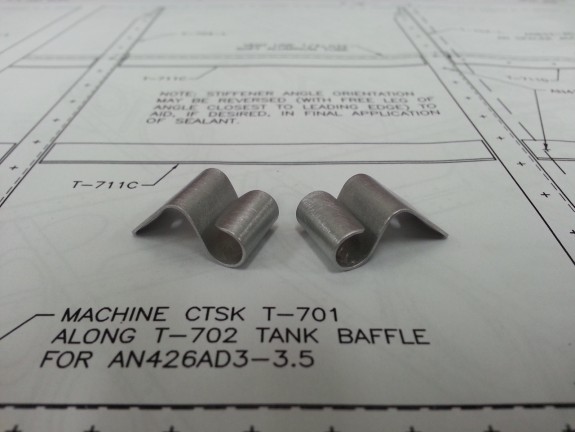
First things first. I swished some rivets in MEK to get the manufacturing oils, etc. off them. Then I taped both stiffener rivet lines in using my back rivet tape. Then I set each stiffener in place to use as a guide for the electrical tape masking I did on either side and then in between. Don’t make the mistake I made next. I re-wiped the lines clean with MEK. Not a big deal, but it does soften the adhesive on the tape a little. I only noticed it after I peeled it off once the sealant was on.
With the stiffener locations masked off, it was time to mix up a batch and get going. I mixed up 40 gram of white and 4 grams of black to start (10:1). Turns out it was not enough, so I will try 60/6 next tank.
With it mixed up, I slathered the stiffener bottom with a tongue depressor and then pushed over the rivets. I then used my back rivet set/plate and started smashing away. Once the matching pair of stiffeners at each location was riveted on, I smoothed out the excess with a popsicle stick to form fillets. I noticed that on the backside of the stiffener, there was not enough that squeezed out to make a nice fillet, so I tried to add some with the popsicle stick which ended up making a heck of a mess instead.
The trick I then used was to grab one of the free oral syringes I acquired and after cleaning it with MEK, I filled it with ProSeal and was able to apply a bead along the back of the stiffener to make a really nice fillet. The front and sides were fine as is.
As for adding the bit over the shop heads, I also ended up using the syringe here. It made it easy to put sealant where it needed to be.
This took some time to complete…almost to an embarrassing degree. I think now that I have a “method” it should go faster.
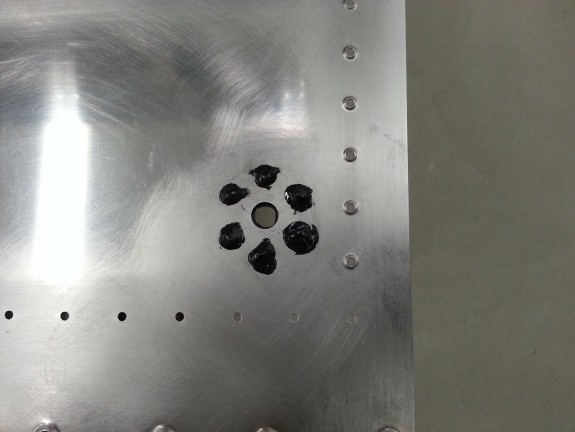
Next up I tackled the drain flange. I smeared the ProSeal on the face and clecoed it on. I was able to get to all these rivets with a squeezer. You need to cover the shop heads here too. Just insure that you do no block the path for water to get around the blobs. I think mine are just fine.
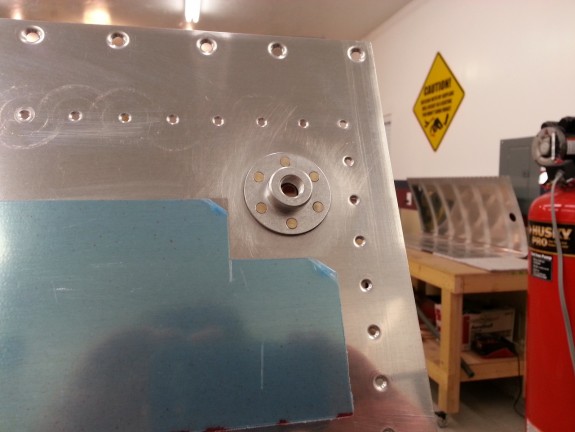
Here is a shot of the external side of the flange after A LOT of cleaning up.
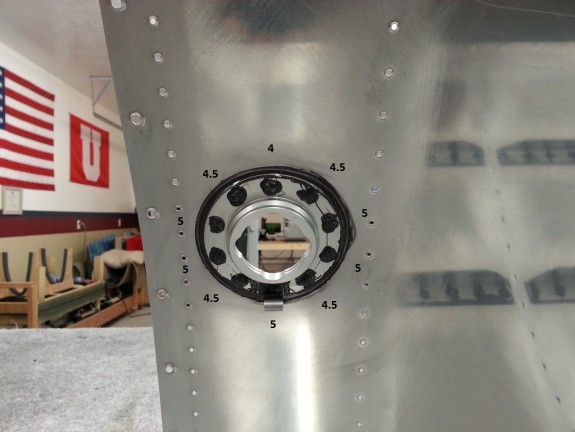
The last item I wanted to attack today was the filler neck. I gooped it up nicely and clecoed it on. I was able to get to the four outboard rivets with a squeezer, but the rest are too far away. I decided to back rivet them and they turned out OK. Do not forget the vent line clip and make sure you put it on the leading edge side of the flange. Since these are the deluxe caps, I had to use various different size rivets for the perimeter. This is because the flange is a machined part that is flat on the bottom and curved for the contour of the tank. You can see my callouts above on the lengths.
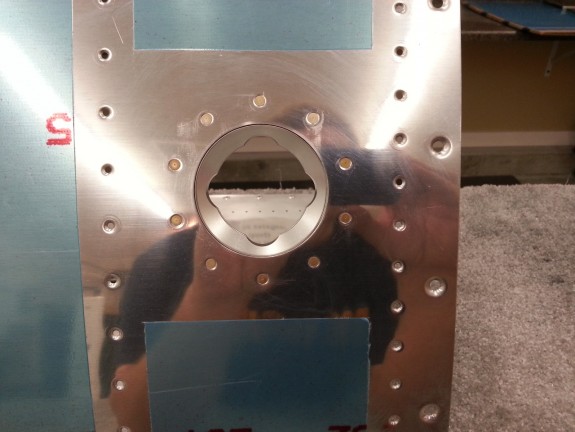
Here is a shot of the Filler Neck from the exterior after some significant clean up. Looks good to me. For some reason the dimples on at the 0230 and 0830 positions look weird in this picture, but they are just right. The picture is playing weird with the lights.
Once all this was done, I was cooked for the day. I cleaned up the shop, threw away what seemed like 20 pairs of nitrile gloves and all the gooped up cups, plates, sticks and etc. I was surprised how clean I really was after it was all said and done, but I have plenty more sealing to do that will likely prove messy in the end. 🙂

