Leading Edge Cradle Made, Left Leading Edge Started
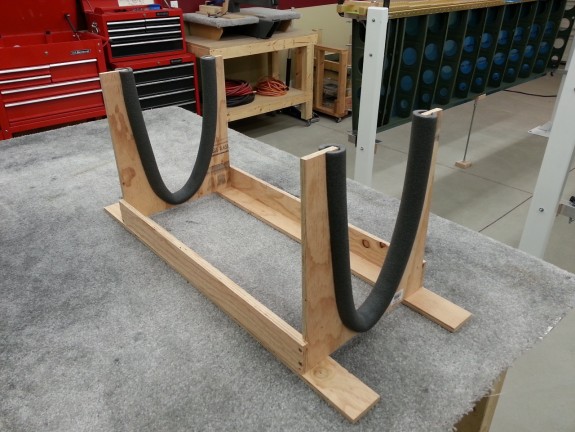
I got home from work and quickly ran over to my neighbor who has a nice table saw and cut down a 2′ x 4′ x 1/2″ sheet of plywood I picked up last Saturday. I ripped it down to 13″ and then cut four 2 1/2″ strips to use as base rails. I then cut the 13″ piece into three 15″ sections (one just in case I messed up). I then traced a leading edge rib and added about 5/16″ to allow for the foam pipe insulation I wanted to use as padding. Once the trace was done I was able to run over to my jig saw and cut out the shape. Per Van’s, I did not worry about making the shape perfect, just close.
I then drilled and screwed the parts together and lined the cradle with the foam pipe insulation. All done, you get what you see above. I was a little concerned about the lower bracing I added to keep the cradle ends upright as it could get in the way of clecoing. Turns out my concerns were unfounded. I had no issues.
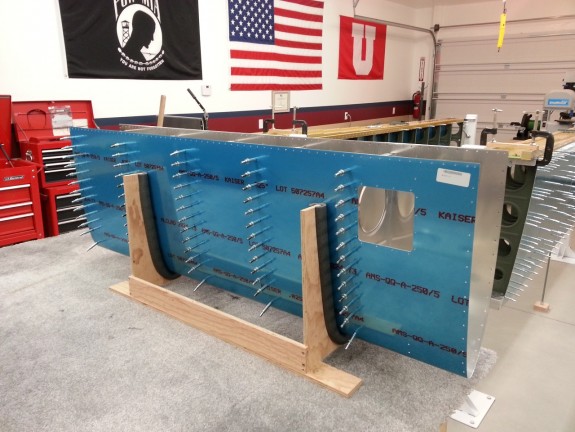
Here you see the cradle in use. Worked great. I have read that some have had real issues getting the ribs into the leading edge skin. I have even seen some extravagant setups to push the ribs in. I do not know if they have improved the kits or if I was simply lucky, but I had absolutely no issues getting the ribs into the skin. All the holes lined up and looked good. Once I got to this point, it was time to head into the house for dinner and family night.
I did have one issue with the ribs. The nose ribs have several little tabs that help support the skin near the nose. Where the flange near the front ends and the tabs begin on the top in particular, it seems that the transition is not very smooth and when inserted in the skin, causes some little bumps to appear. I read up on VAF on others who had similar problems and their solutions. Basically it comes down to hitting the corners with the scotchbrite wheel and then radiusing the relief notches to eliminate the thin corners that appear after the scotchbriting. I will take some pictures when I get to assembling the right leading edge.
After dinner and family night, I ran back out to the shop, disassembled the left leading edge parts, employed my dressing technique above for adjusting the nose of the ribs. I still had little bulges in the skin where the ribs were a problem. I will likely have a friend of mine that can massage them out come over at some point, but for now, they look much better. The right leading edge should be better.
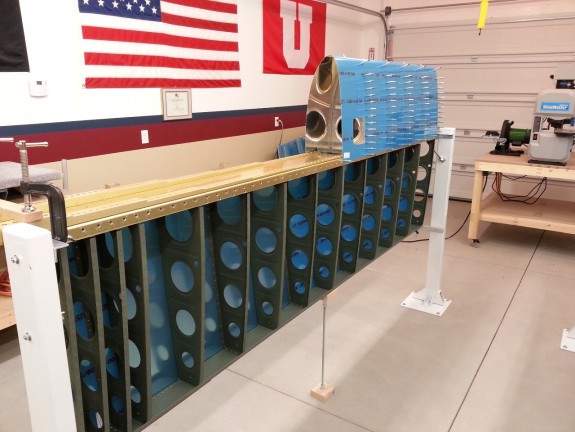
I ran out of clecos after setting the leading edge on the spar. So…I guess that means I am done for the night. I believe that my order to Brown Tool will arrive tomorrow with 200 more 3/32″ clecos and some more #30 and #40 drill bits. That should let me keep going. Before calling it a night, I was able to get the Stall Warner bracket cut from the kit and deburred. I then stole some of the clecos from the wing skins and got it clecoed in place in the nose of the left leading edge. As you see in the above picture, the inspection hole for the Stall Warner system is already cut in the skin. I also clecoed the skin doubler for the inspection hole as well.
I did have some visitors to the shop tonight. A good flying buddy, his son, and dad stopped by. We chatted at bit while I was able to slip the W-408-1L into place, mark the location of the holes, flute, and then slip in back in ready for the W-423 Joint Plate that is to come. I cleaned up the shop and gathered together the other things related to the leading edges (AOA kit, landing light kits) and set them out so I would not forget. It was late, so I called it a night.


