Ribs/Spars Riveted
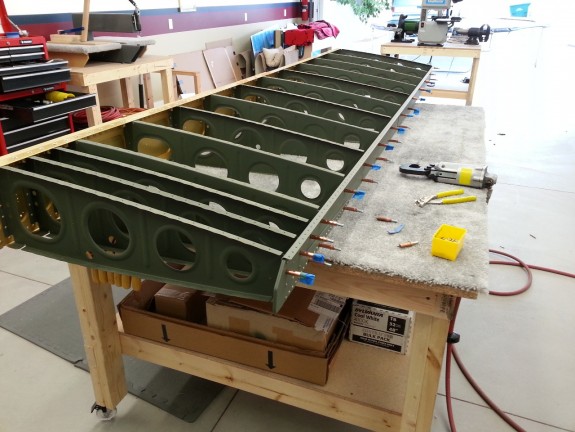
Since the ribs had been primed and dry for a day, I decided that it was time to get out to the shop and get the spars connected together. Above you can see the right wing process starting. Based on advice from other builder sites I have read, it is easier to attach the ribs to the main spar first, then attach the rear spar. This allows you to get the gun on the manufactured head by bending the rib out of the way a little.
Another tip is to start with the third rib out from the root and do the wing walk ribs first. As you can see, the ribs at the root are closer together and trying to get in between them with the gun would be difficult at best. This worked out well and I was able to quickly set the AD4’s with my gun and bucking bar. I also used some Snap-Soc’s from Avery Tools to assist in keep the rivet set on the manufactured head. They work as advertised and I highly recommend them. It took some time to get back into the riveting rhythm since it has been a while since I have had to use a rivet gun. I got it back pretty quick and was able to knock out the main spar rivets pretty quick. I only had to drill out 1 rivet, but it was really bad as the gun had wandered all over the head for some reason.
Once the main spar was done, I attacked the rear spar. I clecoed the spar on and then marked the holes that would not receive rivets now with some tape. This kept me from moving them to another hole and having to drill out extra rivets. The squeezer made quick work of these. One word of caution, do not try and put the manufactured heads on the spar side. It will cause the rib flanges to distort. You may be tempted for aesthetics so they match all the other heads on the spar if you put them in like I did. I also read this on another builder log and I am glad I listened. All mine set nicely.
I did notice that the call outs for rivets may be a little off in the root area of the rear spar. Pay close attention here and if needed, use a little longer than called out and cut them to be right if needed. If you use the rivets called out in the area of the doubler and rib, they will not be in spec. Specifically the W-710,W-711 to W-707A, W-707G, W-707D Rivets called out as AN470AD4-8’s. I used 9’s here and it seemed better…or at least made me feel better in a potentially high stress area like this location is. Measure twice, set once.
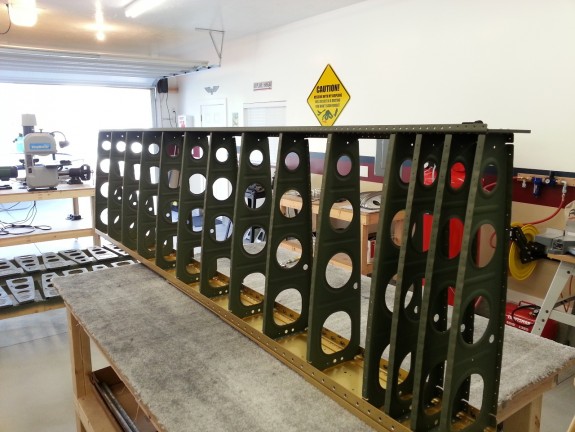
Here you see the right wing ribs and spars together. Starting to look like a plane part.
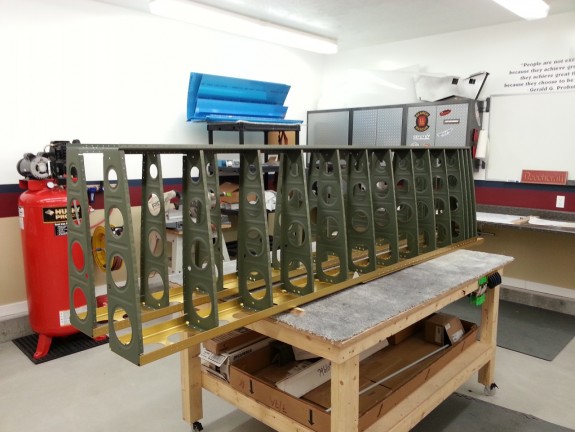
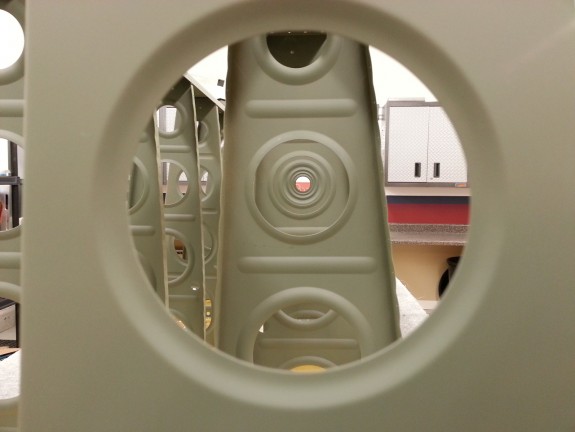
I had to take another shot with the ribs all attached and primed. I love the precision of this kit.
I repeated the process for the left wing and was left with 2 wing skeletons ready to be hung in the assembly stands. Problem is they were not in the shop yet. My neighbor was not done sandblasting and painting them yet. Not bad for an evening’s work. (My office did close early though.)
It was funny, as I was cleaning up my shop for the night, my neighbor kid came over (apparently to eat dinner) and asked, “what’s next?” I replied that I needed the stands her dad is painting for me to move on. Just then, her dad walked into the shop and said…”I have some widgets for you!” Talk about timing. Looks like I have what I need to move on. This should be a good Labor Day Weekend.

