Rib Prep Begins
Happy Memorial Day!!! Thanks to all those that have and are serving for our freedoms!
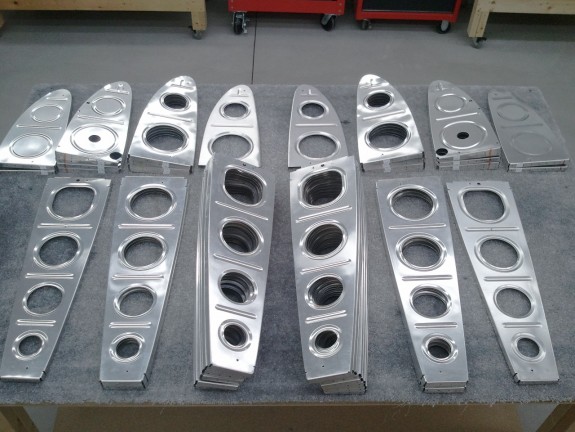
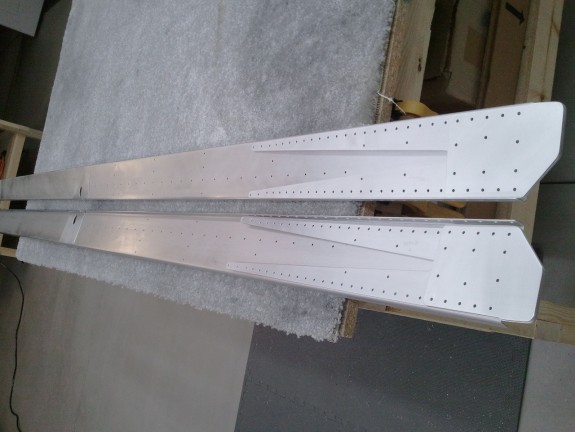
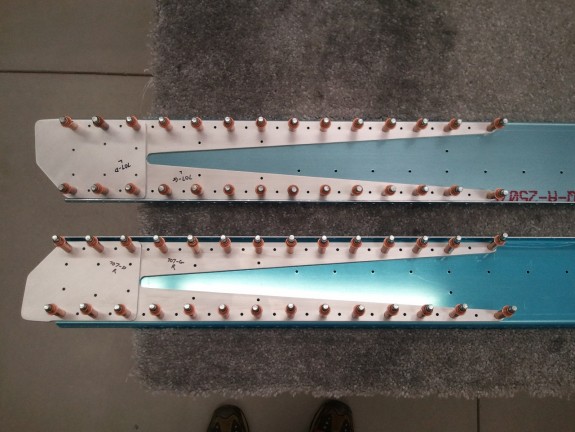
I was able to get to the shop after a family BBQ. It was time to start some rib prep. I began by taking my angle grinder with a 1″ Scotch Brite wheel and deburred all the interior lightening holes. It went pretty fast.
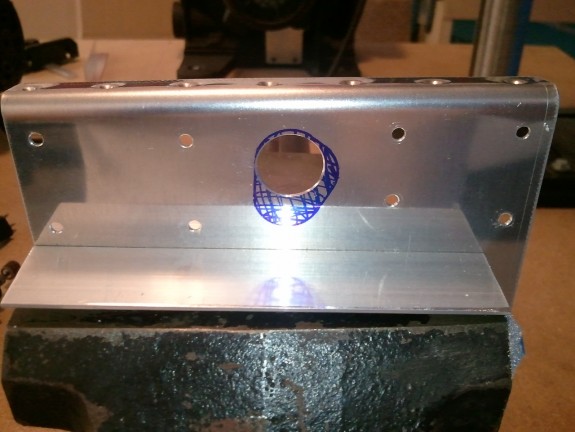
I then opened up the tooling holes in the forward portion each of the aft ribs for accessories. In the left wing, I opened both the upper and lower holes to 3/8″ and in the right, just the lower tooling holes.
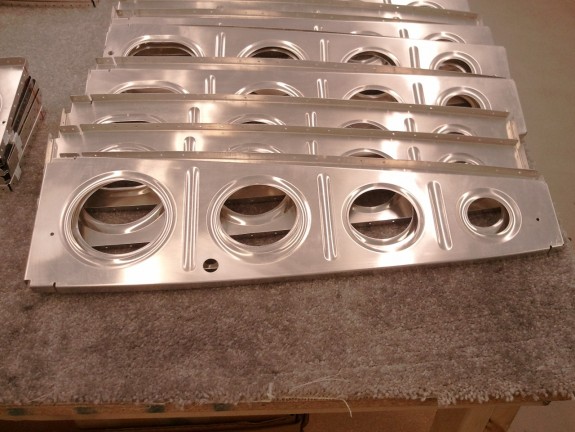
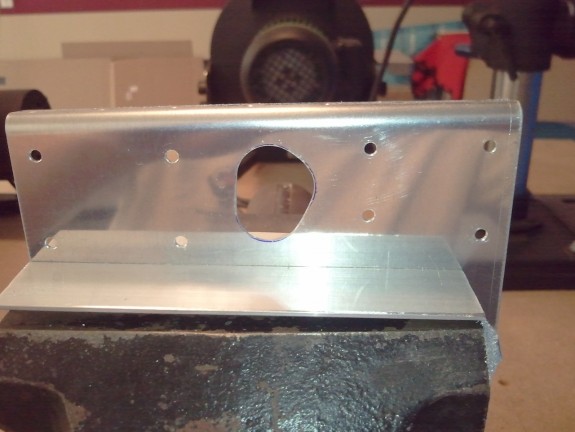
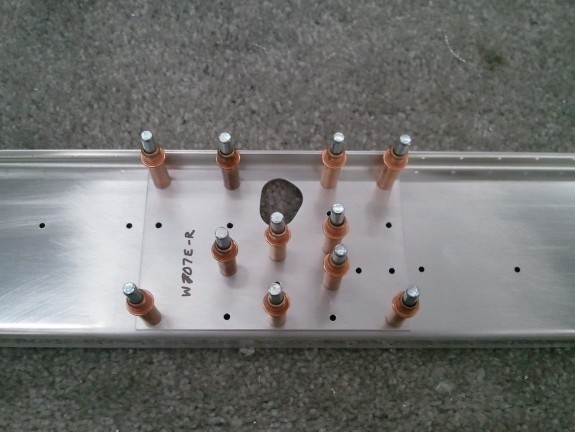
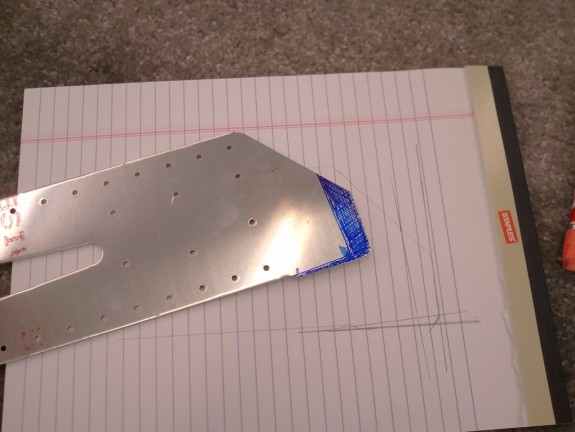
I continued and made a paper template to drill the 3/4″ holes in the ribs for a conduit that will run root to tip. I marked all the ribs and used the step bit on the drill press and knocked out all the holes. I backed the rib with a chunk of 2X4 and each came out nice and clean.
Next up, I deburred the new holes and the tooling holes I had opened up. That is when I had a “head slap” moment and realized I had made a stupid mistake. Can you spot it?
Times up! I drilled the 3/4″ holes aft of the stiffening bulge instead of forward…doh! I sent off an email to Van’s and admitted my folly and asked if I now needed to buy all new ribs. They replied with assurance that my location would pose no problems and to build on. Whew!
Structurally my hole would have no impact any greater than where it should have gone. The biggest concern is if it will interfere with the push rods for the ailerons. They actually give better clearance to the main push rod and no difference in clearance to the aileron push rod than had I put them forward of the stiffening bulge as recommended by Van’s.
Dodged that bullet!
Here is the projected plan for all the holes in the ribs.
Left Wing:
Conduit 5/8″ inner diameter:
- Landing Light (LED – Low Power) In Leading Edge
- Strobes (LED – Low Power) In Wing Tip Recess
- Nav Lights (LED – Low Power) In Wing Tip Recess
- Wig-Wag/Taxi Light (LED – Low Power) In Wing Tip Recess
Upper 3/8″ Hole with bushing to 1/4″ inner diameter:
- Advance Flight Systems AOA Kit A
- Stall Warner wire
- Pitot Heat wire
Center 7/16″ Hole with bushing to 1/4″ inner diameter:
- Pitot (5052-0 1/4″ OD 0.035″ wall aluminum tube) hard line to the root of the wing. SafeAir1 pitot line from there to instruments/AHRS.
Lower 3/8″ Hole with bushing to 1/4″ inner diameter:
- Open for future need for Com/Nav/Marker antenna in wing tip or other accessory.
Right Wing:
Conduit 5/8″ inner diameter:
- Landing Light (LED – Low Power) In Leading Edge
- Strobes (LED – Low Power) In Wing Tip Recess
- Nav Lights (LED – Low Power) In Wing Tip Recess
- Wig-Wag/Taxi Light (LED – Low Power) In Wing Tip Recess
Center 7/16″ Hole with bushing to 1/4″ inner diameter:
- Auto Pilot Roll Servo Wiring
- OAT Probe Wire
Lower 3/8″ Hole with bushing to 1/4″ inner diameter:
- Open for future need for Com/Nav/Marker antenna in wing tip or other accessory.
Hopefully that is enough and insures that no noise is introduced into any of the systems. High wattage lights were/are traditionally where most noise is introduced, so by separating them from any potential com/nav antenna wires should help eliminate this problem. That and the LED lighting being so low in wattage, I should be OK.
Next up, flange deburring….yippeee!

