Countown of Little Tasks
It was time to mount the elevators to the horizontal stabilizer. However, there is a conflict with the skin and the counterbalance arms at the moment, which prevents one from being able to deflect the elevator to open the areas where the bolts are to go. There is simply not enough room to get a bolt in the hinge and have the elevator in line with the horizontal stabilizer. So what is one to do?
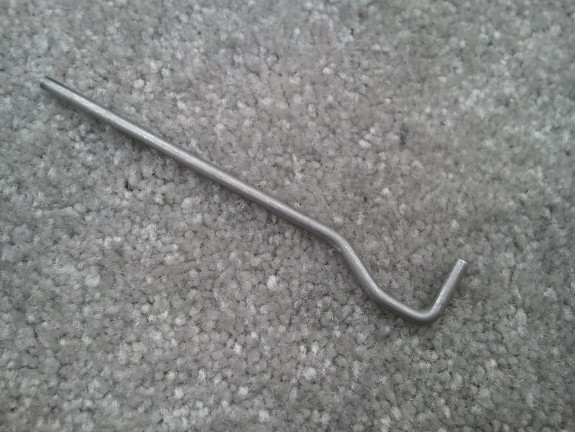
I had seen from some of the tool manufactures, tools they called hinge alignment pins. They were pricey to me. After all, they were simply steel rods the diameter of the bolts bent to look like landing gear struts for an RC airplane. So rather than buy the tools, wait for them to arrive, I went to Lowe’s Aviation Supply and bought a 3/16″ rod from the misc metal bin. Once I got home, I simply smoothed the ends and bent them to a similar shape in my vise. I think it cost me all of about $2.50 or so. I made two, one for each hinge point per elevator.
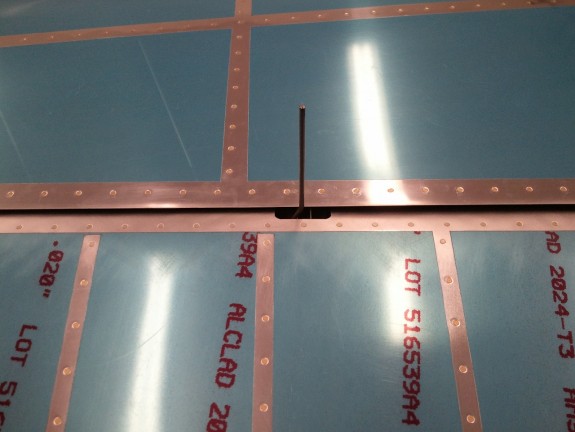
Here you see the pin in place in the hinge of the elevator/horizontal stabilizer interface. They slip into the hinge points easily and allowed me to slide the counterbalance arm into the skin at the tips in preparation for the next step. As you can see, with the elevator in trail of the stabilizer, there is not much room for getting fingers in to install the final bolt. With the alignment pins, you do not need to worry about it.
One caution, do not deflect the surface towards the side that the pins are installed. You could sandwich them in the openings and create a nice pucker in the elevator and stabilizer skins/spars. That would ruin your day.
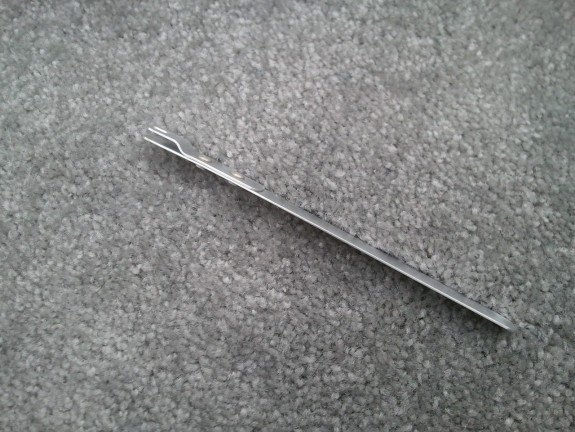
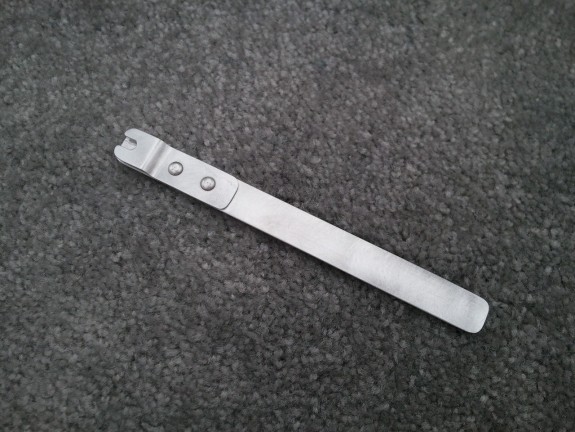
Once you can fully deflect the surface to open up the hinge locations, it is still difficult to insert the bolts into the hinge areas. I was reading the 27 Years of the RVator articles and came across this little jewel being described. Tool suppliers also sell something similar, but it looked simple enough to replicate as well. I wish I had done it for the rudder when I installed it.
I simply took some .040″ sheet stock from the Empennage Sheet bundle and fabricated a tongue depressor size stick from it. I then took a smaller piece and drilled a 3/16″ hole in the center. I then used my band saw and opened up from the edge to one side of the hole and made a “U” in it. I clamped it to the other piece and match drilled it. I then bent the “Z” bend in the smaller piece in my bench vise and then riveted the parts together with some AN470AD4-5’s. I think it took me all of 15 minutes to make but should easily save that amount of time installing the bolts into the hinge points. Slide in the bolt head in the opening and insert away!
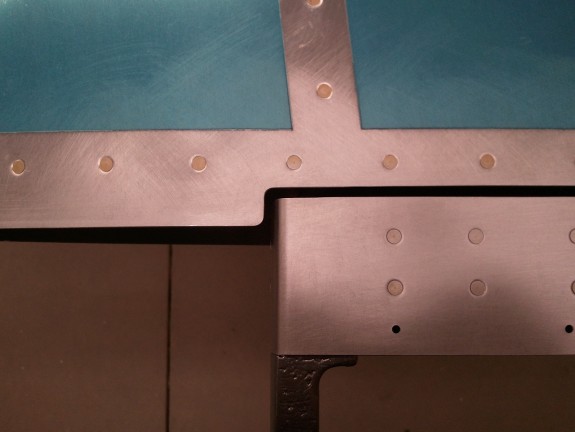
As hinted to above, one of the final tasks that you have to do on the elevators is notch the HS skin for the longer counter balance arms on the RV-7. I think that the RV-8, which has the same tail except for the counterbalances, shares this skin. Rather than make a die for stamping out a skin for specifically the RV-7, they leave this task to the builder. Here you can see the complete notch for one of the four areas where this trimming has to be done. Basically the skin is about an inch longer and overlaps the counter balance arm when you mount the elevator to the horizontal stab.
Since my wife was out of town this weekend with her girlfriends scrapbooking, I was playing Mr. Mom. I was only able to get this one notch done. It was a good start and turned out pretty nice. The goal was to get an 1/8″ clearance from the forward face of the counterbalance arm. The shadow on the curve in this picture makes it look bigger, but in person, it is spot on. I started with a notch on the bottom of the HS to start so if I messed it up, it would be hard to see when the plane is parked on the ramp. After complete, I hope they all turn out this good. Once this was done, I called it a day. All that is left is the other three corners and the notch in the center where the control horns go. Then I will set these parts aside and begin the wings!!!

