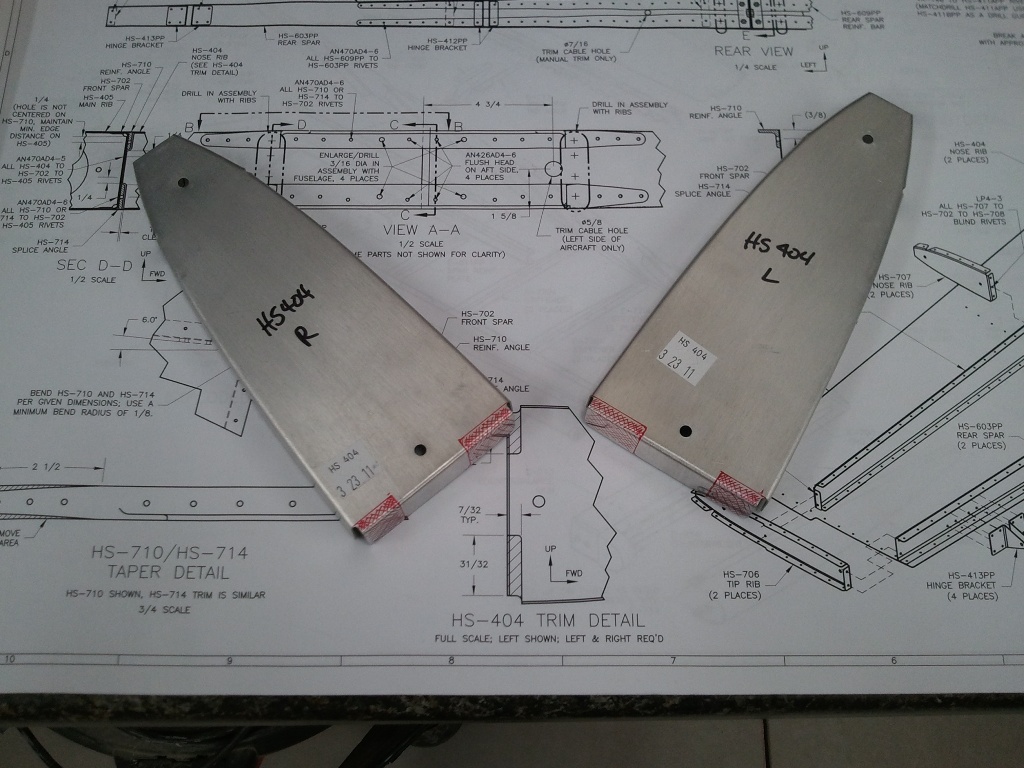
HS404’s marked per plans
One of the next steps after getting the Fore HS Spar prepped is notching the inboard leading edge ribs for the HS notched to go around the stiffeners prepped in earlier steps.
Here you can see the full size detail on the plans and the ribs with the areas that need removing marked in red. I first drilled the corners with a #30 bit and then rough cut the edges close to the limits with my band saw. Then I cleaned up the edges of the cut with a fine file until they were blended with the holes in the corners.
Here is the result:

HS404’s after Notched Per Plans
They are spot on with the plans and ready to be drilled to the spar. The trick is…TAKE YOUR TIME and file as little as needed. I am learning patience in these early build steps. I think that will be the more valuable lesson as the build progresses.
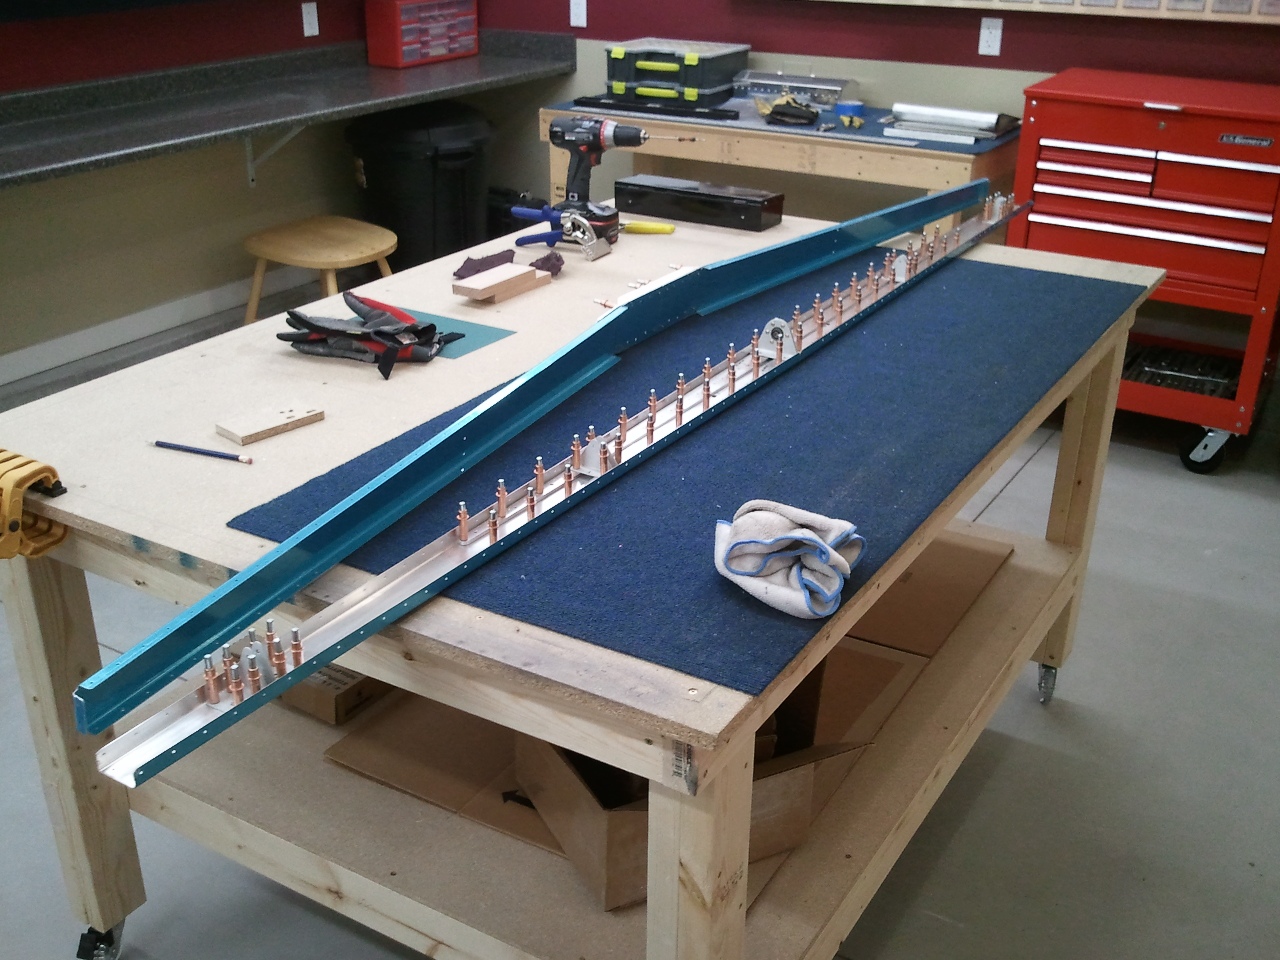
- Fore and Aft Spars Together
Here are the two spars of the Horizontal Stabilizer together on the bench. Almost time to get the ribs started and get these two assemblies joined.
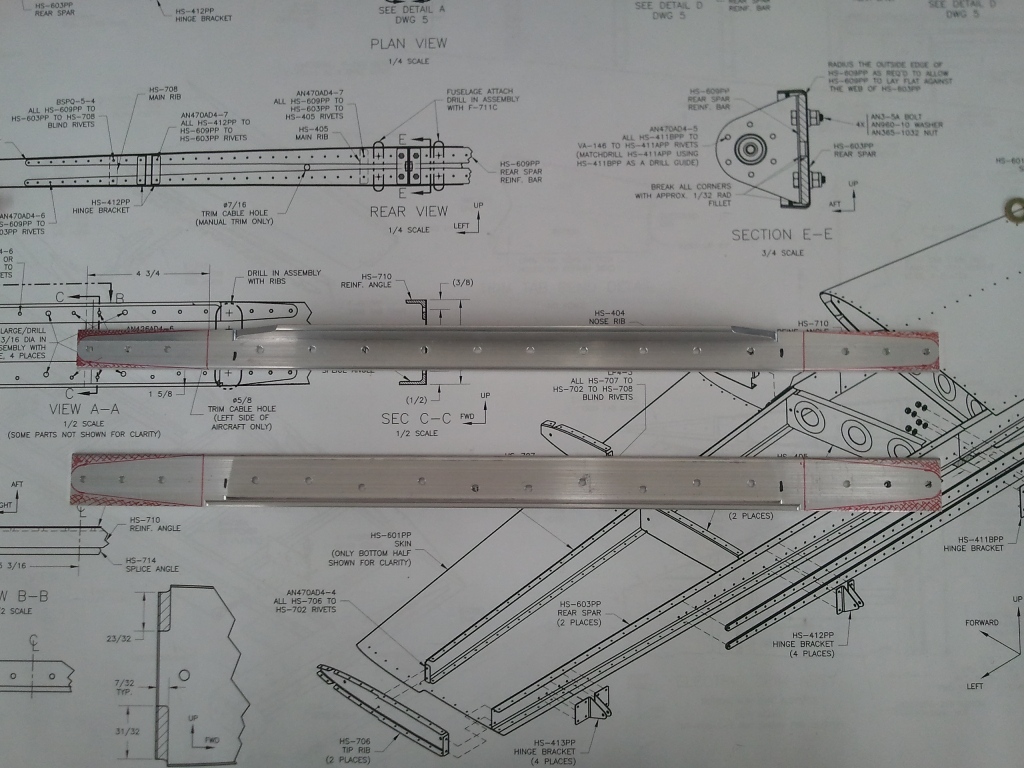
Fore Spar Stiffeners Marked for Trimming
Here are the fore horizontal stabilizer stiffeners marked and ready for trimming. I learned that the last holes on the ends are right at the required edge distance. DO NOT take any material other than the milling marks off the ends when radiusing. If you do, you may not make your edge distance specs.
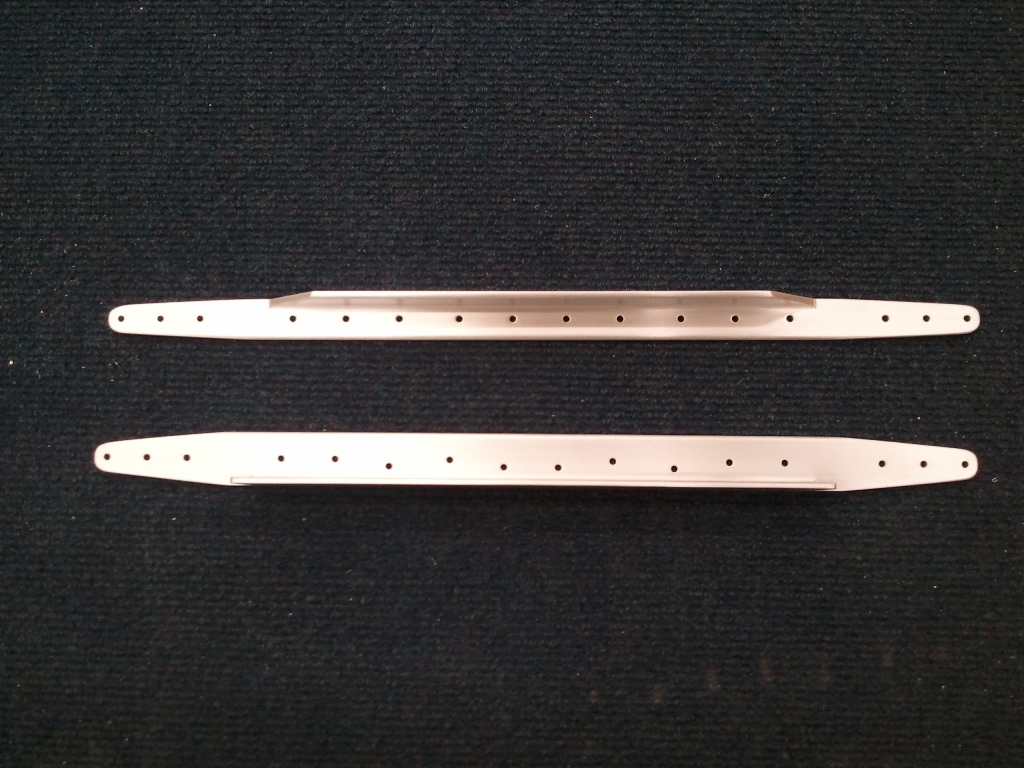
Trimmed and Polished and Ready to be Bent
I completed the trims and then had to make the 6° bends to the tails for the fore spars to make the tapered shape.
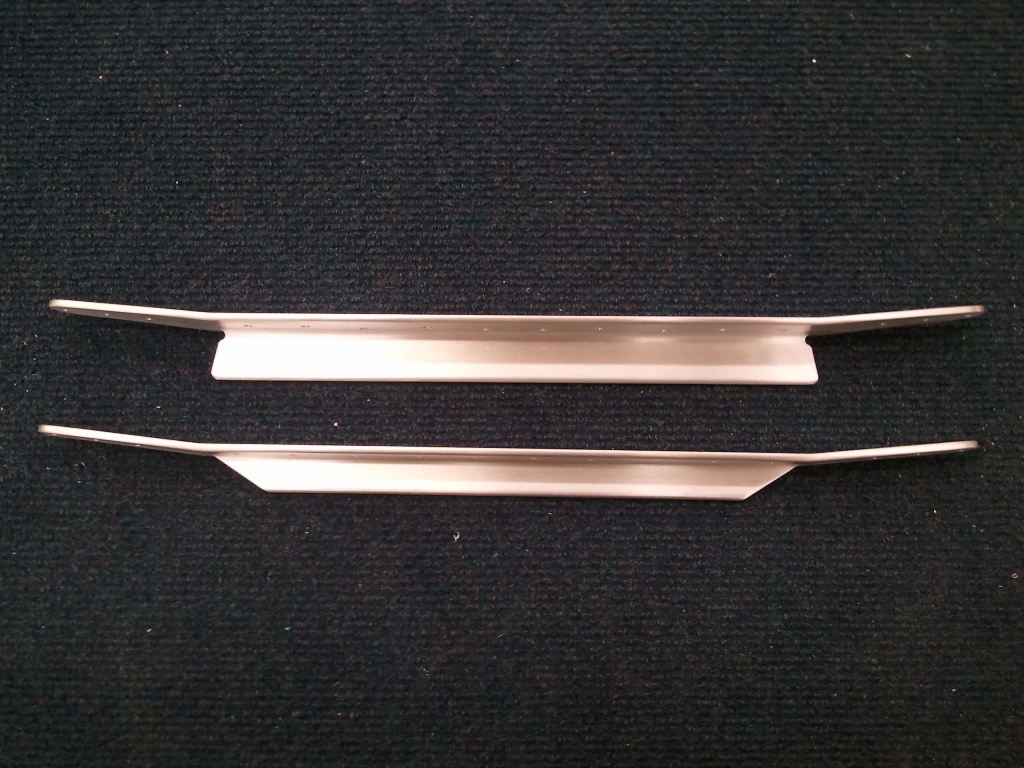
The 6° "Bends" Completed
I also completed the bend relief holes in the fore spars and the corresponding 6° bends in them to match the stiffeners. Next is the dimpling of the spars and the countersinking of the stiffeners for the four inner rivet holes.
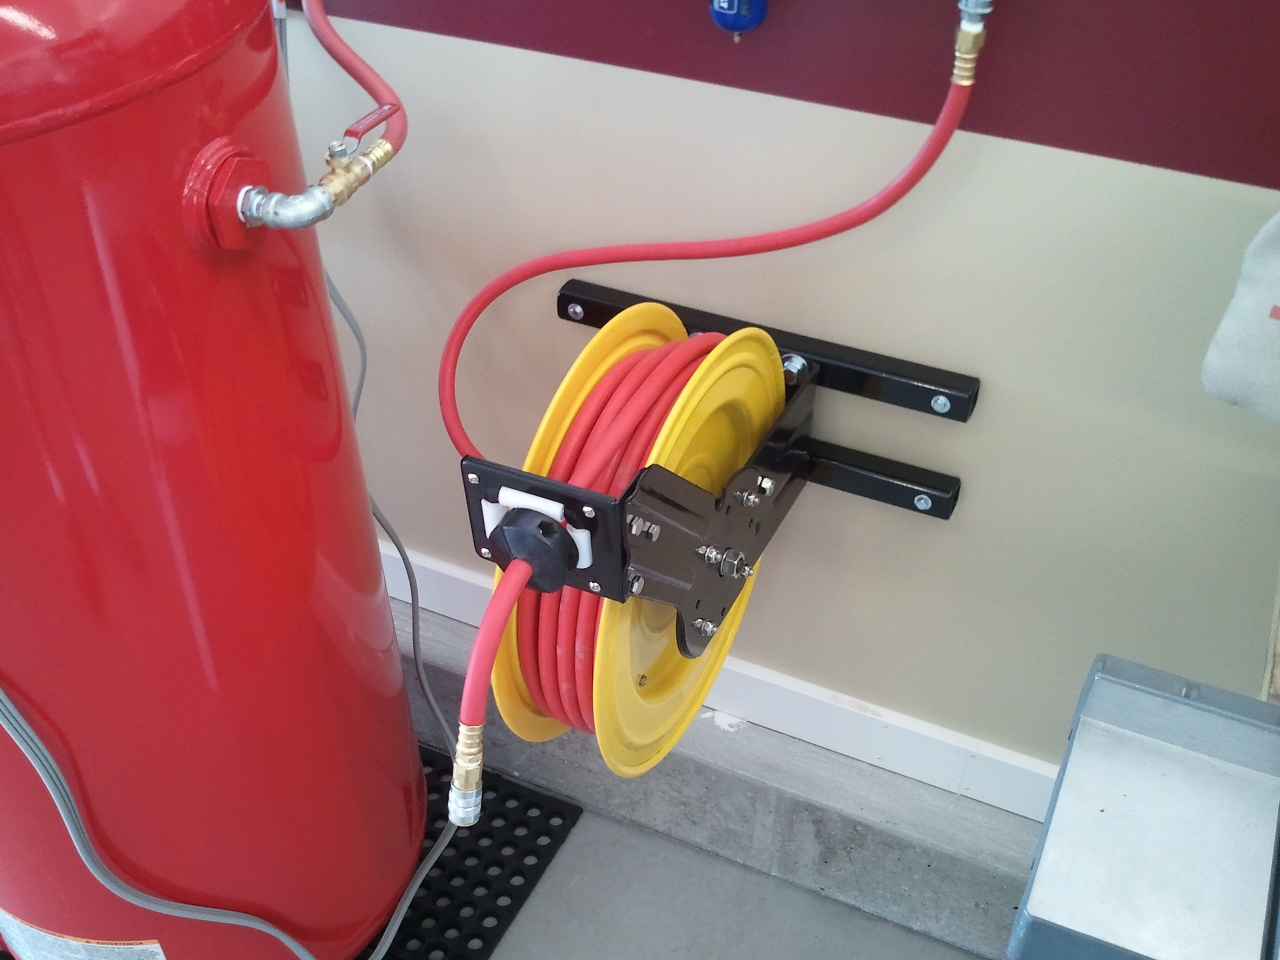
- Hose Reel Mounted
The hose reel with the 50′ of rubber air hose had a mounting plate that did not exactly work on a stud wall. I thought through all the solutions and ultimately came up with the above.
One of my partners on my Spam Can has a machinist father-in-law with a great set of machinists tools. He had some 1.5″ tubular steel scraps laying around so he cut 2 lengths 18″ long and then drilled the ends with 1/4″ holes to accept 4″ lag screws at 16″ on center for the studs.
For the reel mounting plate, we tapped the 3/16″ thick walls for to accept the requisite 1/2″ bolts the reel needed. I then prepped, primed, and sprayed them to match the reel brackets. Turned out great.
Now I have a hose that can reach any area of the shop and then some.
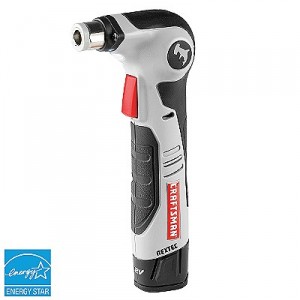
Craftsman Auto Hammer
While browsing the ever vast treasure trove of knowledge over at VAF, I came across a discussion about how good the $100 Craftsman Auto Hammer would be as a rivet gun. It hits hard and is a very good size for getting into tighter places than the traditional pneumatic rivet guns used in RV projects. The conclusion was that with a minor tweaking, and the fabrication of a rivet set holder, it would be great.
One of the other owners of my Spam Can Beech has a father-in-law who is a brilliant and very skilled machinist. We have become friends over the years and have been unofficially adopted by his wife into the family.
As the thread evolved over at VAF, some particulars of the modification needed were shared and dimensions listed. So I took the information over to my machinist friend and in 10 minutes, he took a hardened bolt and made me this;

Modification with AD4 Rivet Set installed
Basically, the modification attaches to the hammer head (nose) of the auto hammer tool with the set screws and the set inserts into the nose of the modification. Now you can bang at the head of the rivets with very good control and you can also switch out to different sets for different rivet sizes.
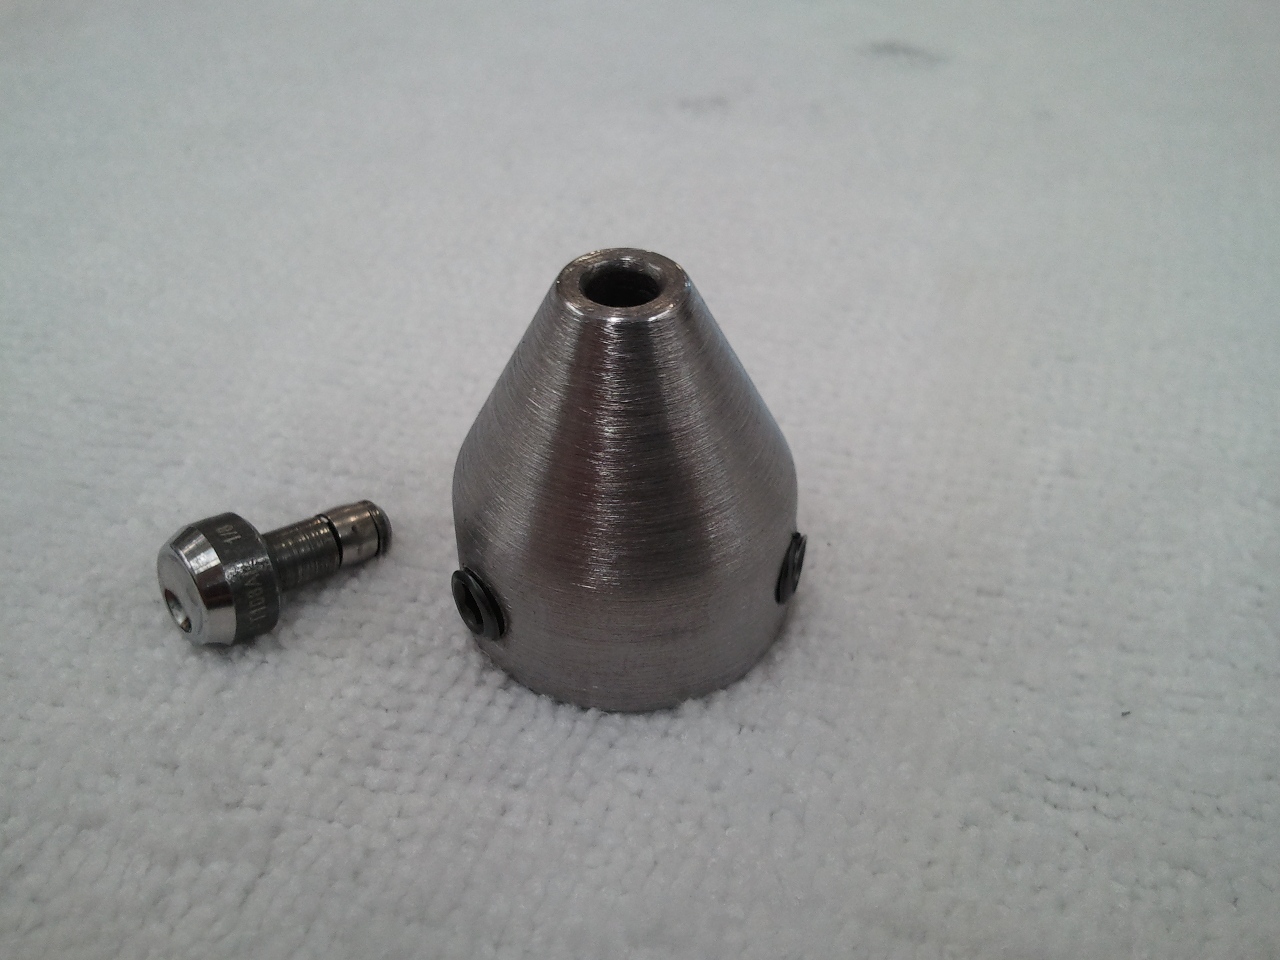
Here is the modification without the set installed
I geeked out some as he was turning this bolt into my modification with such skill, speed, and precision. Needless to say, I am glad I have a machinist “in the family!”

Photo Courtesy of Byron Graves N507RV
As I was pondering which plane to build, I came across this photo. I love the look, the lines, the scheme. So much so, that I emailed the builder and asked if I could copy the scheme. He said as long as I did not use the same colors, not a problem. Simply stated, this specimen is pure inspiration. He did a fantastic job. I only hope to get something that looks close to as good.

Photo Courtesy of Byron Graves N507RV
And for the interior:

Photo Courtesy of Byron Graves N507RV
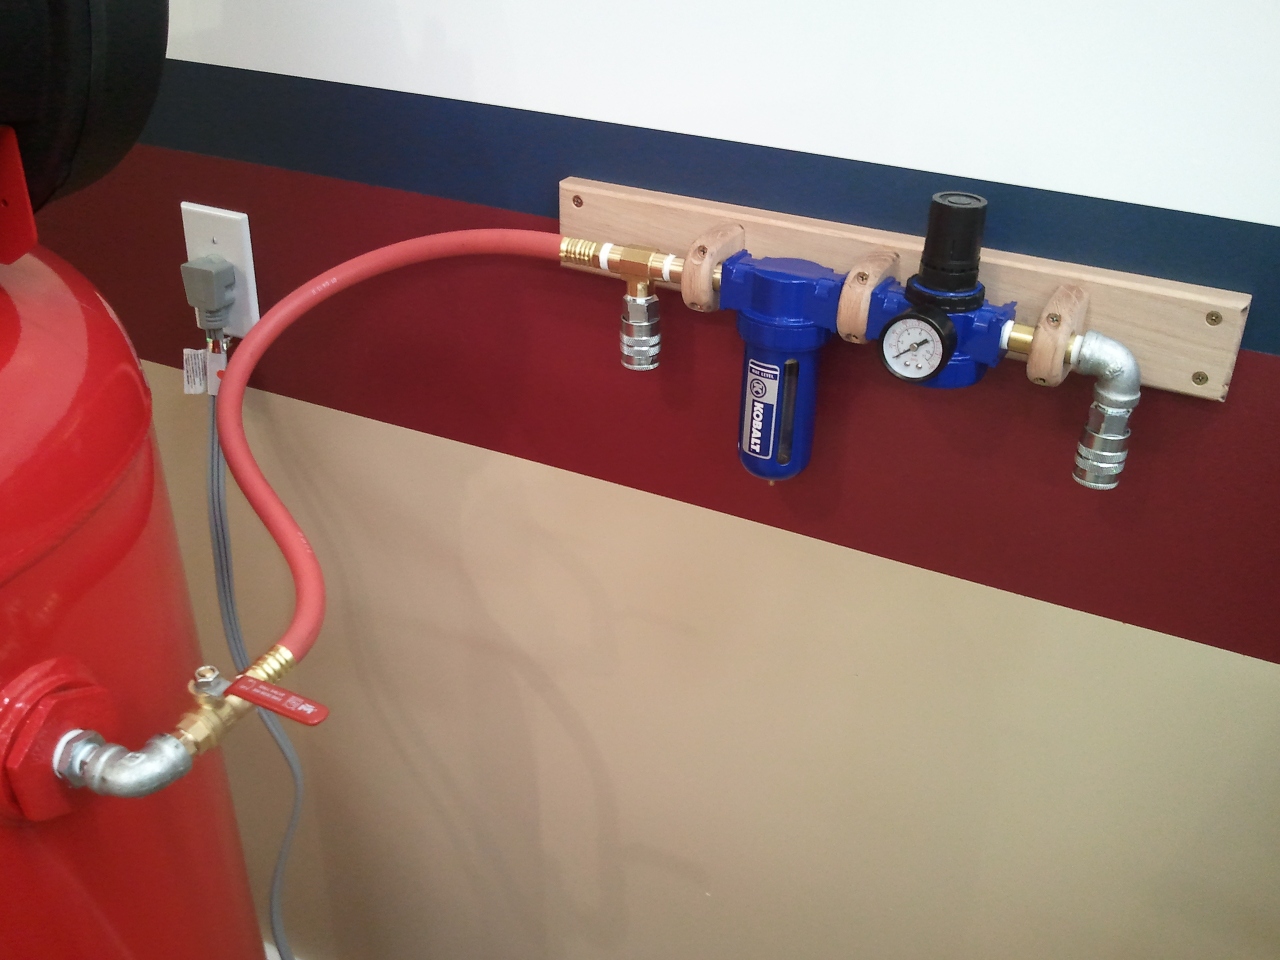
A minor part swap.
Based on some suggestions from fellow (aka more experienced) builders, I moved the shutoff valve to the tank rather than the wall. This takes the pressure off the lead-in hose when closed. Additionally, I added a tank pressure outlet for general use with air nozzles and other high pressure needs.

Easier moisture removal valve
Another suggestion from a builder with arachnophobia was to make the valve on the bottom for moisture removal easier to use. I added an elbow, 4″ nipple, and a ball valve. Much easier to get to, and certainly easier to use.
The rubber mat is temporary to keep the compressor from walking across the floor. I will be bolting it down very soon for many reasons.
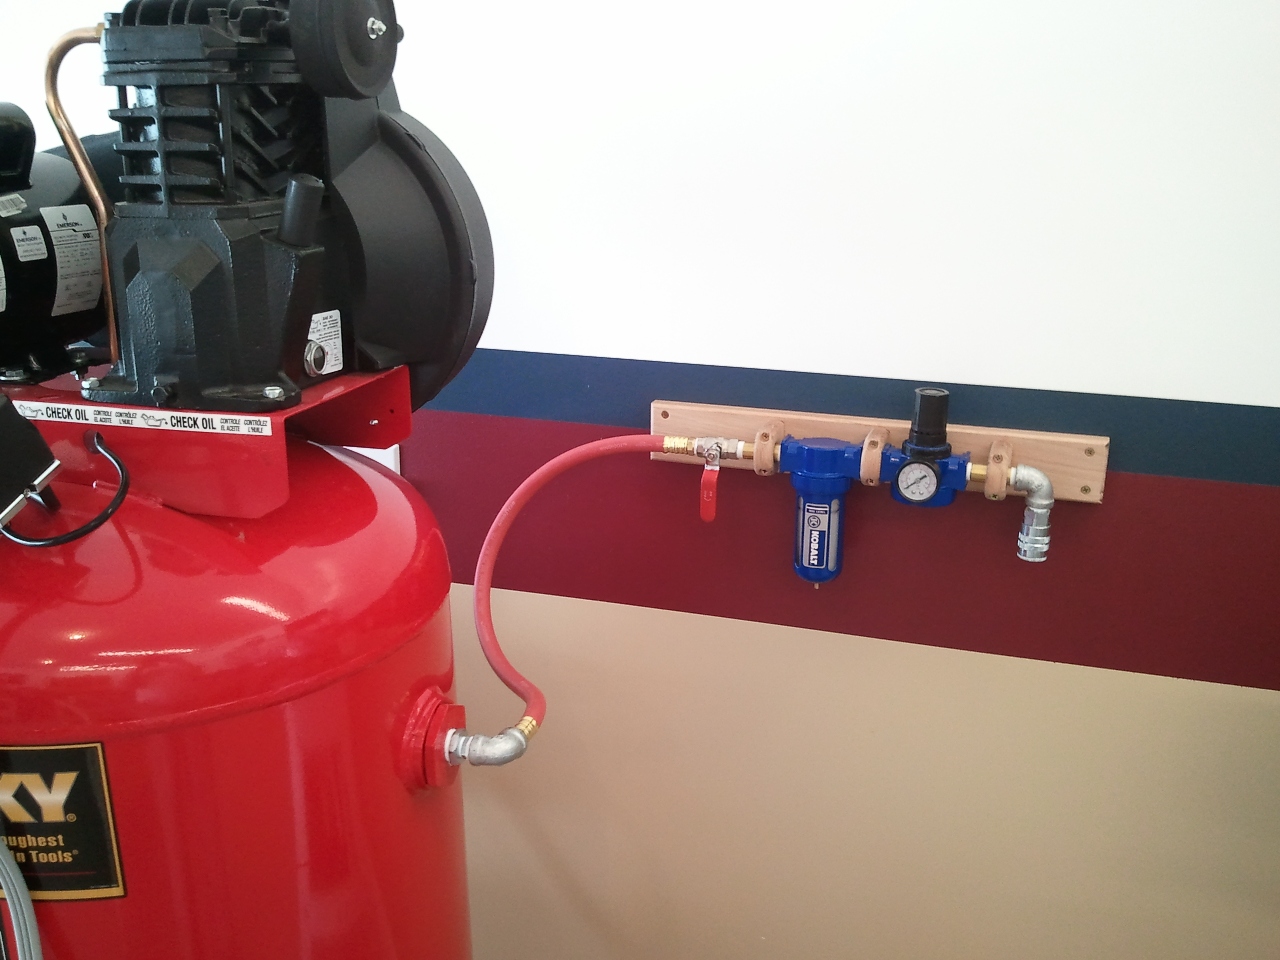
Custom Standoff
I have been planning on buying a larger compressor for the build for some time. I saved up and the time arrived. I got the Husky 60 Oil lubricated upright 240V.I wired a 240V 20A circuit in the shop just for this purpose and it runs it great.
One of the things that needed to happen before I could use the new compressor was the installation and mounting of the filter and regulators.
I chose the Kobalt versions over the Husky versions because the Kobalt has an auto drain in the filter. Does not hurt that it is patriotic looking next to the compressor 🙂
Unfortunately, neither the filter or the regulator came with provisions for wall mounting. So, I sat there and conjured in my head a design I was sure would work. Turns out, I was right. I basically took a 1″x3″X5′ piece of Red Oak from Home Depot aviation supply, and made 3 standoffs. I drilled each undersized to the pie holding all the components together, then rounded them, routered the edges with a 1/4″ round-over bit. and then sanded the holes to a snug slip fit. Once they were fit, I drilled and countersunk holes for screws on either side of the hole for the pipe. Then I simply cut the part right down the middle of the mounting hole. The width of the band saw blade being removed made a perfect clamp when the parts are screwed back together. Works and looks great.
I also have a 50′ hose reel that will be mounted below this assembly that will keep the hose tidy.
A few other builders suggested a couple of enhancements to this setup that I will implement tonight and update.


