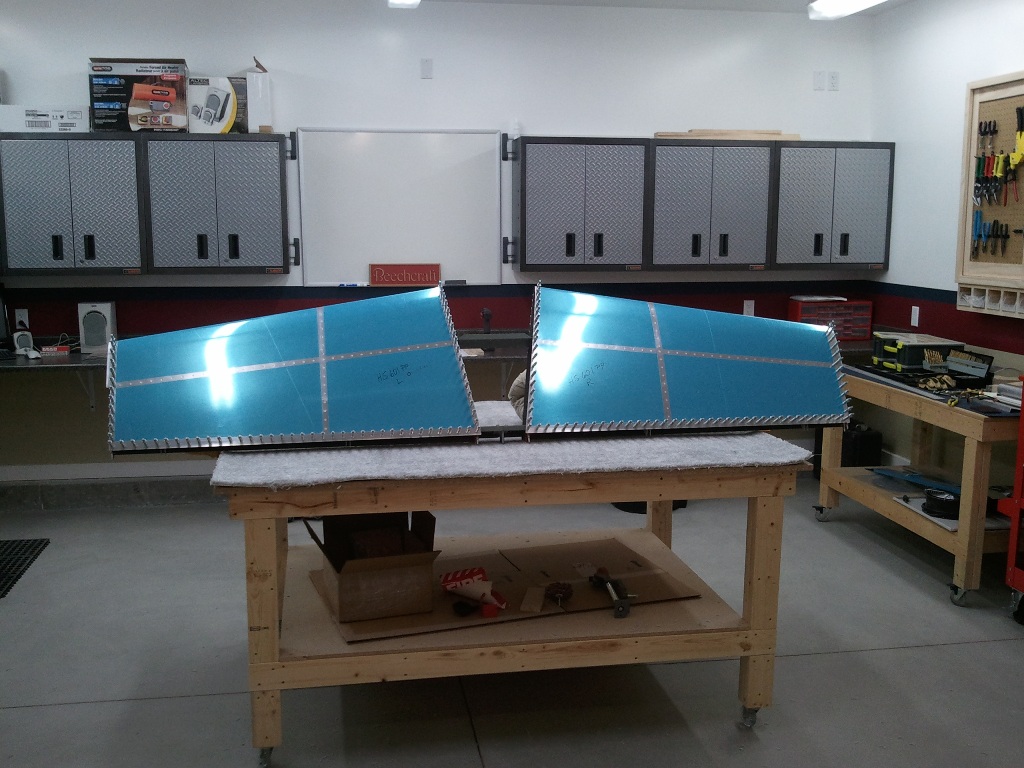
Milestone…HS is Complete
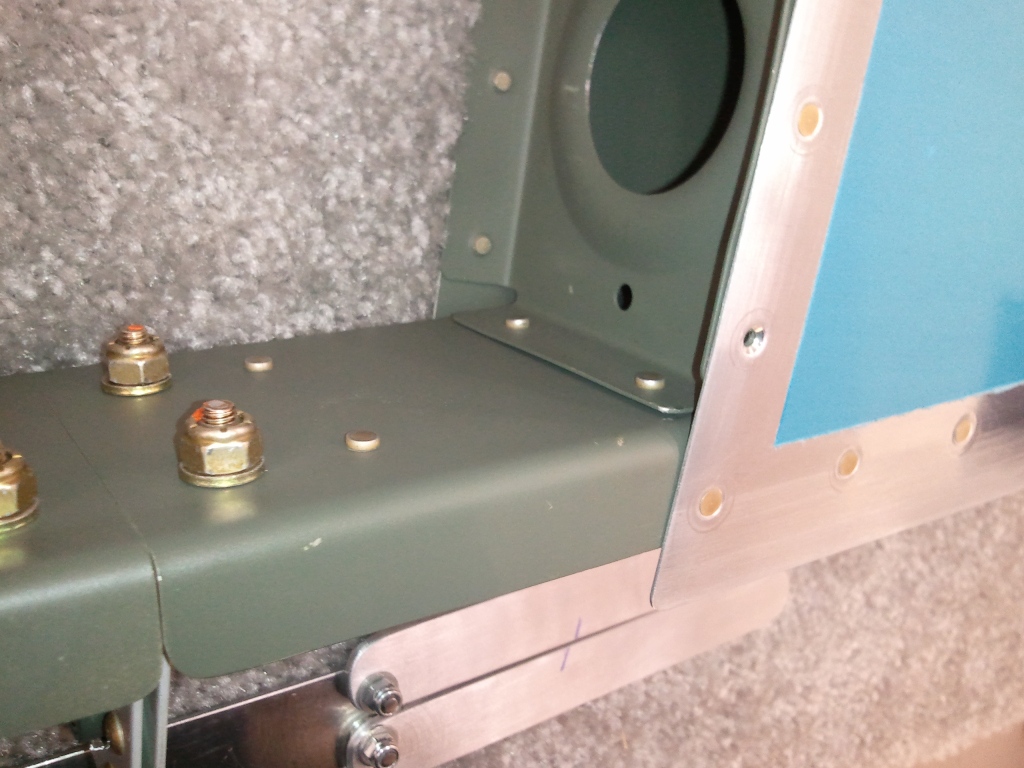
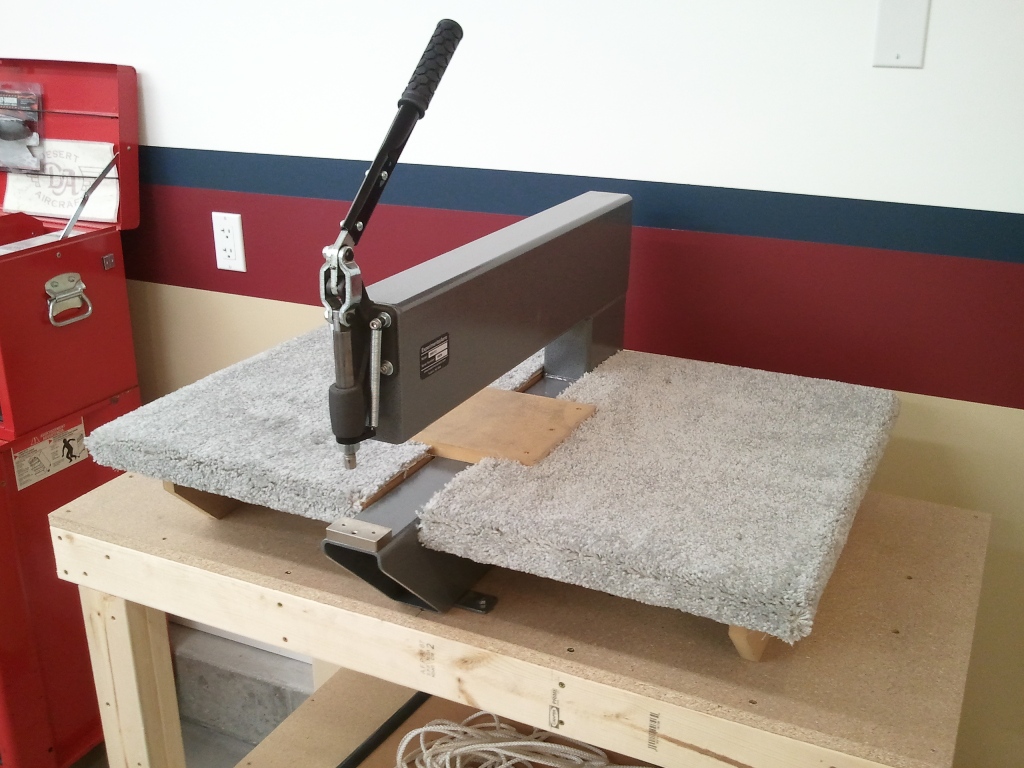
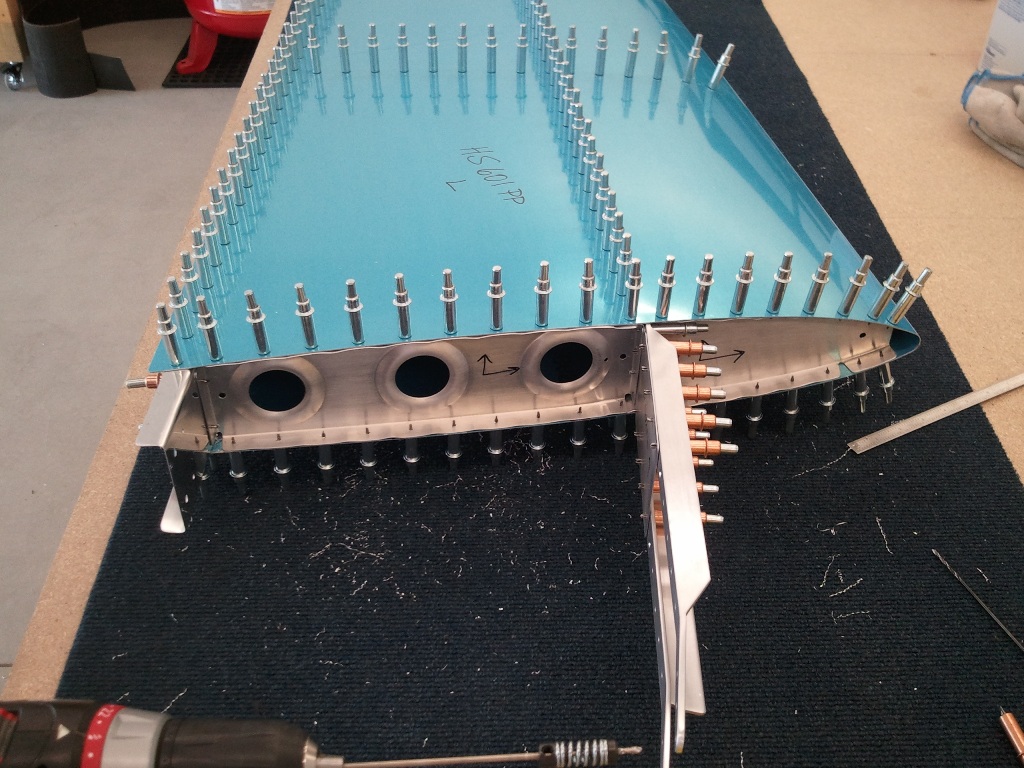
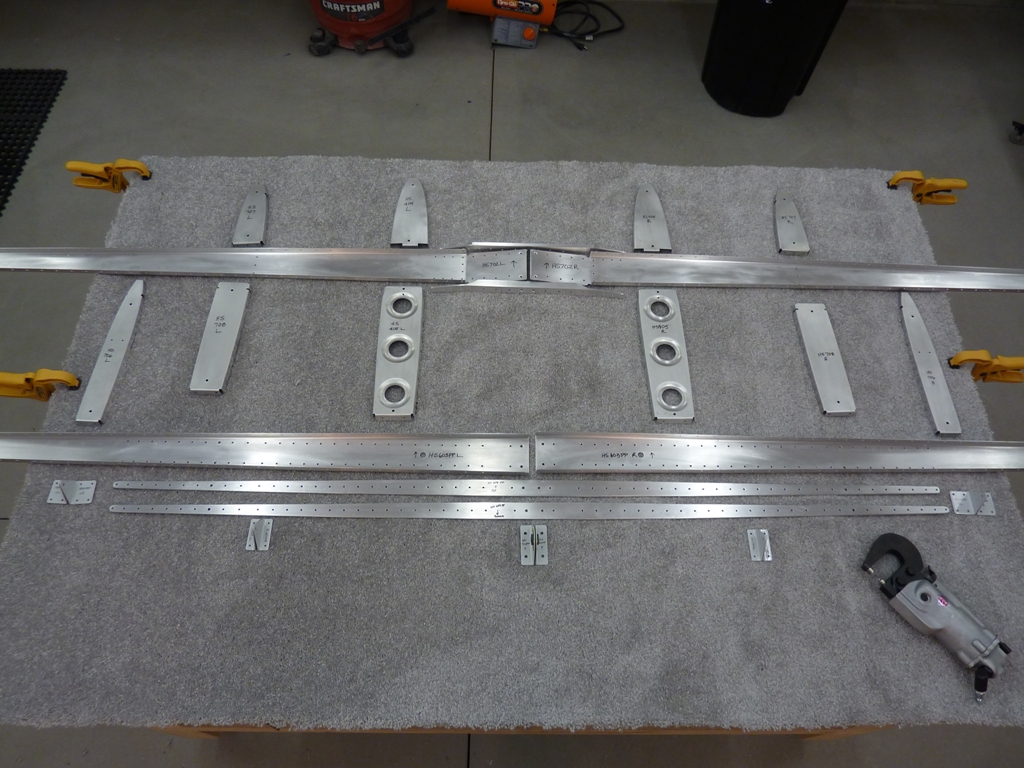
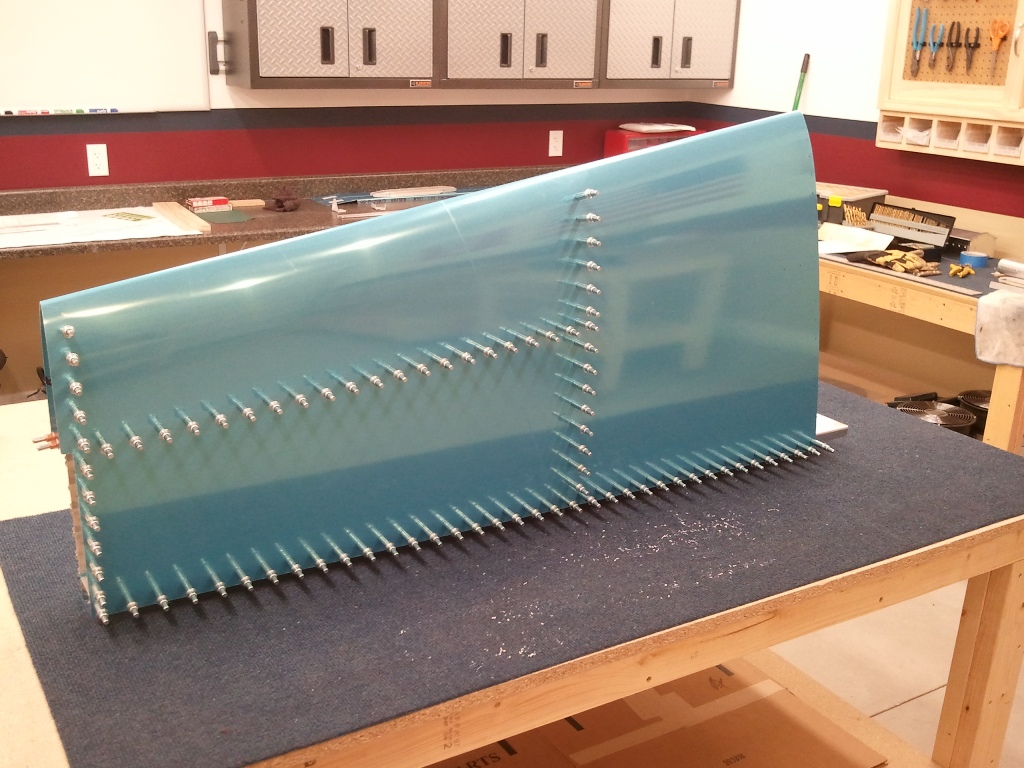
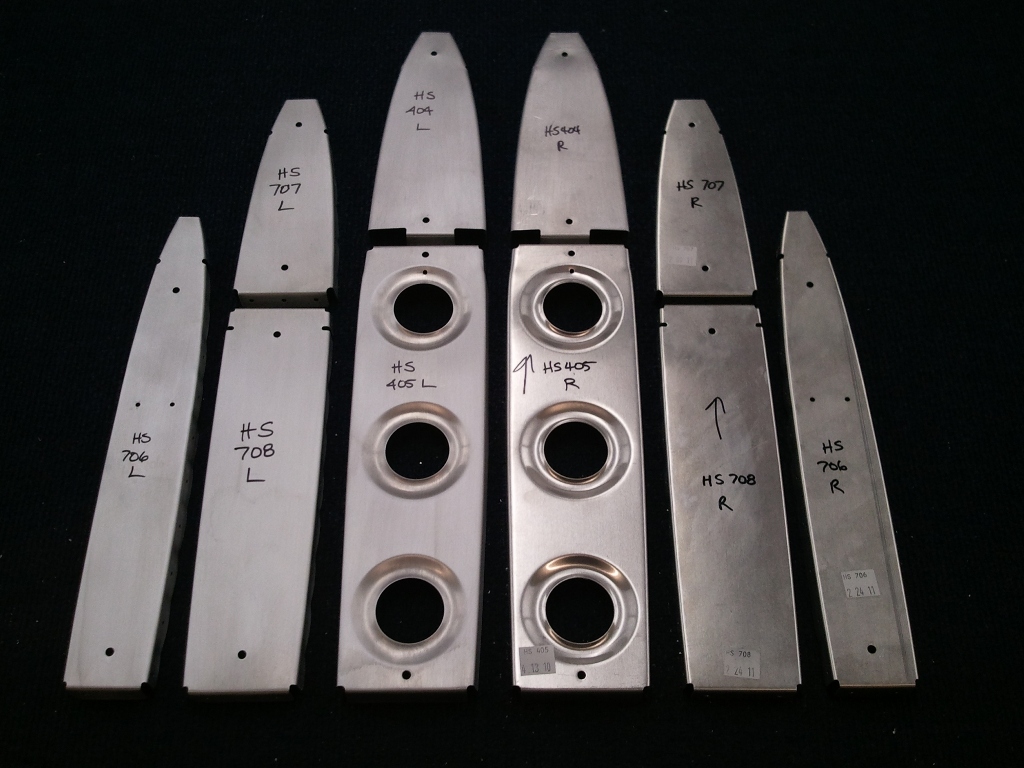
Memorial Day 2011 will be memorable for sure. I was able to get all the assembly of the HS done. I had bucked all the rivets in the field of the skins earlier and only had the perimeter to do. So I started with the HS-404 and HS-405 ribs and grabbed my pneumatic squeezer and knocked them out. I did remember to leave the open holes for the fairing between the Horizontal and Vertical stabs alone. Some have reported that they got so into it, they just riveted those and then had to drill out.
Next was final attaching the HS-706 ribs to the skin. Worked from front to back on each end and each side. Went fast with the squeezer.
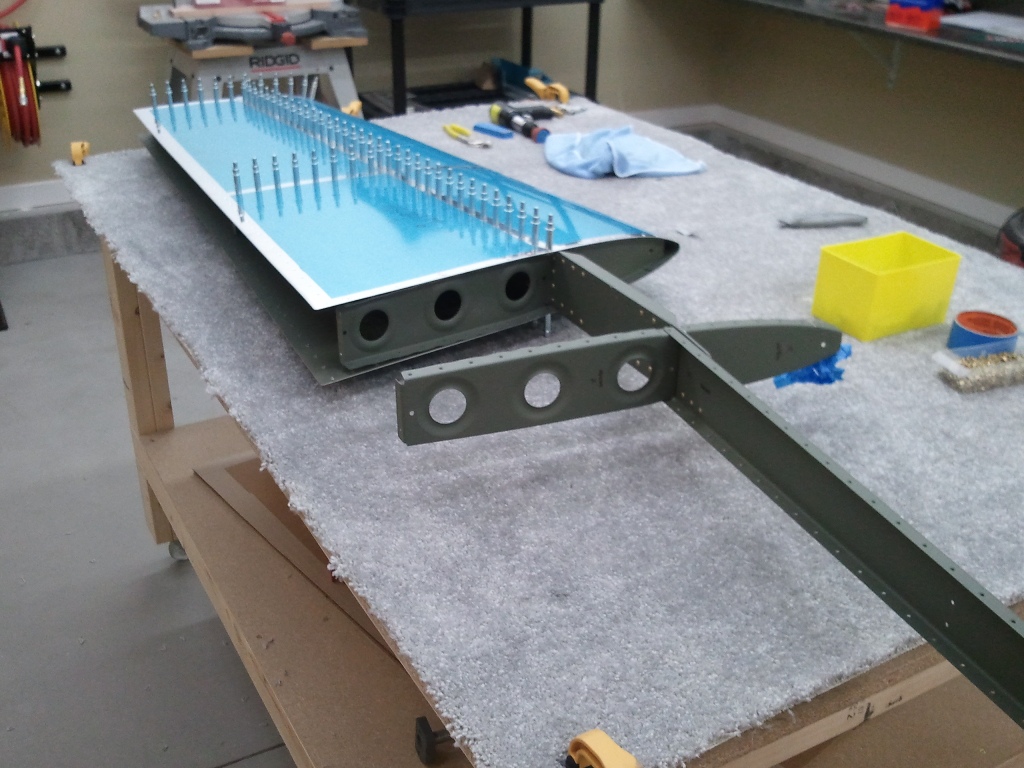
Once the ribs were done, I moved on to riveting the aft spar on to the skin. Basically, I pulled out every other cleco from the skin and placed a rivet in. Then I squeezed them. Once complete, I removed the remaining clecos and squeezed the rest.
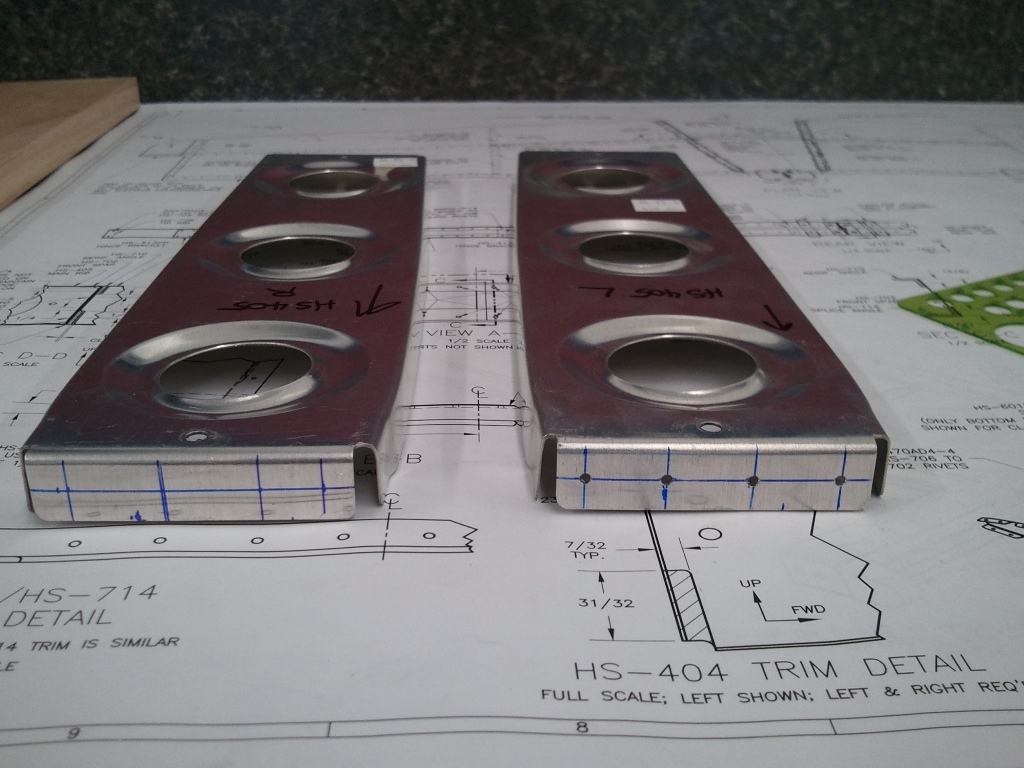
Next, I squeezed the HS-603PP to HS-706 AD4’s, then the HS-603PP to HS-609PP to HS-405 holes. These were a little awkward to get to with the squeezer and the aft flange of the HS-405 lifted/distorted some from the aft spar, though the rivet locations were tight together. Shot an email to Vans which they replied…build on, it will happen.
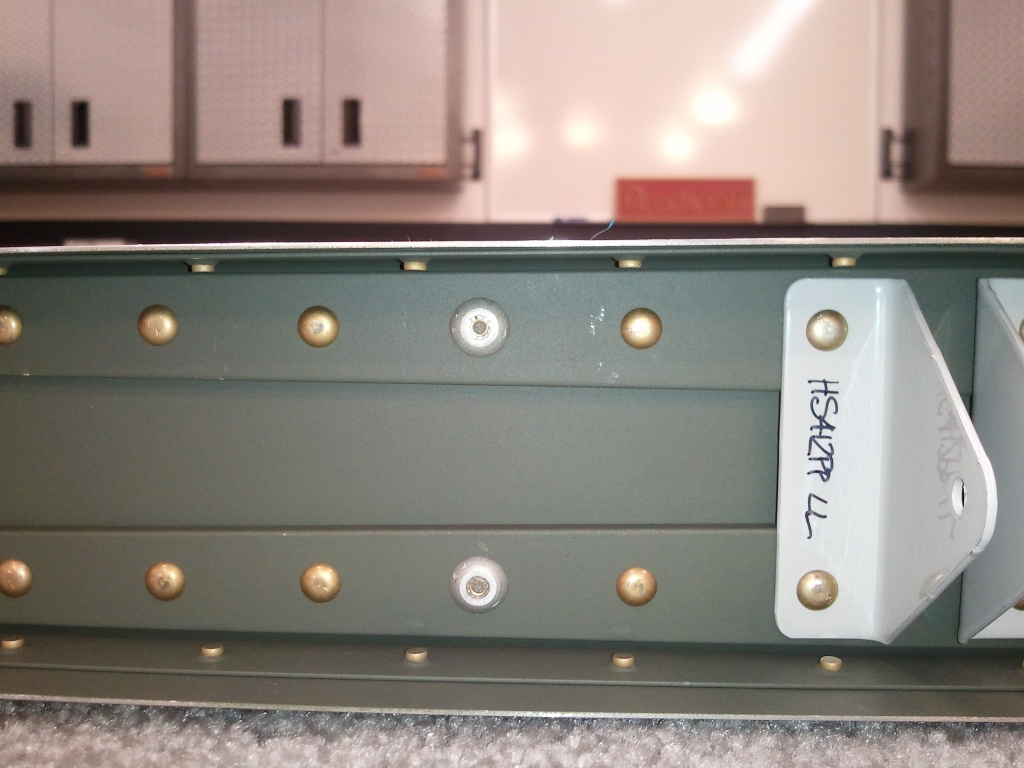
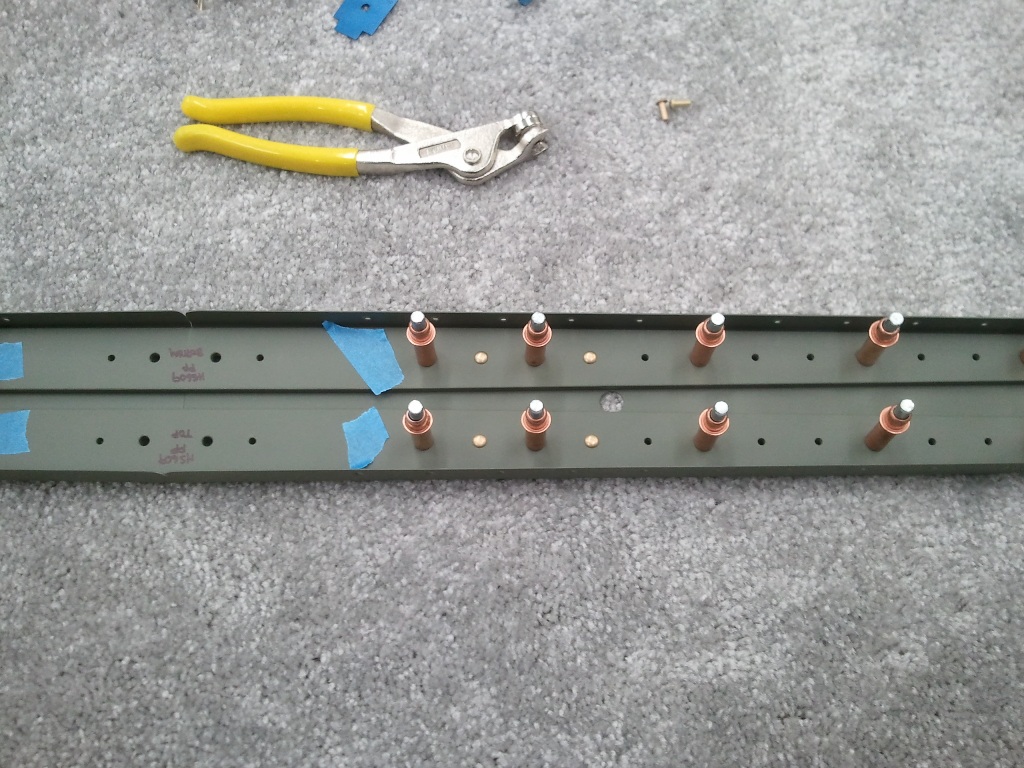
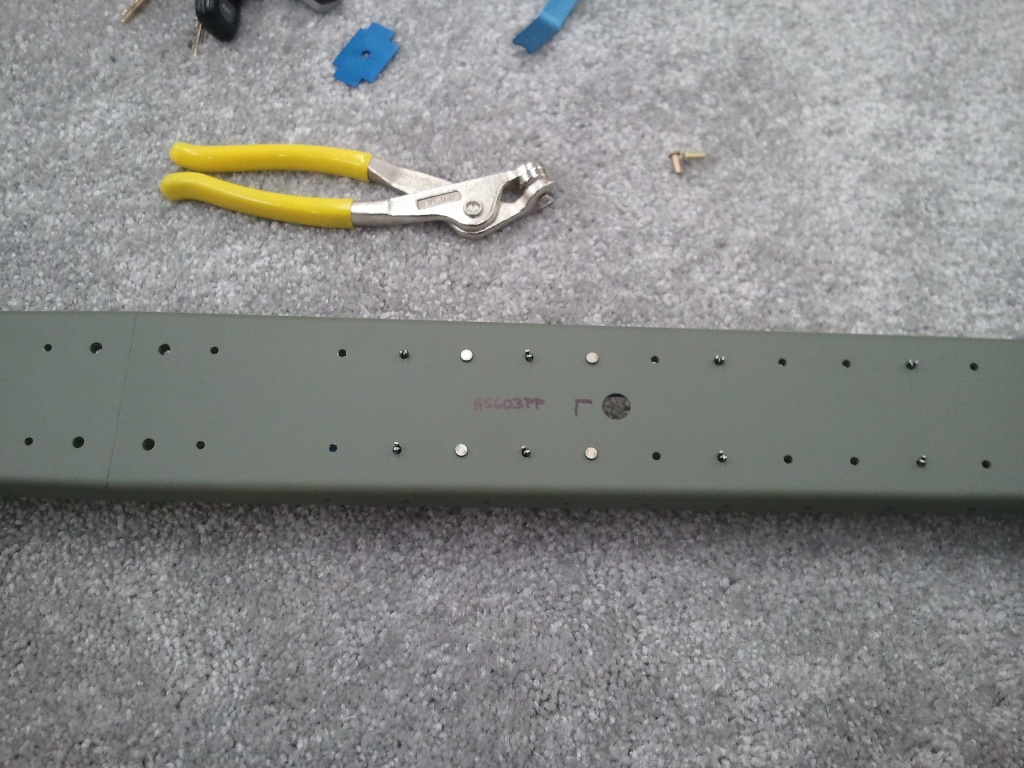
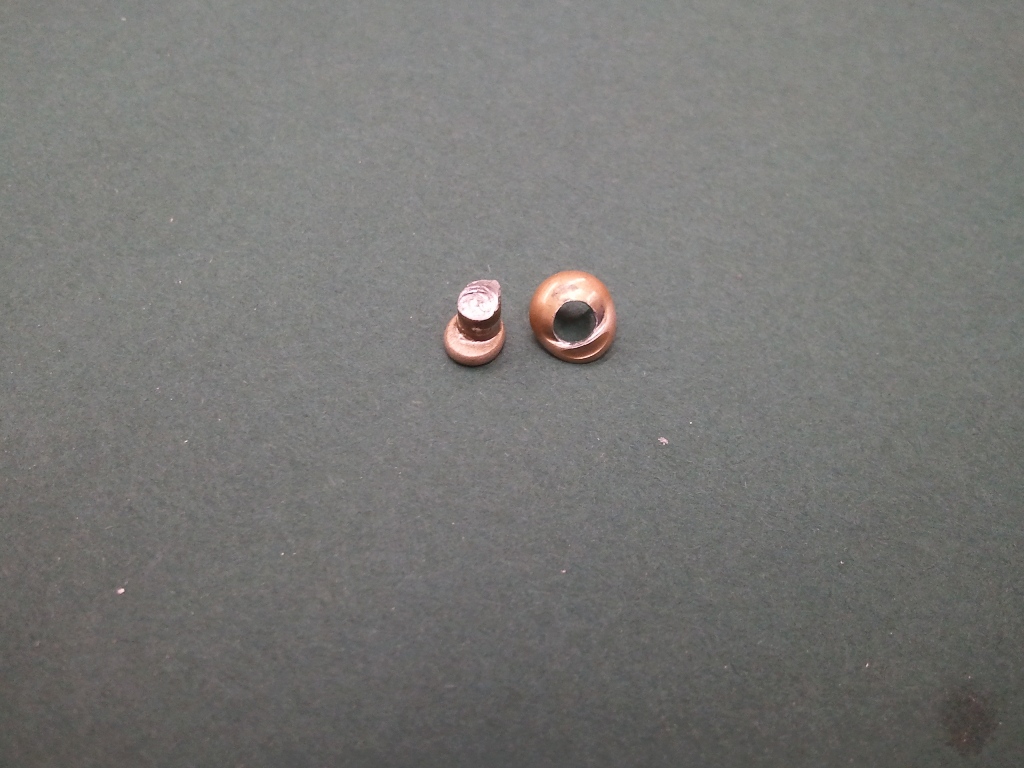
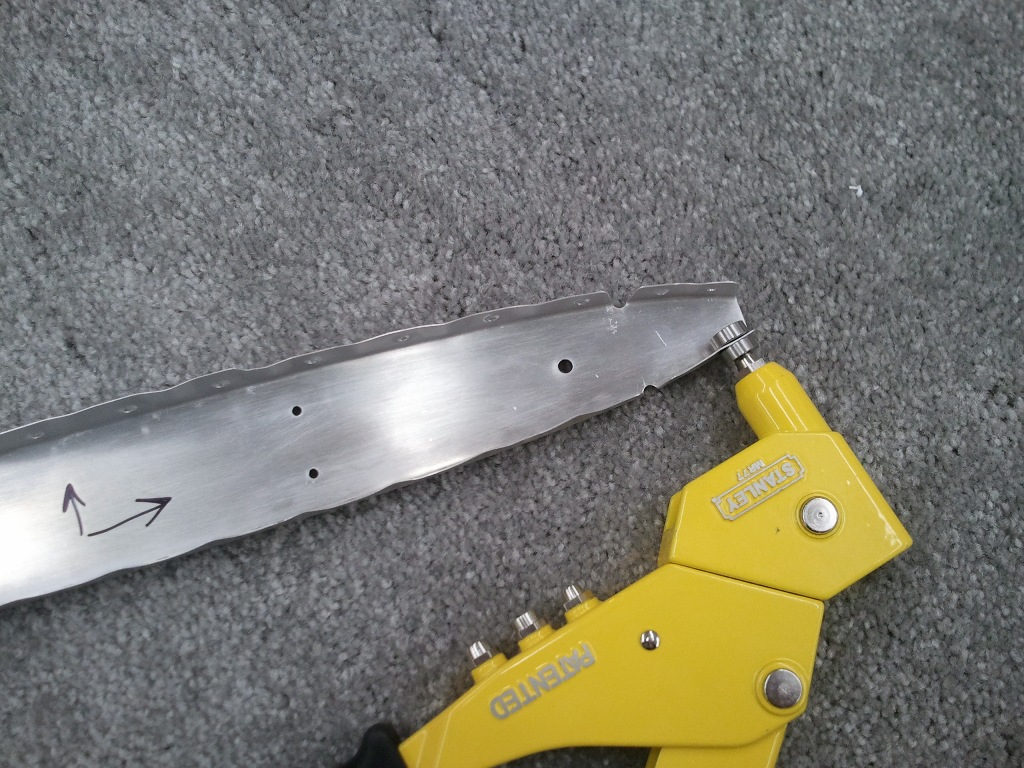
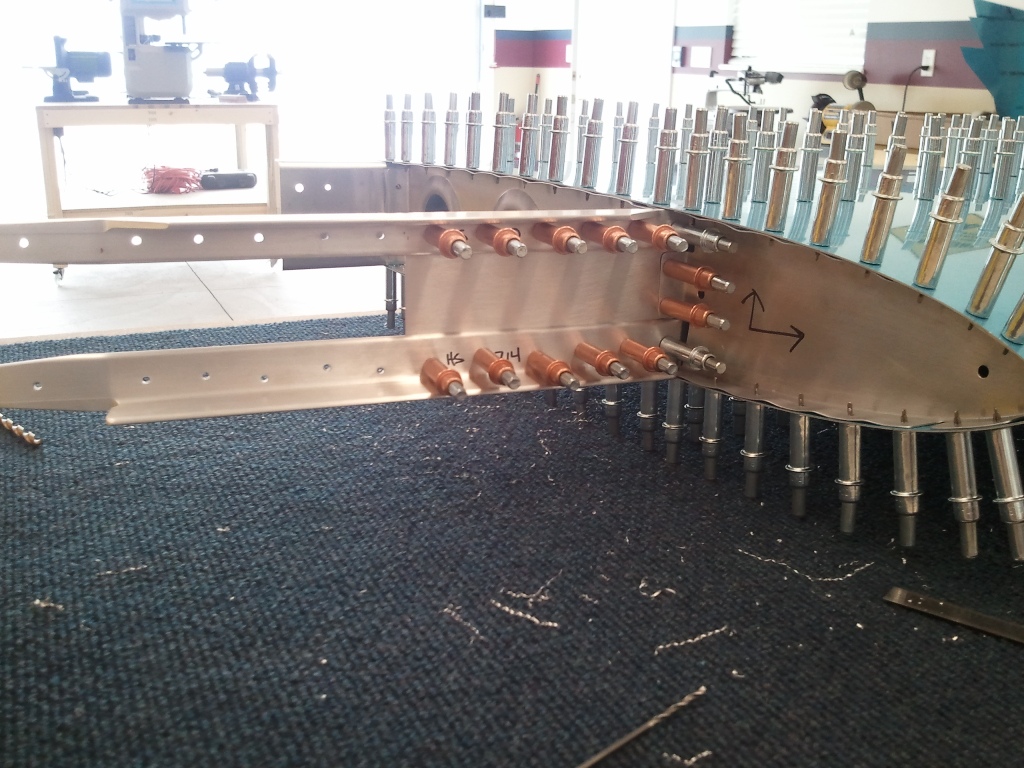
Once these were nailed down, I was left with the HS-708 aft rib holes that are blind riveted to the spar assembly. I failed to mention earlier that apparently I had a fit of dyslexia when I first started the Aft HS Spar. I accidentally drilled the holes that tie the aft of HS-708 to the spar with a #12 bit rather than the called out #21. I felt really stupid and was really discouraged on day one of my build that I had royally messed up. I called Vans then and asked if it was OK to use CR3213-6-4’s instead of the BSPQ-5-4’s called for due to the oversized hole I now had and if it posed a problem to the strength of the HS-609PP spar doubler. They assured me, you could not measure the loss of strength without visiting NASA. They agreed that using the much stronger (aka overkill) Cherry Max rivets was perfectly acceptable. I sent them another email as I finished up with this picture, and they replied again, all is well and build on. They mentioned several times my work looks really good. Whew! One note of caution, make sure that when you insert the blind rivet into the spar that it really is in the rib. You can check by looking through the HS-405 lightening hole. I thought several times that the rivet was pushing the flange away from the spar and was glad I checked before I set these tough little rivets.
The last area of concern I had when I got all done was the HS-710 stiffener to HS-702 to HS-405 rib interface. I mentioned it earlier, but I sent it on to Vans to just be double safe. I mentioned I was a couple of thousandths of an inch short of the 0.250″ ED and they replied…you are well within MilSpec, build on. Again they complimented me on my work. Perhaps they know something about new builders. We worry tooo much. It was still welcomed assurance.
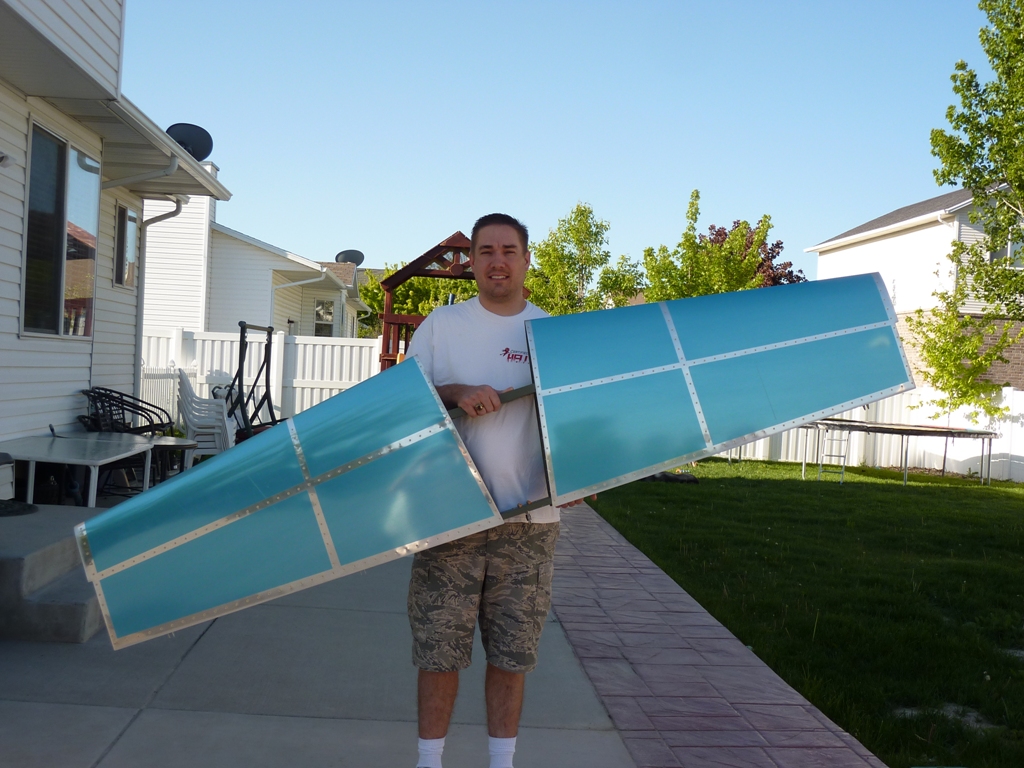
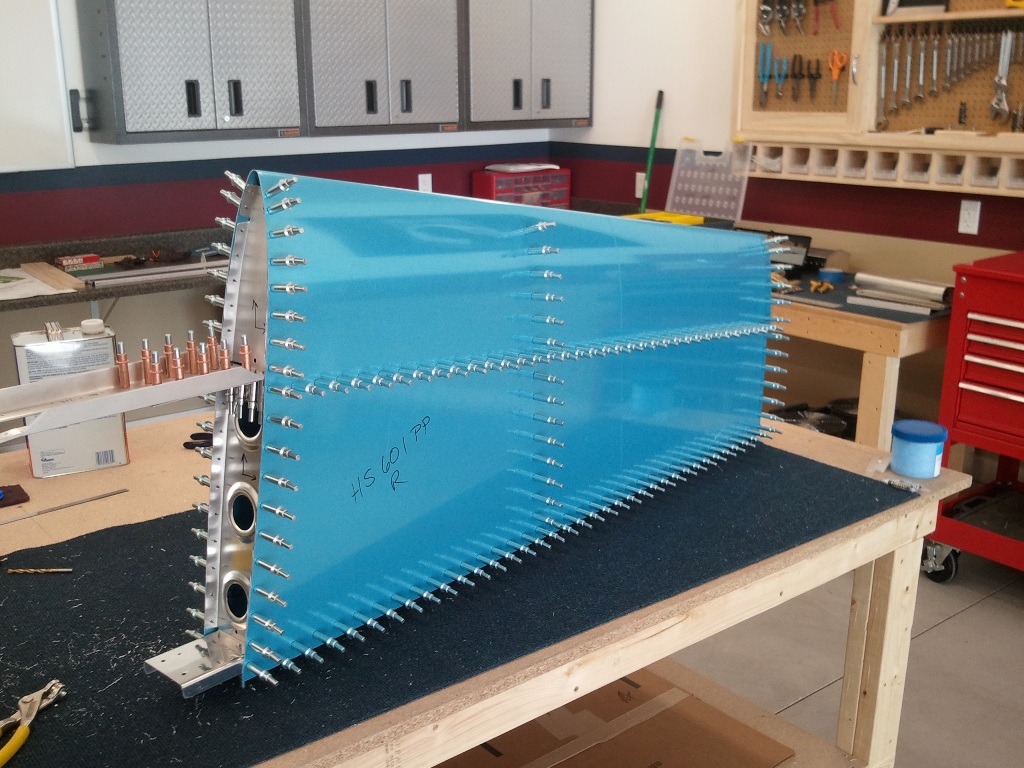
And we arrive here. A completed Horizontal Stabilizer. It is not 100% perfect, but it will fly, and fly well. Thankfully paint will make up the difference. I need to shoot some primer back on some spots that got a little scuffed when assembling, but all in all, it is time to move on to the next stage of the build…the Vertical Stabilizer! If my mistakes really bug me, once I have more of the bird built, I can then decide if I want to do another HS, but we’ll cross that bridge much later. After all, it is not the space shuttle. 🙂


