Elevators now in Process
One of the reasons I love working for a bank is the extra week of days off. Columbus Day is just one of those occasions. I am starting to get a real collection of air plane assemblies and need to find a way to get them up and out of the way. I have some ideas, but rather than tackle that right now, I decided to get started on the Elevators with my free time.
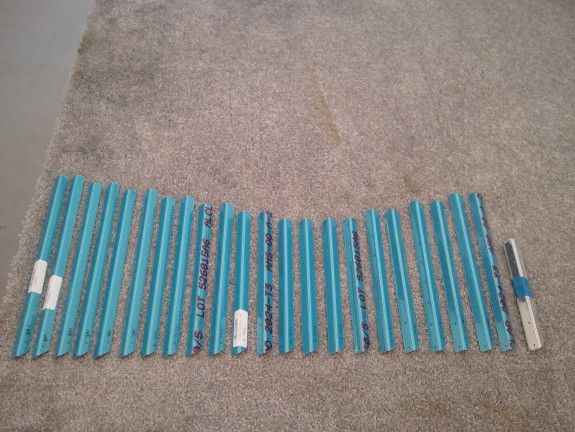
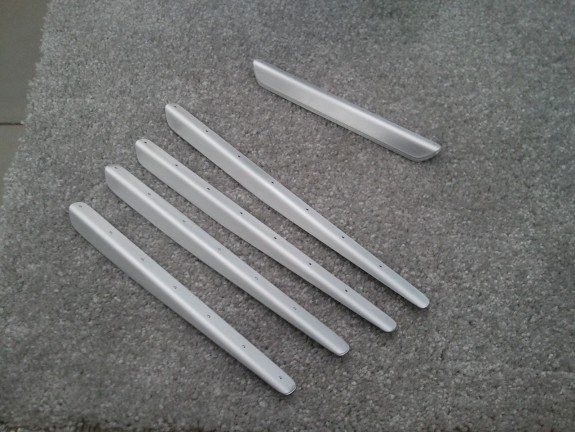
The first thing to knock out is getting the stiffeners cut to length and then trimming to specs. Here is where having the right tools makes quick work of a tedious task. I simply took my snips and trimmed to nearly the rough shape. Then I hit each with my 12″ disk sander to finish up the ends. As for the tapers to fit in the trailing edge, I took my band saw with a new blade and trimmed them to close to the cut line. The new blade went through these like a hot knife through butter. Once close, I went back to the sander and cleaned them up to the trim line.
All that is left is to then hit the edges and round the corners to final shape and deburr. My scotchbrite wheel made quick work of this task. After they were to final shape, I simply scuffed them in prep for primer now. I like to get the not so pleasant tasks all out of the way at once. At this point, they are now ready to match drill to the skins.
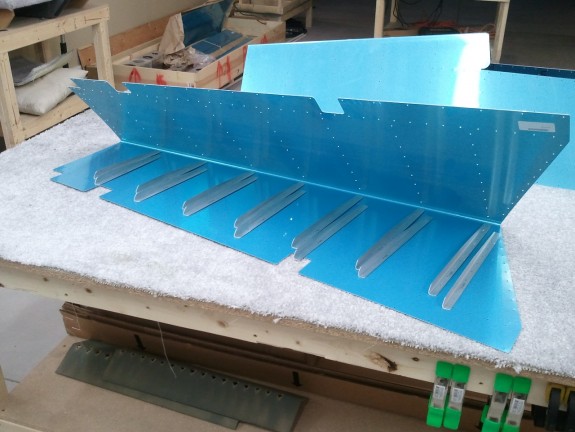
Here they are getting ready to be clecoed to the skins. There is one for the top and bottom of each skin. I took some time to label each before drilling so I could relocate them to the same spots once the drilling was complete.
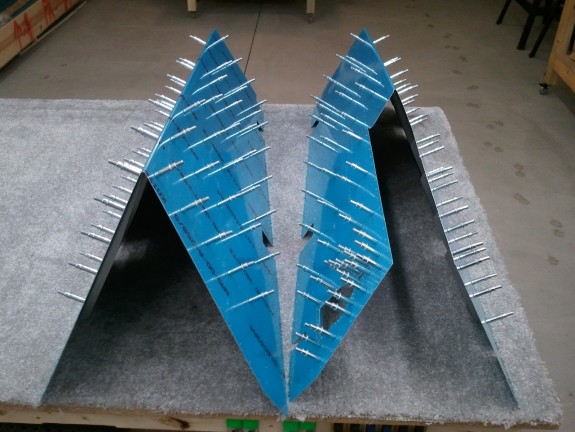
So here are the two skins ready to get at the match drilling. The skin shown on the right is s a little different. It will contain the electric trim servo and trim tab. It has a doubler/reinforcement that is match drilled at this point as well. So I went to using a #40 chucking reamer and matched all the holes….except…the last holes in the trailing edges that were not pre-punched in the stiffeners. I am not real sure why these are not pre done other than perhaps in providing the stock to make the stiffeners, it is easier not to since there is a slight difference in the length of some of them between the right and left halves of the elevators. That, or builders could confuse them when building and ruin them. Either way, there are 3 holes in the skin on each side of the skin that need to be used as a template to drill the final holes in the stiffeners. So I chucked up my #40 bit and got to it.
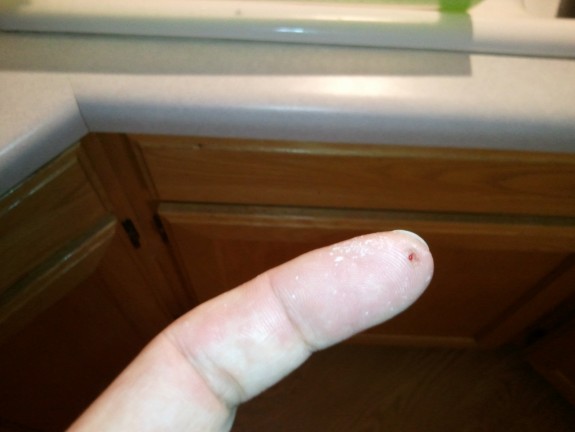
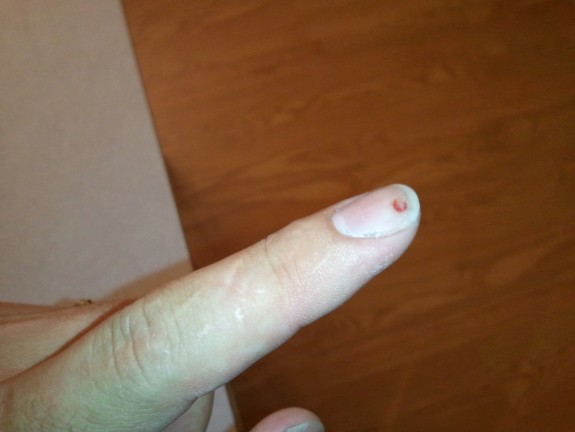
Then I found out the reason these are not pre-punched. Apparently there is a list of “clubs” or initiation rights an airplane builder has to join/pass to be full fledged. One of those is to drill your finger at some point. In Van’s great wisdom, they created a perfect storm to help you accomplish one of these rights. I was reaching in to hold the stiffener to the skin from the backside and drilling from the other side. This means you are essentially drilling blind to the backside. I thought I had gauged my distance from the hole further on down the stiffener well enough. At his point I had made it through 9 of the 12 holes that had to be done this way. On hole 10…something felt very different as I broke through. It then dawned on me…that is my finger!!!
Now that I realized that my #40 bit was now in my finger, I backed the drill out and extracted my hand from behind the skin. Yup…there it was…my entry into the “club.” I went though most of the meat of the end of my left index. I stopped just short of making a hole in the nail. As you can see…that is all the way through. I actually did create a hole in the nail but it did not break away. Fortunately my bit is very sharp. I stopped just in time to keep it from tearing out any meat so in reality, I simply created a deep spiral cut that when the bit was backed out, it closed up and stopped bleeding pretty quick. I irrigated it really well, threw a bandage on it and went back to the last 2 holes.
Once the match drilling was complete, I removed all the stiffeners, deburred all the holes in them (not the skins yet) and cleaned up the trim servo plate. They are all ready for dimpling and priming now. I will then need to deburr the skins and dimple them and then prime the inside. We’ll see if this hole in my finger slows any of that down.

