End Ribs Sealed
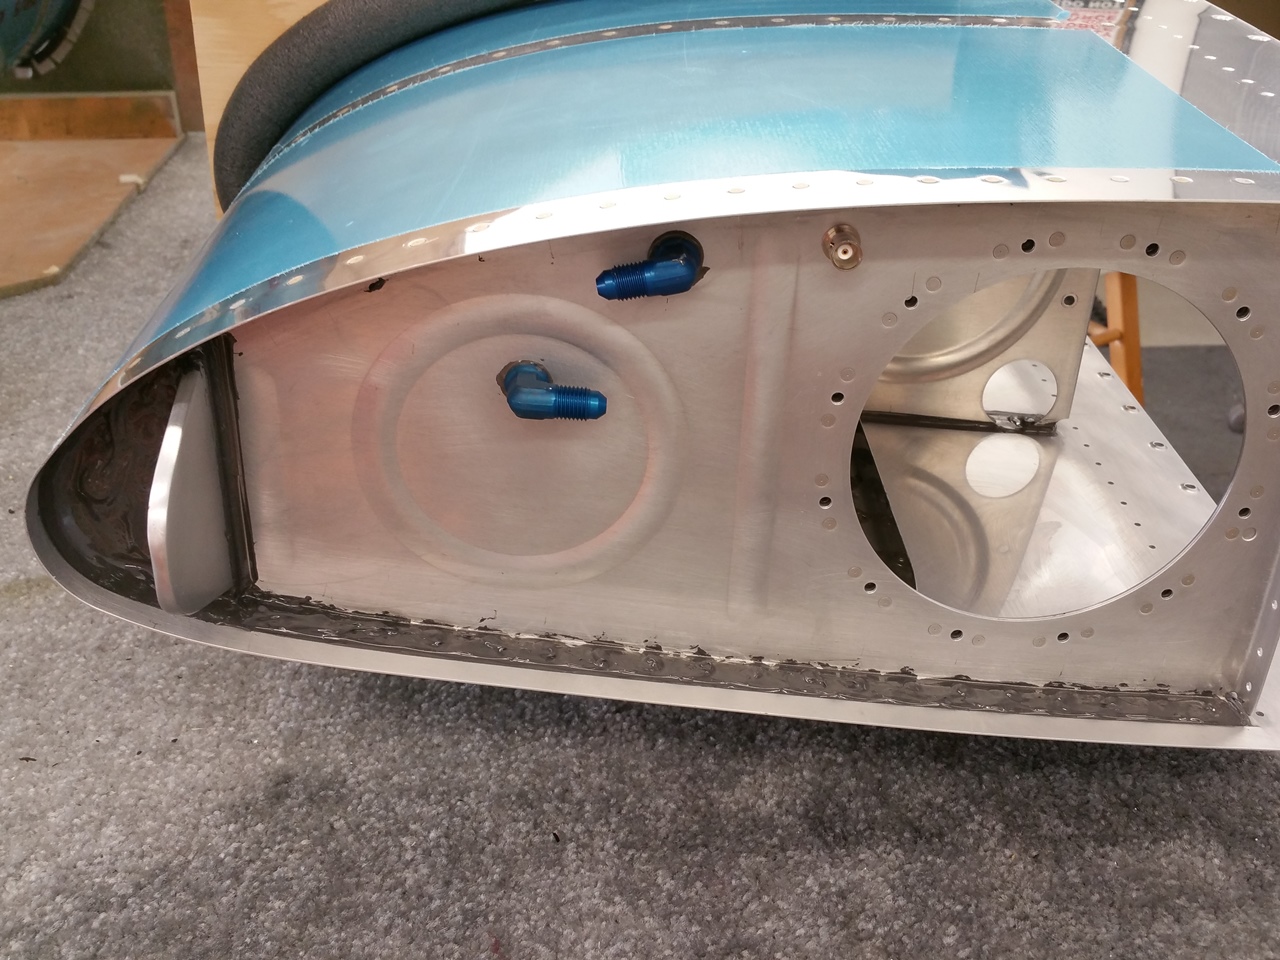
Right Inboard Rib
Since today was Columbus Day, I didn’t have to go to work. I committed to doing some real work on the tanks instead.
First up was cleaning all the inboard/outboard ribs, skins, and surrounding areas. I taped off the skin flanges with electrical tape to keep the over squeeze in check. Additionally, I cleaned up the T-405 and T-410 that have to be installed after the inboard ribs are riveted in.
Once cleaned, I mixed up my first cartridge of sealant and put it in the gun and started to go to town. I started by buttering up the inboard rib of the right tank. I put a significant amount of sealant on the nose of the rib to insure good squeeze out, since this is where a good amount of leaking can occur if not properly sealed. After the rib flange was buttered up and the rib was inserted into the skin, I inserted a cleco in every other hole and began squeezing rivets from the leading edge aft, alternating from the top to the bottom sides of the tank. I did have to use my “no hole” squeezer yoke for 4 rivets near the vent fitting and the BNC connector for the fuel senders. Not a big deal, but glad I had it. I used my standard yoke for the rest of the rivets.
Once all rivets were set, I buttered up the back of the T-410 and T-405 and put in place in the leading edge. I had to switch over to the rivet gun at this point to set the AN470AD4-8s (though the plans call for 7’s). I made a mess inside the tank, but got them set. Then it was all about creating fillets both on the inside and over the rivet lines on the exterior and around the brackets. I covered every exposed head and tail of every rivet inside and out. What fun!
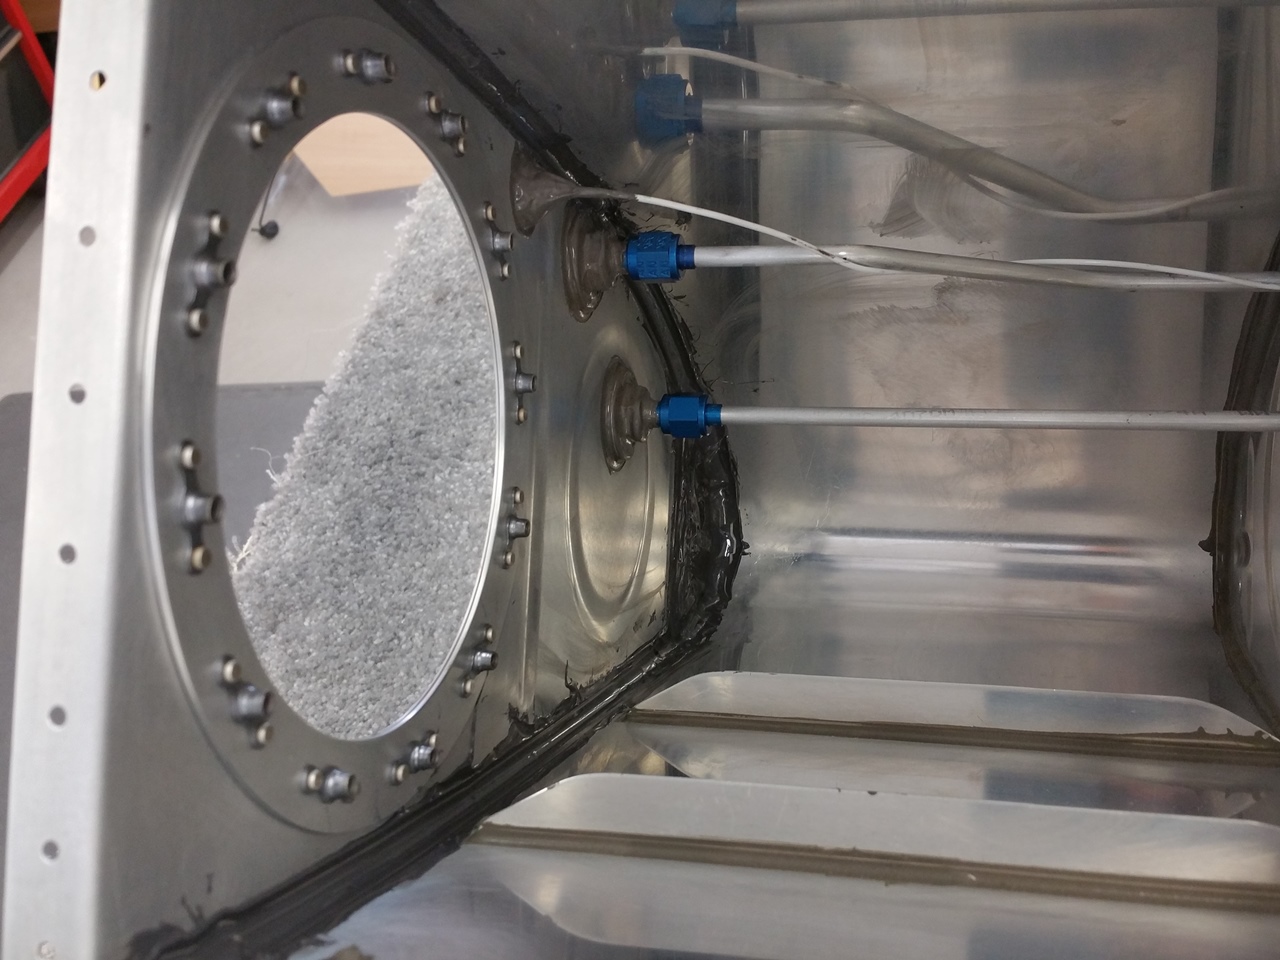
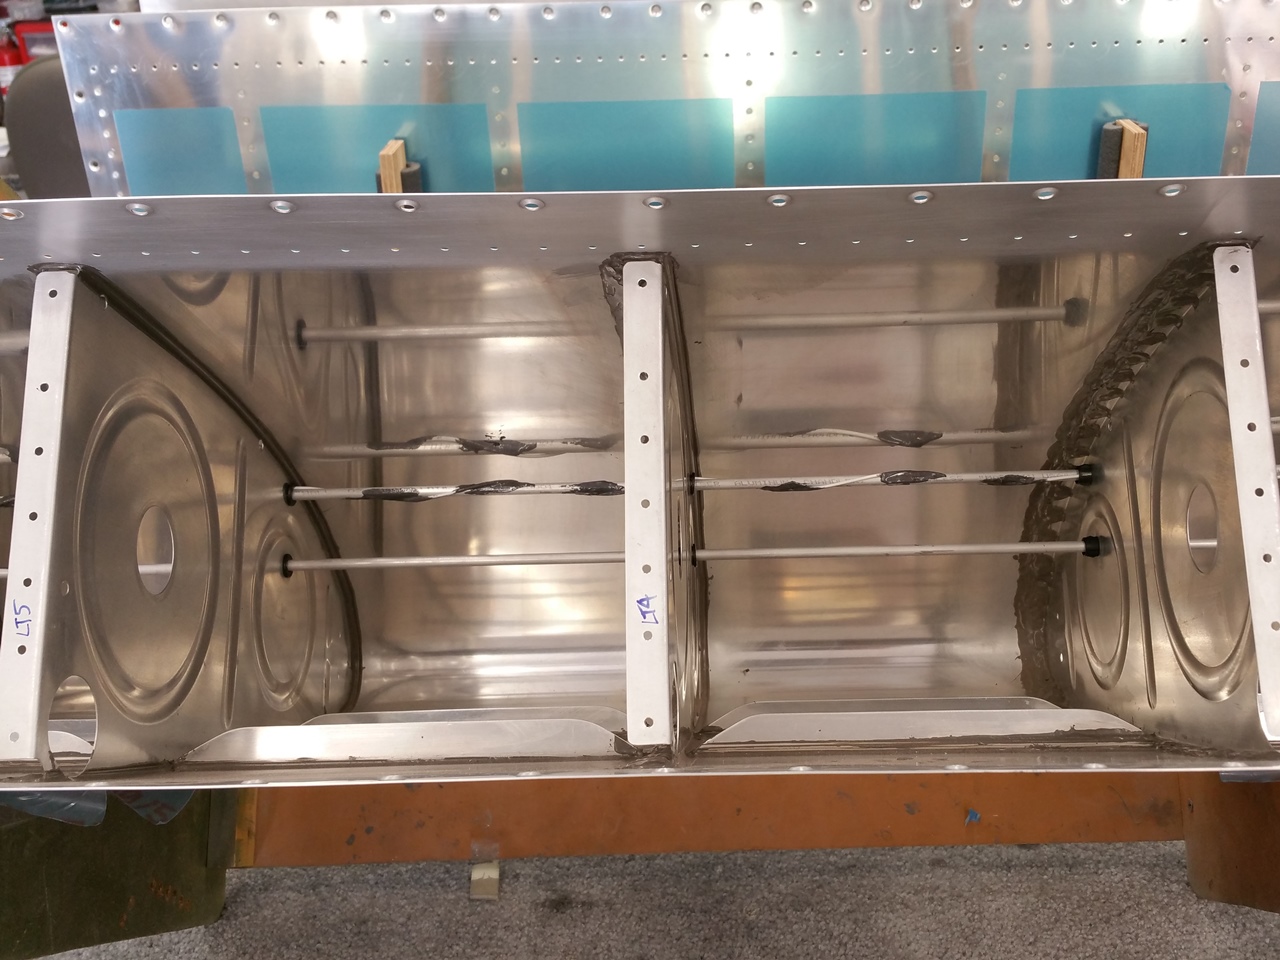
Right Inboard Inside
Not the cleanest work I’ve done, but should be leak free. It’s not easy getting my big hands in these small areas.
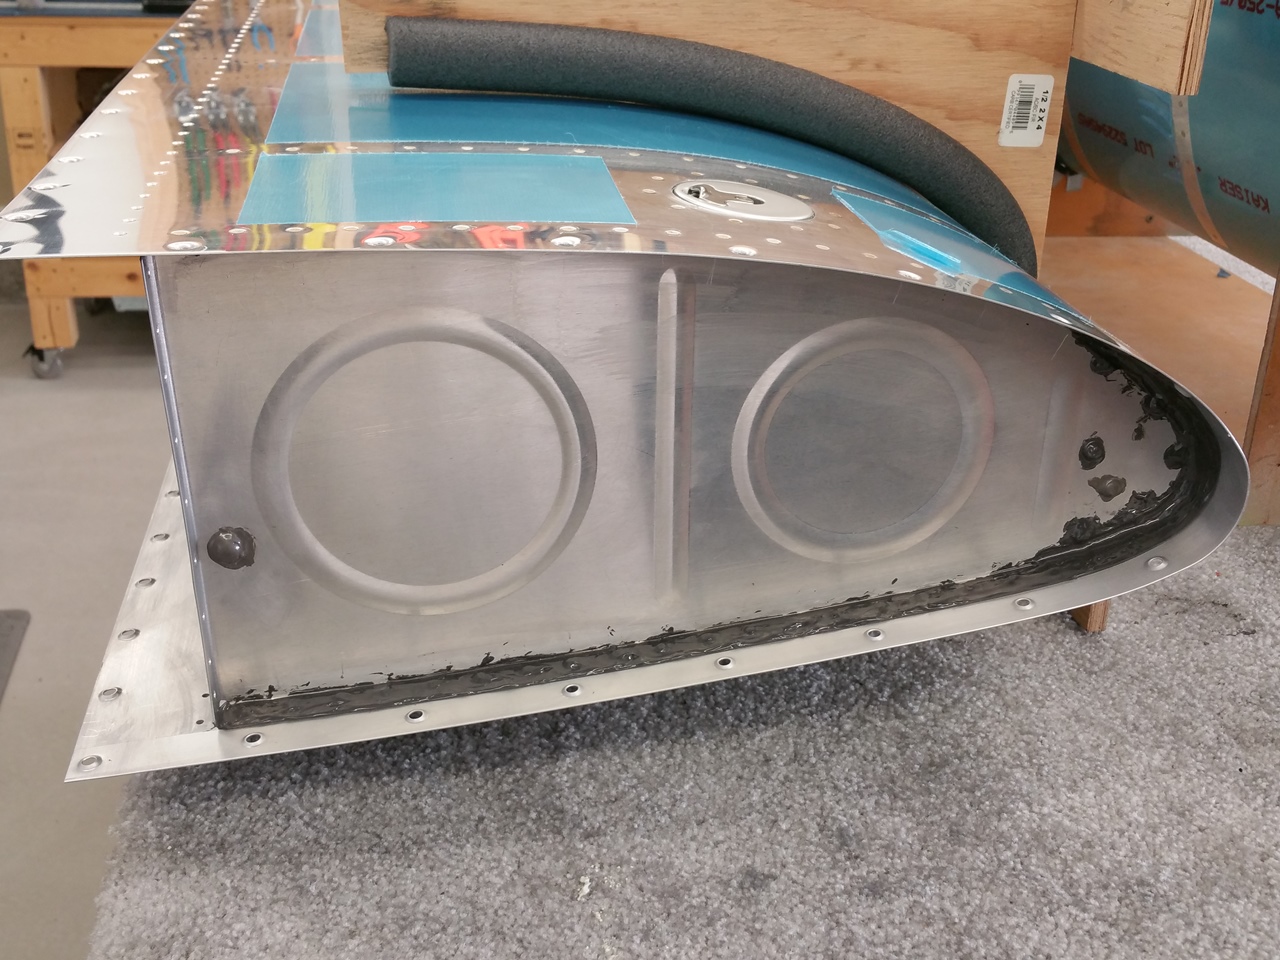
Right Outboard Rib
Once I got all the sealant where I wanted it, I removed the electrical tape and exposed a nice clean edge near the rib flange. I switched gears to the outboard rib. I had already riveted/sealed the T-410 to this rib, so all I had to do was butter up the rib flange and then repeat the same process of riveting as I had used on the inboard rib. Fortunately, since it does not have all the penetrations as the inboard rib, it moved pretty quick. The pace was also helpful as the pot life of the sealant in the cartridge was starting to hit. While it was getting stiff, it was still workable.
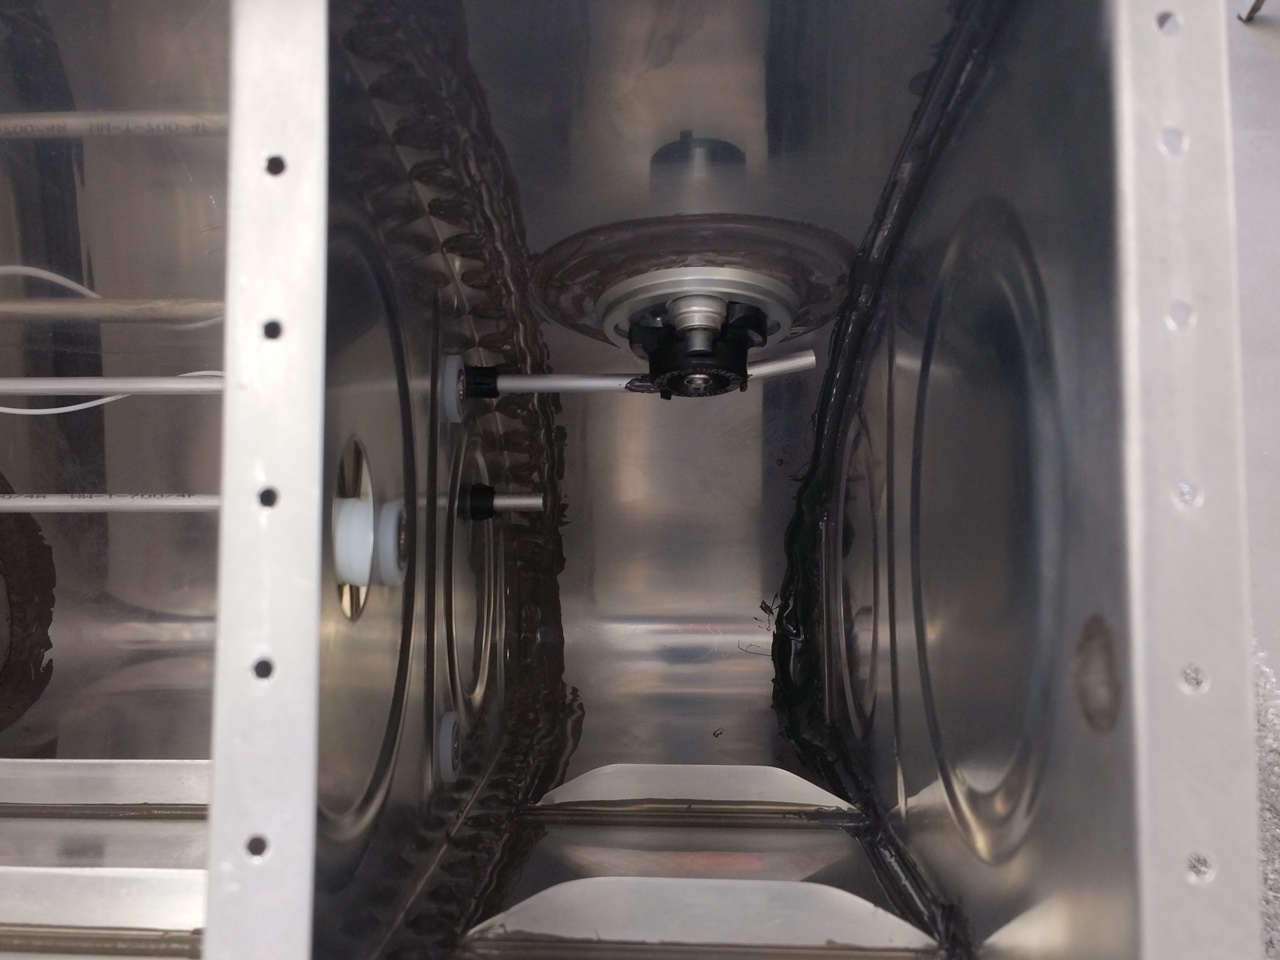
Right Outboard Inside
Prior to inserting the rib, I did make sure that I bent the vent line up towards the skin after it leaves the retainer clip that was riveted on with the fuel cap flange. This will just help keep the line out of the fuel level quicker and keep it from expanding out/draining from the vent line when running the tanks at full and in the Utah heat. Here you can see the vent line as it bends up as well as the fillets on the interior of the rib. You can see the large fillet at the leading edge. It never ceases to amaze me the way that the sealant is SOOO important to a leak free tank. Based on the design of the ribs, there is no other option.
Wire Dabs
At this point, I was trying to see if I could still use the sealant and place the small dabs on the wire/vent to hold the capacitance sender wire in place. The sealant was really getting hard to work with and very thick. Once I got these dabs on, I gave up on the rest. I will have to finish the little items with another batch of sealant later.
Once I felt this tank was as done as far as I could complete, I cleaned up the tools, got rid of all the gloves, rags, popsicle sticks, etc., and then restocked/reset and repeated the process on the left tank.
All in all, it was a good and very long day out in the shop. Next up will be to finish the wire dabs and terminal sealing of the capacitive plate connections and then prep for the rear baffles. These parts will soon be tanks and able to be tested for leaks (they better not). I can’t wait to be done with this stinking sealant and tight places. We’ll see what the next build session yields.


