The “Hurlbut/Checkoway” Method, Z Brackets Continued
I took some time tonight prepping and then priming the z-brackets. I decided to only prime the face of the brackets that 1. would have the nutplates attached to them, and 2. would be difficult to prime once attached to the tank. I may prime the outside of the tanks once the brackets are permanently attached and the tank is leak free. I also wanted to be sure that I did not create a path for the ProSeal not to stick to on the surface that will eventually be attached to the baffle, so I left that surface un-primed.
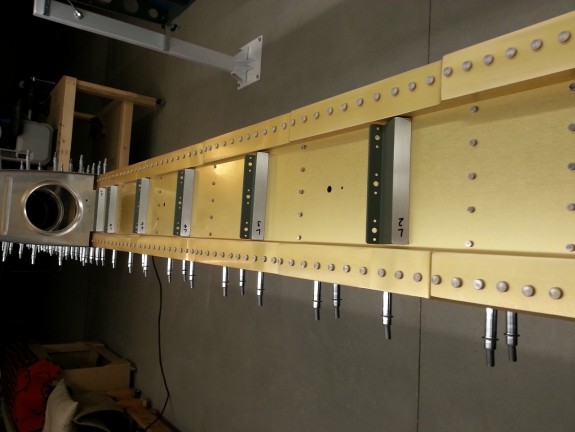
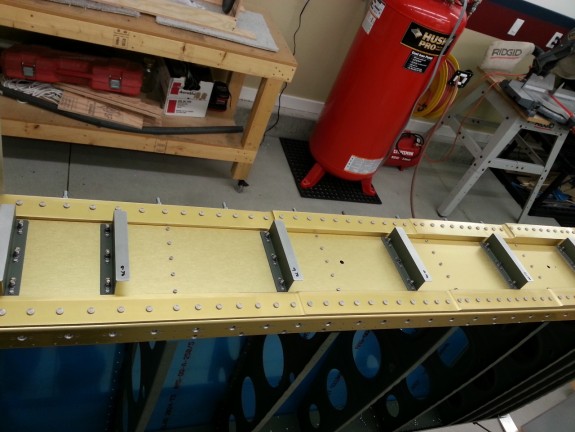
Since the primer I use dries so fast, I was able to get nutplates installed on each bracket in short order. The precision of the tool I used to drill the nutplate holes showed here. I simply had to cleco one ear of the nutplate and set the rivet in the other with my squeezer. Then I simply set the rivet in the other hole. All the bolts lined right up in the spar. I then bolted the brackets onto the spar for the left wing.
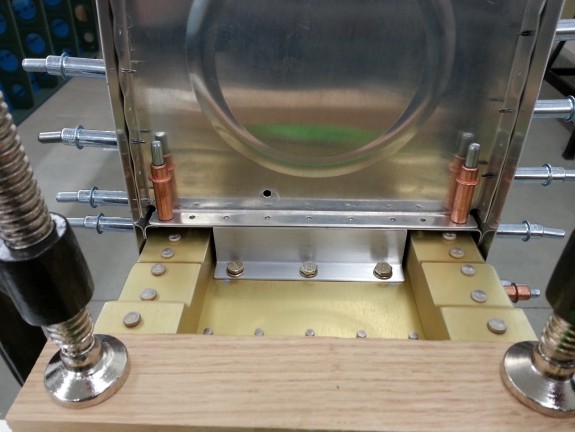
Once the brackets were bolted on, I set the assembled right tank skin and ribs onto the right wing in preparation to drill the baffle side holes for the tank. You can see here that my bracket is spot on at the inboard location. Since I cannot see the outboard yet, I can only hope it is.
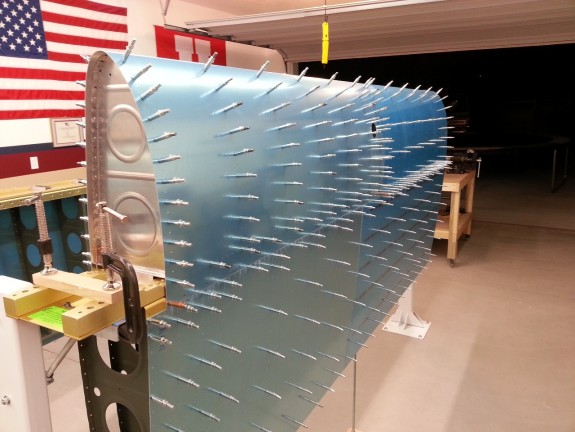
Here you see the tank on the wing. It is starting to look like something airplane like. It was late as you can see from the outside of the shop, so I called it a night.


